Showing posts with label Food Safety. Show all posts

Monday, October 12, 2026

Bell Peppers: How to Choose, Store, Cut, Freeze, and Use Them Without Waste

Bell peppers are easy to buy by color and forget in the vegetable drawer. Yet a few everyday choices—buying firm peppers, keeping them refrigerated, cutting only what you need, and freezing extras before they spoil—can make them easier to use and waste less food.

Green, yellow, orange, and red bell peppers can all be eaten raw or cooked. Pick a color for the flavor you want, but judge freshness by the pepper itself: firm flesh and sound skin matter more than a particular shade.

How to choose bell peppers at the store

Look for peppers that feel firm, with taut, smooth skin and no mold, leaking areas, or deeply softened spots. Wrinkles and dull, shriveled surfaces often mean a pepper is past its best texture. University of Illinois Extension advises selecting firm peppers without wrinkles; the FDA advises avoiding bruised or damaged produce when possible.

Green peppers often taste more grassy or slightly bitter, while red peppers are typically sweeter. Yellow and orange peppers offer other sweet, mild options. If your recipe calls for raw crunch, buy the firmest peppers available. A discounted pepper with minor cosmetic irregularities may still be useful for cooking, but do not buy one that is visibly rotten.

Buy for your actual week, not just the per-pepper price. If you rarely cook with peppers, two firm ones may be a better deal than a bargain bag you cannot finish.
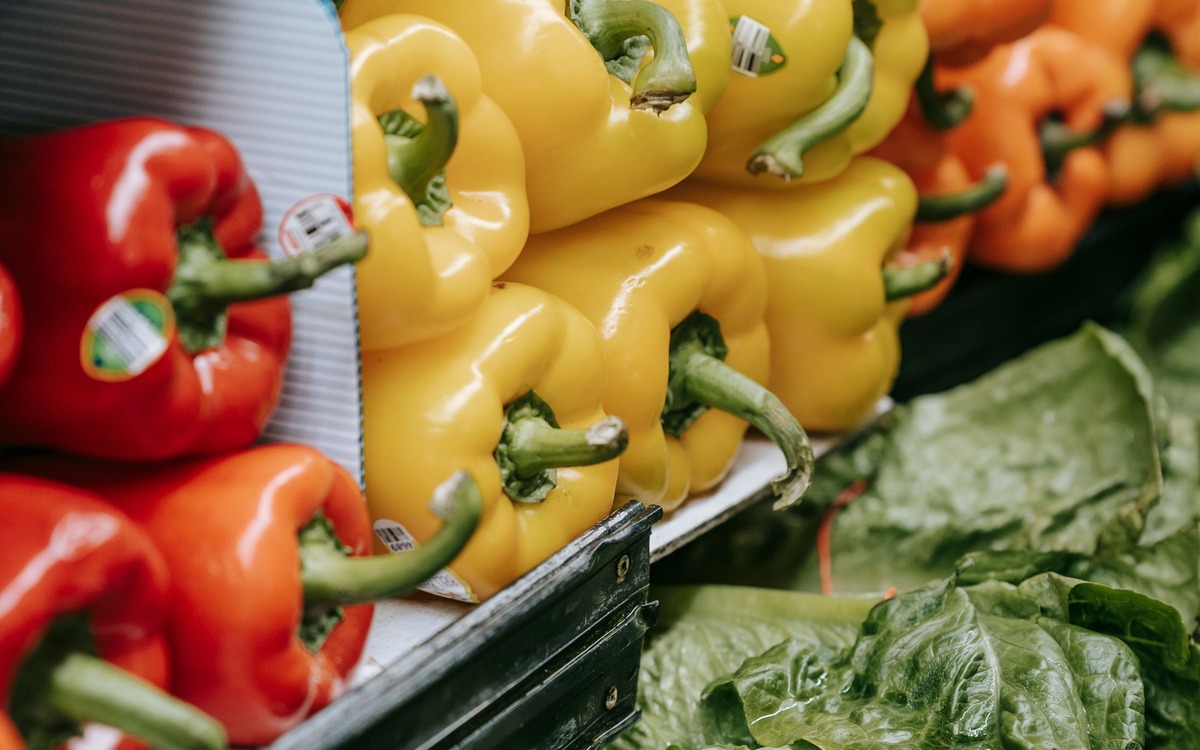
Fresh colorful bell peppers displayed in a grocery produce section

How to store whole bell peppers

Put whole, uncut peppers in the refrigerator produce drawer rather than leaving them on a warm kitchen counter for days. University of Illinois Extension suggests keeping whole peppers in a bag in the crisper for up to about one week; individual freshness and refrigerator conditions still matter. Check your peppers regularly instead of treating that window as a guarantee.

Keep the refrigerator at 40°F (4°C) or colder for food safety. Use a clean bag or produce container that protects the peppers from getting crushed. Keep raw meat and its juices well away from vegetables you might eat raw.

Wait to wash a whole pepper until you are ready to cut it. Extra moisture left in storage can work against keeping the surface in good condition. If a pepper starts to wrinkle but remains firm and otherwise sound, plan to cook it soon instead of forgetting it in the drawer.
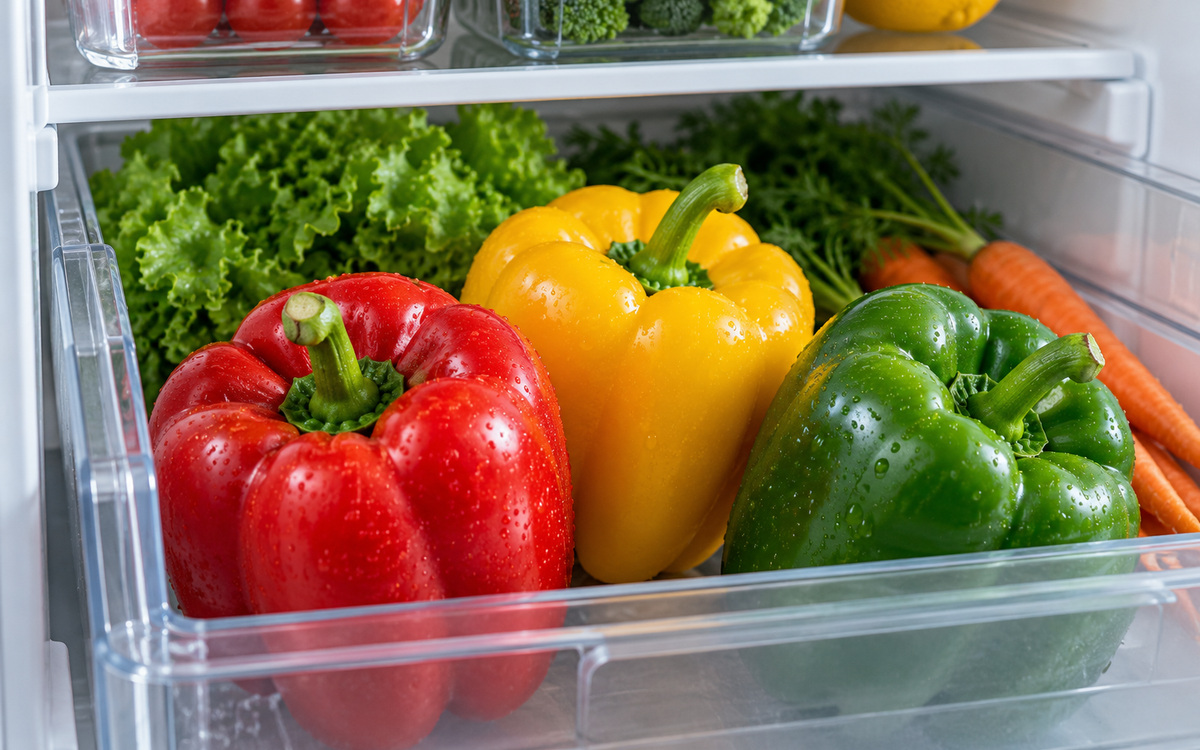
Whole red yellow and green bell peppers stored in a clean refrigerator crisper drawer

Wash first, then cut with less waste

Wash your hands, use a clean knife and board, and rinse the pepper under running water before cutting. FDA guidance says not to wash produce with soap, detergent, bleach, or commercial produce wash. Dry it with a clean towel before slicing.

For quick strips, slice off the top, remove the stem, open the pepper and pull out the core and seeds. Lay the pieces flat and slice them into strips. For cubes, cut the strips crosswise. Another method is to cut around the pepper's sides while leaving most seeds attached to the core.

The stem, seeds and pale central core are usually removed because of texture and convenience. The firm pepper walls are the useful part; do not throw them away just because their shape is irregular. Add small trimmings to scrambled eggs, soups, stews or a skillet sauce.

Once cut, refrigerate peppers promptly in a covered container or sealed bag. Illinois Extension suggests using cut peppers within about three days for best handling and quality. Do not leave cut produce on the counter for an extended period.

Peppers often join onions in the same pan. If you want to prepare both ahead, see our guide to storing and freezing onions for the different rules that apply before and after cutting.
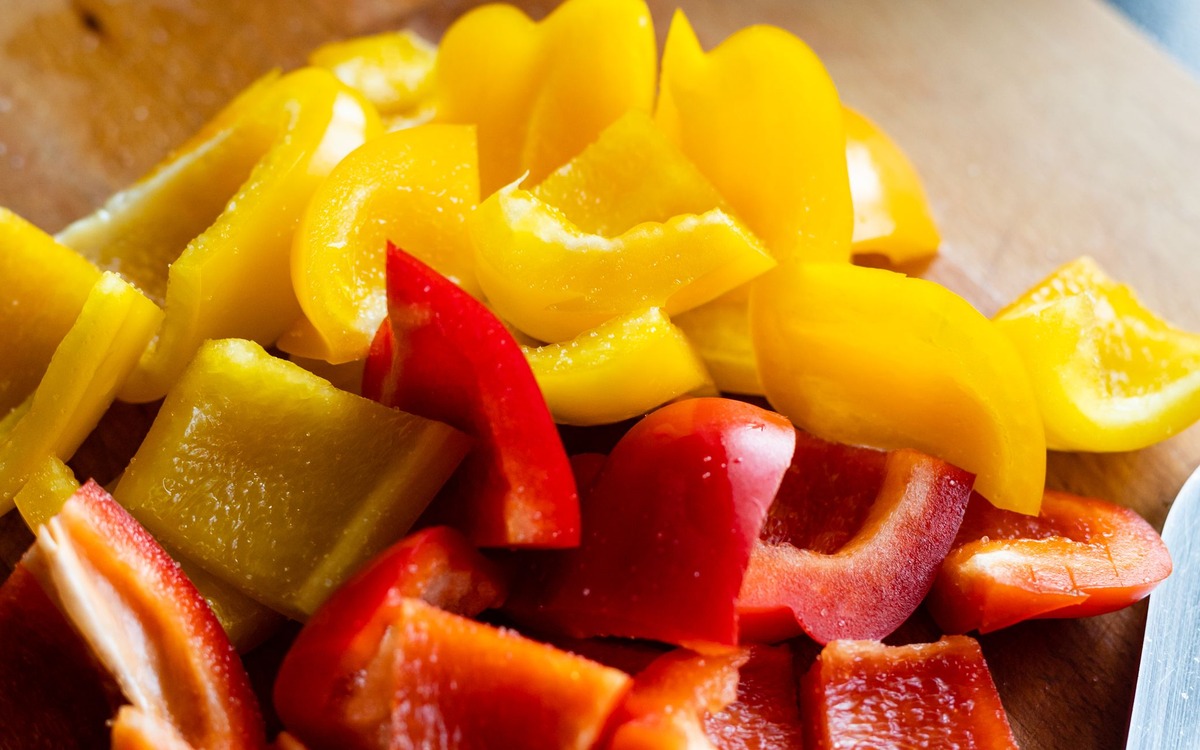
Fresh red and yellow bell pepper strips and pieces on a wooden cutting board

How to freeze bell peppers without a mushy surprise

Freezing is the simplest way to save peppers you will not eat soon. The National Center for Home Food Preservation explains that sweet peppers can be frozen raw or blanched: for the heated method, blanch halves for three minutes and strips or rings for two minutes, then cool and drain before packing. Its unheated method also allows raw peppers to be packaged and frozen.

For a convenient no-blanch approach, wash the peppers, remove stems and seeds, and slice or chop them for your usual recipes. You can spread the pieces on a tray until firm, then transfer them to a labeled freezer bag to keep portions separate. Press excess air out of the package before sealing.

Freezing changes fresh-vegetable texture. Expect thawed peppers to be softer than crisp fresh ones, so use them directly in cooked dishes when crunch is not the point. The National Center for Home Food Preservation offers both raw and blanched freezing approaches; choose based on how you plan to use the peppers, not a promise of unchanged texture.

To plan a freezer-friendly vegetable mix, our tomato ripening, storage and freezing guide explains why frozen tomatoes are likewise best directed toward cooking instead of fresh salads.
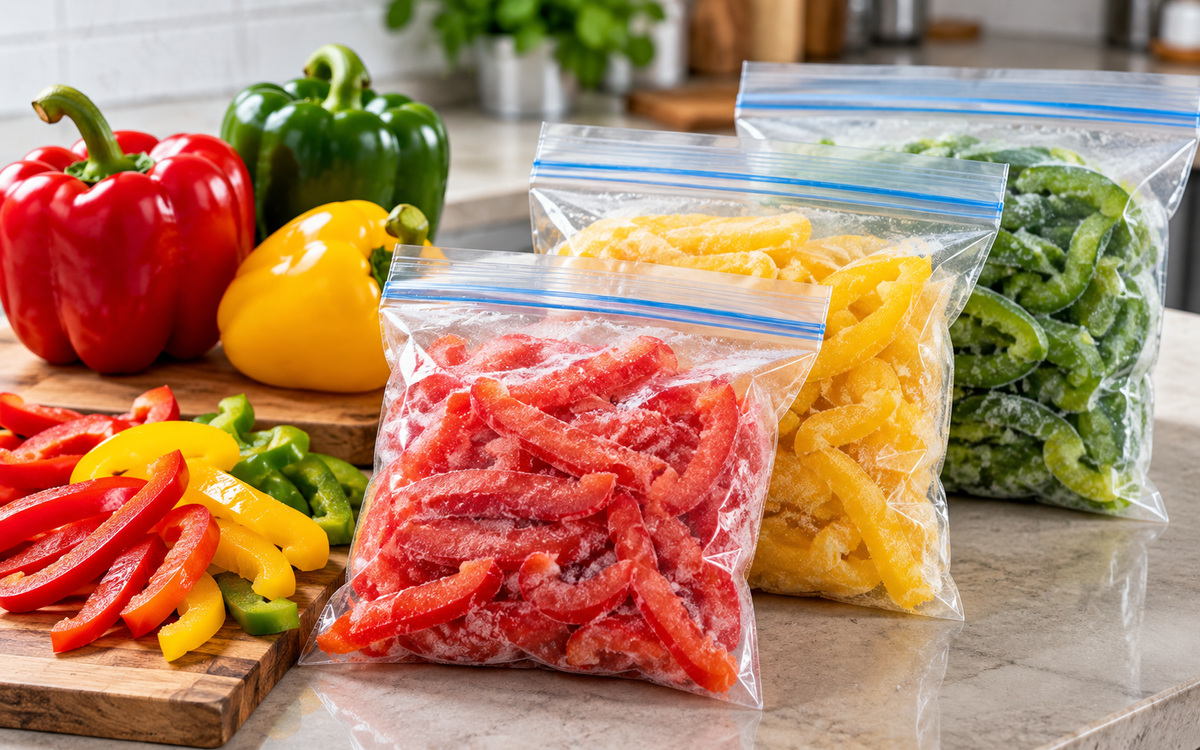
Portioned bell pepper strips prepared in labeled freezer bags on a kitchen counter

Five simple ways to use peppers before they spoil

  1. Fast skillet dinner: soften pepper strips with onions and a little oil; add cooked beans, eggs or another ready-to-eat protein.
  2. Roasted tray: roast pepper pieces with zucchini or onions until tender and lightly browned.
  3. Crunchy snack: serve fresh, freshly cut strips with hummus or a yogurt dip.
  4. Soup starter: sauté diced peppers with aromatics, then add broth, beans or tomatoes.
  5. Freezer-friendly filling: cook extra chopped pepper with onions for future omelets, soups or fajitas.

Peppers that have lost a little snap can still be candidates for a cooked dish if there is no spoilage. Using them early is more effective than trying to rescue vegetables after rot develops.

When should you throw bell peppers away?

Discard a pepper that is visibly rotten, moldy, slimy, leaking, or extensively mushy. An isolated superficial blemish is not necessarily the same as widespread decay; the FDA says to cut away damaged or bruised areas before preparing produce, but to discard produce that looks rotten.

Do not rely on a precise number of days alone. Freshness when purchased, damage during transport, moisture and refrigerator conditions all affect how long peppers stay useful. If you cannot tell whether a pepper is badly spoiled, do not taste it to find out.

The low-waste bell pepper routine

  1. Choose firm peppers with smooth, sound skins.
  2. Refrigerate whole peppers in the produce drawer and use them within roughly a week for best quality.
  3. Rinse under running water before cutting, and keep cutting surfaces clean.
  4. Refrigerate cut peppers in a covered container and use them promptly.
  5. Freeze slices or diced peppers before their quality drops; expect some texture change after thawing.
  6. Use uneven trimmings in cooking and throw away peppers that are rotten, slimy or moldy.

Bottom line

Bell peppers do not need complicated handling. Firm peppers, a clean refrigerator, sensible portions and a freezer bag will do most of the work. Keep fresh ones for crunchy dishes, freeze the extras for cooking, and do not mistake freezing for a way to restore the texture of a deteriorating pepper.
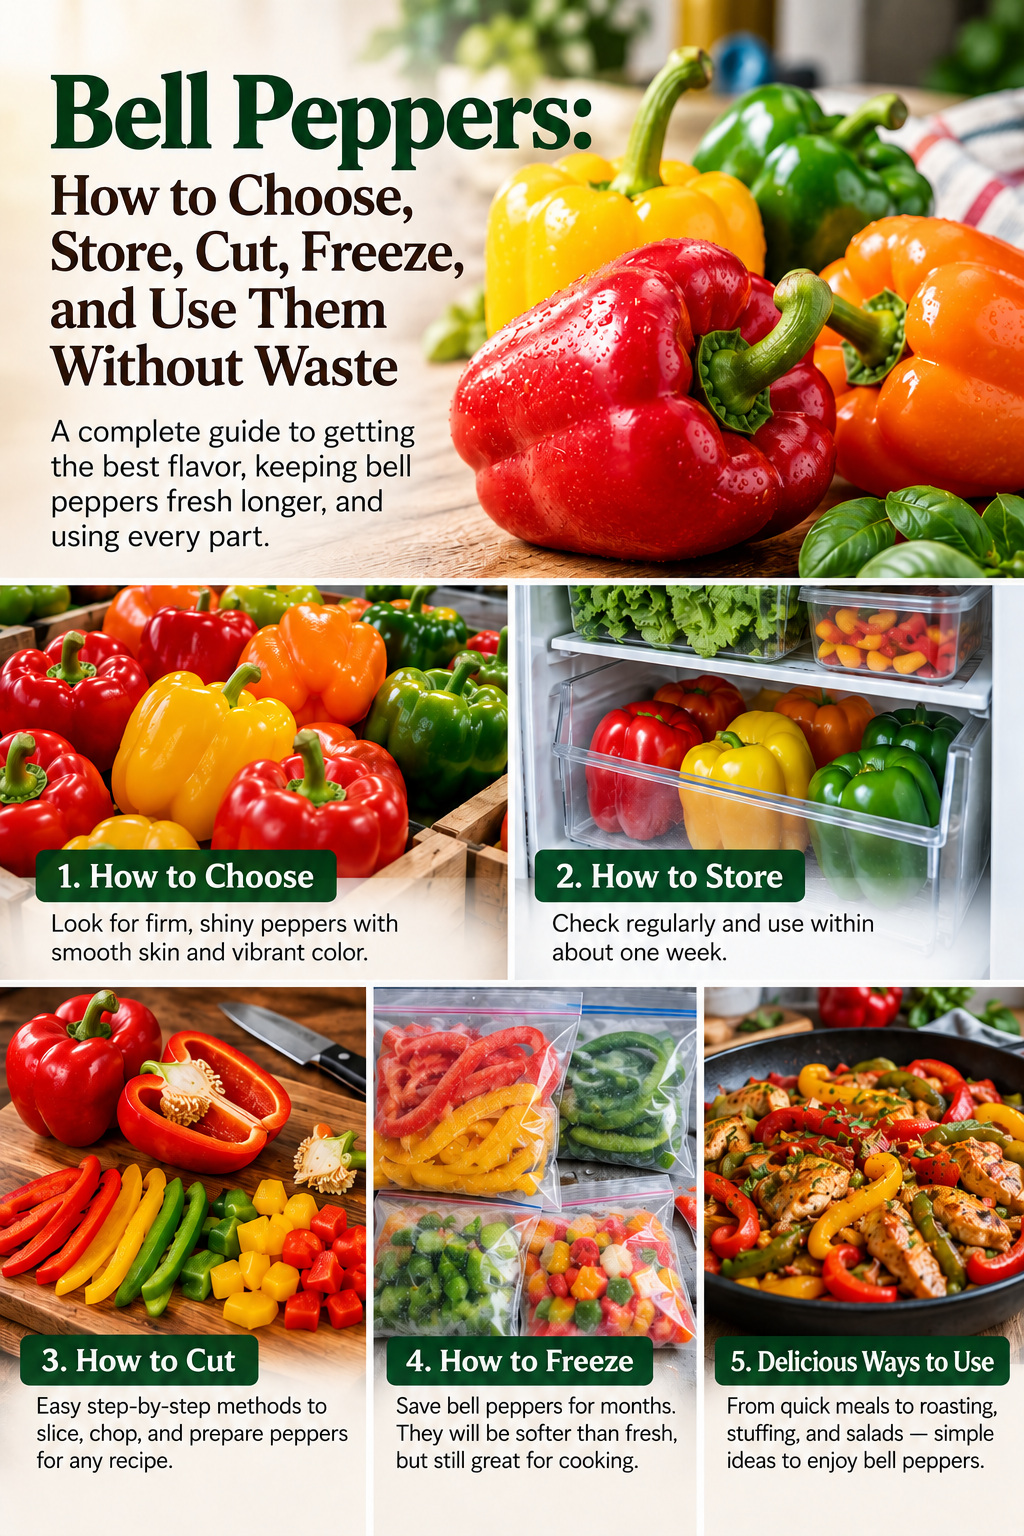
Photographic Grocery Explained guide to choosing storing cutting freezing and using bell peppers without waste

Sunday, October 11, 2026

Onions: How to Buy, Store, Cut, Freeze, and Know When to Toss Them

Onions are one of the easiest ingredients to keep around, but they last much longer when the storage setup matches the form they are in. Whole dry onions generally want airflow and a cool, dry, dark place. Once an onion is peeled or cut, the routine changes: refrigerate it in a covered container and use it while quality is still good.

The practical approach is simple: buy firm bulbs with dry skins, give whole onions ventilation, refrigerate cut onions, rinse produce under running water before cutting, freeze chopped onions when you have too many, and discard bulbs that are moldy, slimy, badly softened, or clearly decaying.

Choose firm onions with dry outer skins

Start with feel. Utah State University Extension advises choosing onions with crisp, dry outer skin and no soft spots, visible mold, or obvious sprouting. A firm bulb with a tight, dry exterior is a better storage candidate than one that already feels damp or soft around the neck.

Do not worry about cosmetic differences between yellow, white, and red onions. Variety changes flavor and storage potential, but for everyday shopping the most useful signs are firmness, dryness, and absence of decay. If a bag contains several damaged or wet bulbs, skip it even if the price looks attractive.

Buying a large bag only saves money if you have a dry, ventilated place to keep it and will use the onions before they deteriorate. For many households, a smaller quantity with better storage conditions wastes less food.

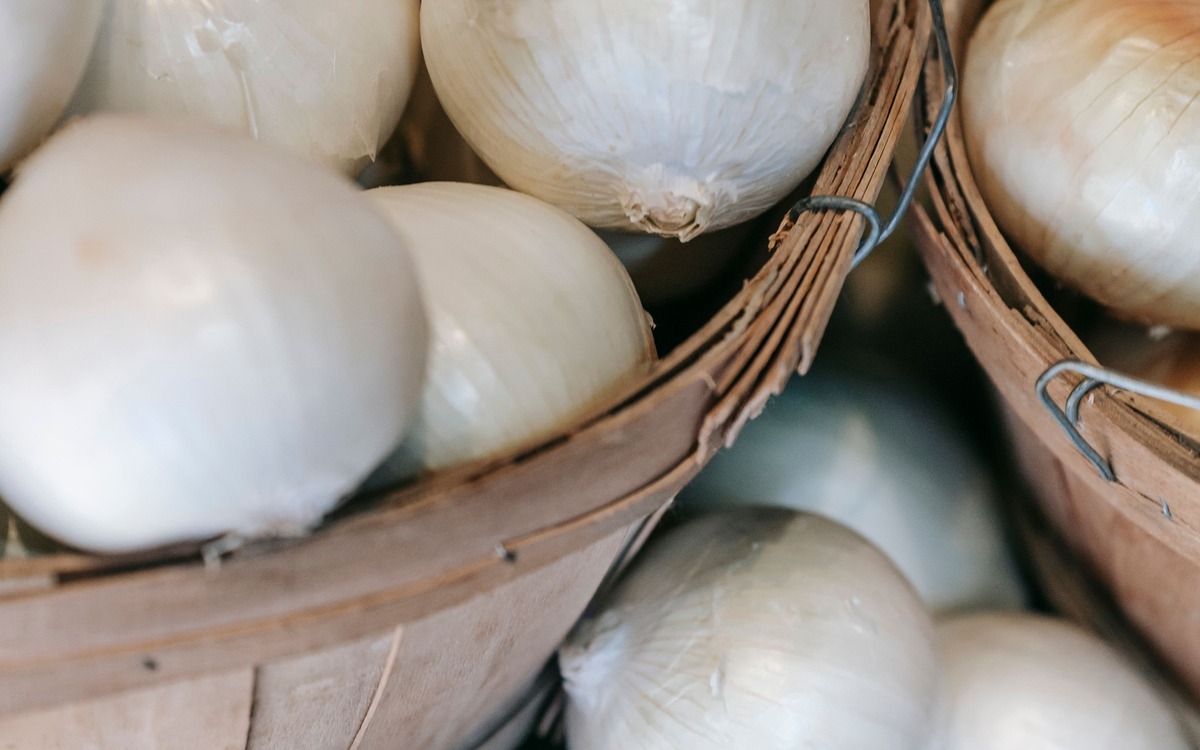
Fresh whole onions displayed in baskets at a produce market

Store whole dry onions somewhere cool, dry, dark, and ventilated

Penn State Extension recommends keeping properly cured onions in a cool, dark, well-ventilated place. A mesh bag, wire basket, or other breathable container works better than a tightly sealed plastic bag because air can circulate around the bulbs.

Keep the storage area dry. Moisture and poor airflow encourage deterioration, while warmer storage encourages sprouting. University of Minnesota Extension notes that onions begin to sprout when storage temperatures are too warm; Utah State University also describes sprout growth as a sign of unsuitable storage conditions.

Check stored onions occasionally. Remove a soft, leaking, or moldy bulb before it affects nearby onions. Rotate older onions to the front so they get used first.

If you also keep potatoes in pantry storage, the basics overlap but the details differ around light, greening, and refrigeration. See our potato storage guide for those differences.

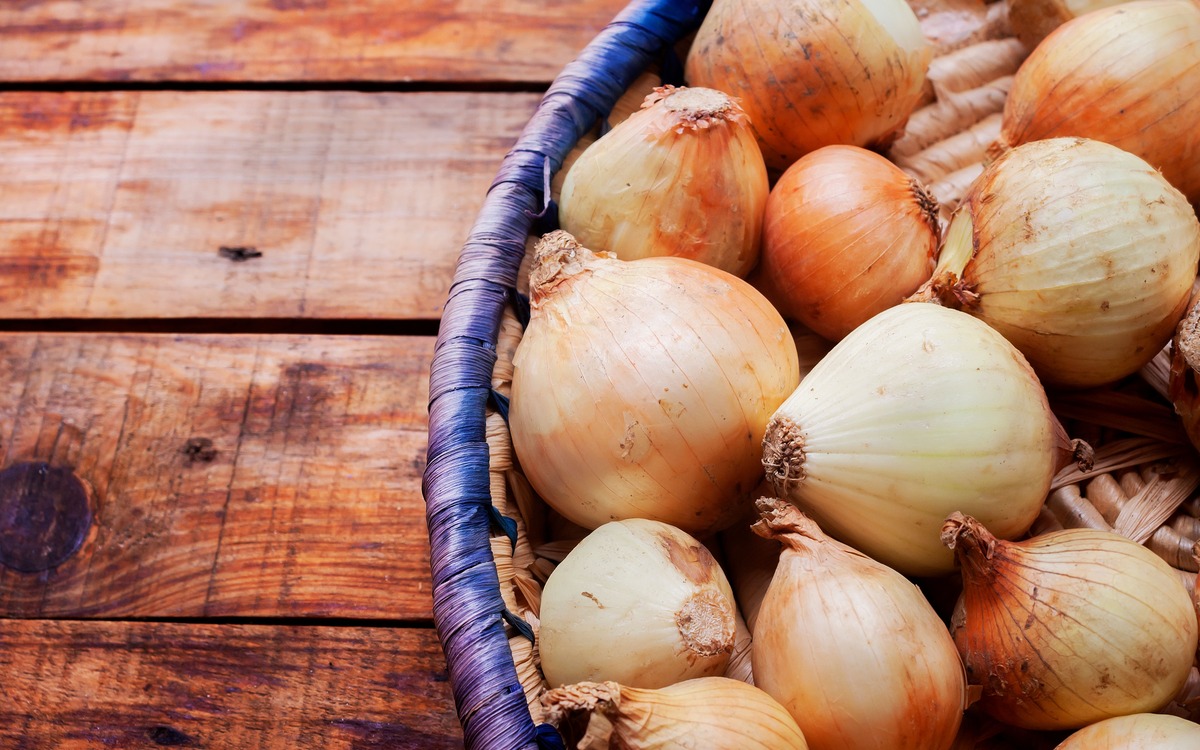
Whole yellow onions resting in a ventilated woven basket

Once an onion is peeled or cut, refrigerate it

Whole dry onions and cut onions should not be stored the same way. FoodSafety.gov advises refrigerating peeled or cut produce, and Utah State University Extension says chopped or sliced onions can be refrigerated for up to about seven days in a sealed container.

Use a clean covered container or sealed food-storage bag so the cut surface is protected and strong onion odors stay contained. Keep the refrigerator at 40°F (4°C) or below, the standard cold-storage recommendation from U.S. food-safety agencies.

If a cut onion becomes slimy, develops obvious mold, smells rotten, or has extensive soft, watery breakdown, discard it rather than trying to trim around the problem.

Rinse before cutting, and skip soap

FDA guidance says fresh produce should be rinsed under running water before preparing or eating it, including produce that will be peeled. The reason is practical: dirt and bacteria on the outside can be transferred inward by a knife.

For onions, remove loose papery layers, rinse the bulb under plain running water, and then cut it on a clean board with a clean knife. Do not use dish soap, detergent, bleach, or commercial produce wash. FDA specifically advises against those products for fresh produce.

A cook slicing a fresh red onion with a kitchen knife

Freeze chopped onions when you have more than you can use

Freezing is useful when a large bag is starting to outpace your cooking. The National Center for Home Food Preservation says diced onions can be peeled, trimmed, cleaned, chopped, and frozen without blanching.

You can pack chopped onions directly into freezer bags or containers, or freeze the pieces first in a single layer on a clean tray and then transfer them to packaging. Remove as much air as practical before sealing.

Frozen onions lose the crisp texture of fresh onions, so they are best saved for cooked dishes such as soups, stews, casseroles, sauces, and stir-fries. The National Center for Home Food Preservation notes that frozen diced onions are best used within a few months for quality.

Blanching rules vary by vegetable: chopped onions can go into the freezer without blanching, while carrots are handled differently. Our carrot storage and freezing guide explains that contrast.

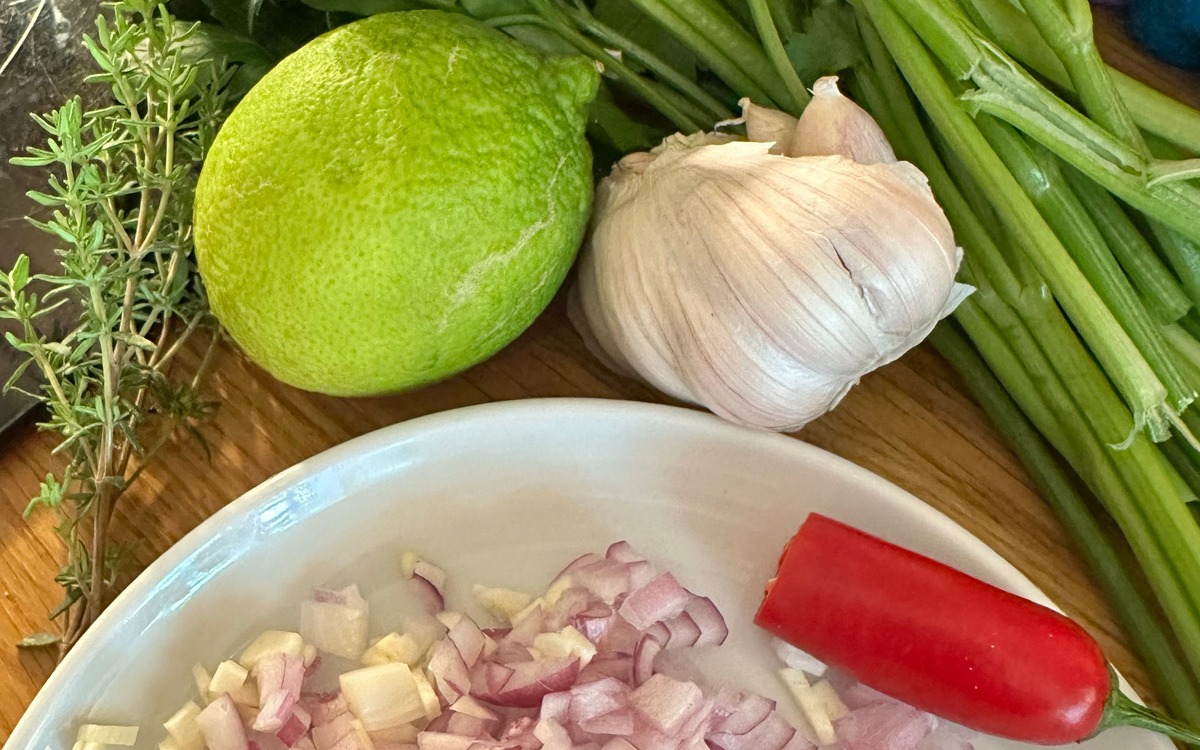
Fresh chopped onion prepared with other cooking ingredients before storage or cooking

What about an onion that has started to sprout?

Sprouting usually means the bulb is leaving dormancy and its quality is starting to decline. It is not the same thing as mold or rot. Extension guidance recommends using sprouted onions promptly when they are still firm and otherwise sound.

Once a sprouted onion becomes soft, moldy, watery, or rotten, discard it. If you are shopping rather than trying to use what is already at home, choose an unsprouted, firm bulb because it is likely to store better.

When should you toss an onion?

FDA guidance says produce that looks rotten should be discarded. For onions, practical red flags include visible mold, slimy or leaking layers, a strongly rotten odor, or extensive soft and watery tissue.

A dry outer layer or loose papery skin is normal. A little surface dirt is also not spoilage. The bigger concern is breakdown that has moved into the bulb itself.

When in doubt, avoid trying to rescue an onion that is extensively moldy or decaying. Because onions have many layered surfaces, trimming an obviously spoiled bulb is not a useful food-waste strategy.

A simple onion routine

  1. Buy firm onions with dry skins and no soft, moldy, or badly sprouted areas.
  2. Store whole dry onions in a cool, dry, dark, well-ventilated place.
  3. Check the basket periodically and remove deteriorating bulbs.
  4. Refrigerate peeled, chopped, or sliced onions in a covered container.
  5. Rinse onions under running water before cutting; do not use soap.
  6. Freeze chopped surplus onions without blanching and use them mainly in cooked dishes.
  7. Use a sprouted but still firm onion sooner rather than later.
  8. Discard onions that are moldy, slimy, badly softened, leaking, or clearly rotten.

Bottom line

The easiest way to keep onions useful longer is to separate the storage rules for whole and cut bulbs. Whole dry onions need cool, dry airflow; cut onions need refrigeration. Freeze extras before quality drops, and treat sprouting as a sign to use the bulb sooner rather than as a reason to automatically throw it away.

Good onion storage is mostly about preventing moisture, heat, and forgotten leftovers. A breathable basket for whole bulbs and a covered refrigerator container for cut onions solve most of the common problems.

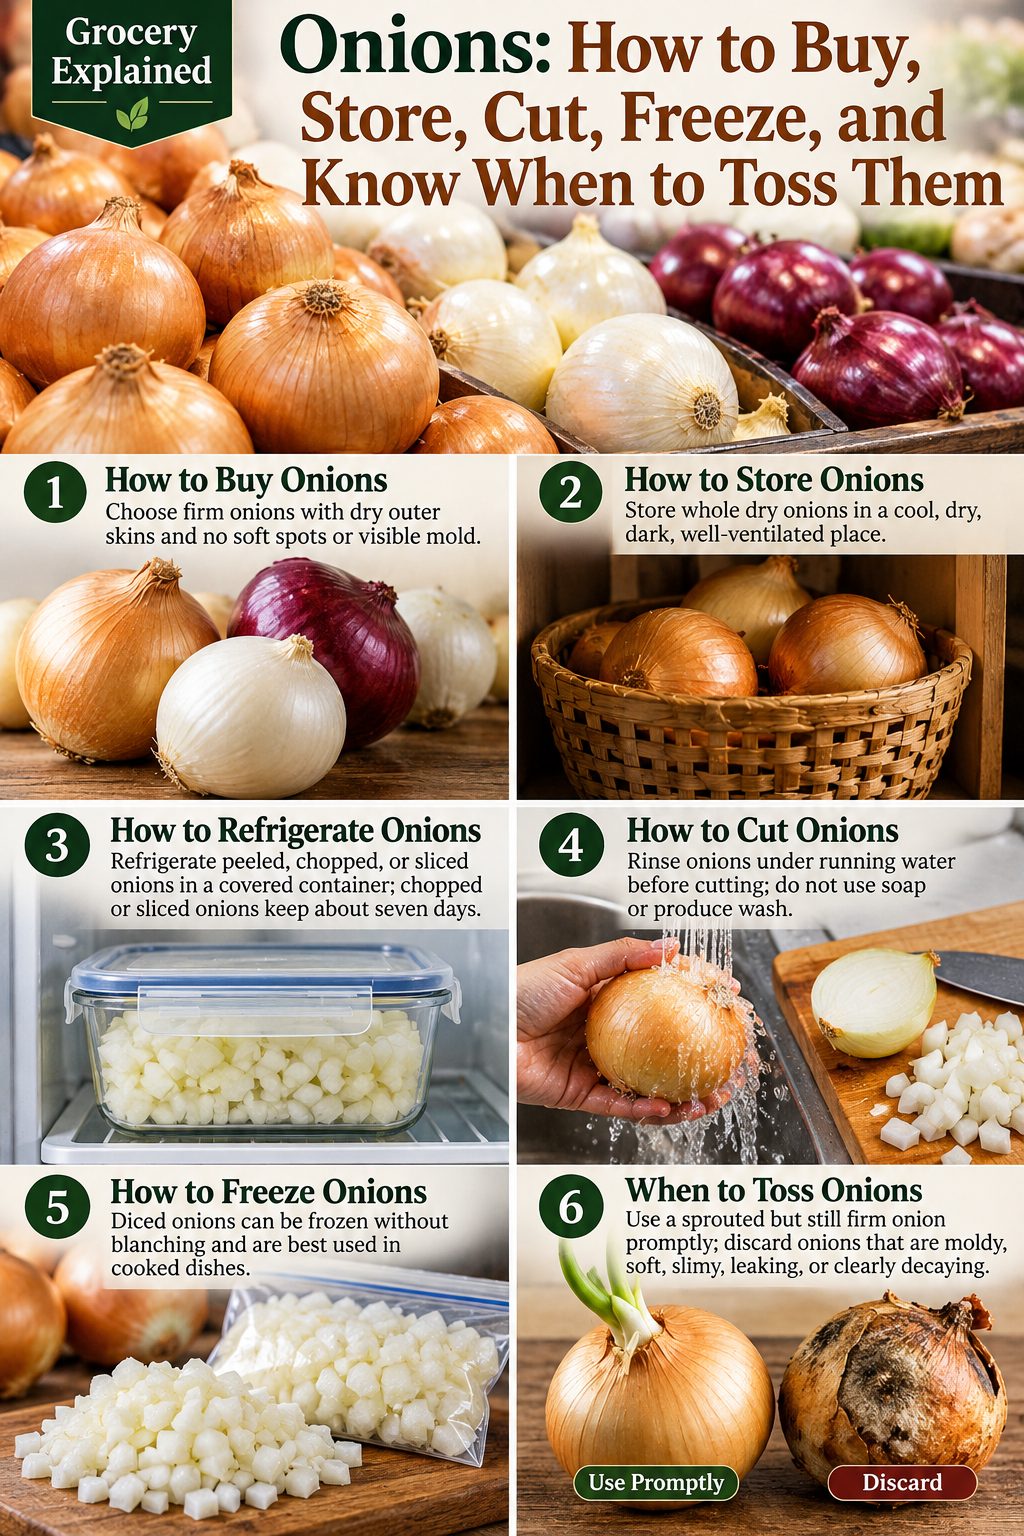
Photographic Grocery Explained guide to buying, storing, cutting, freezing, and checking onions for spoilage

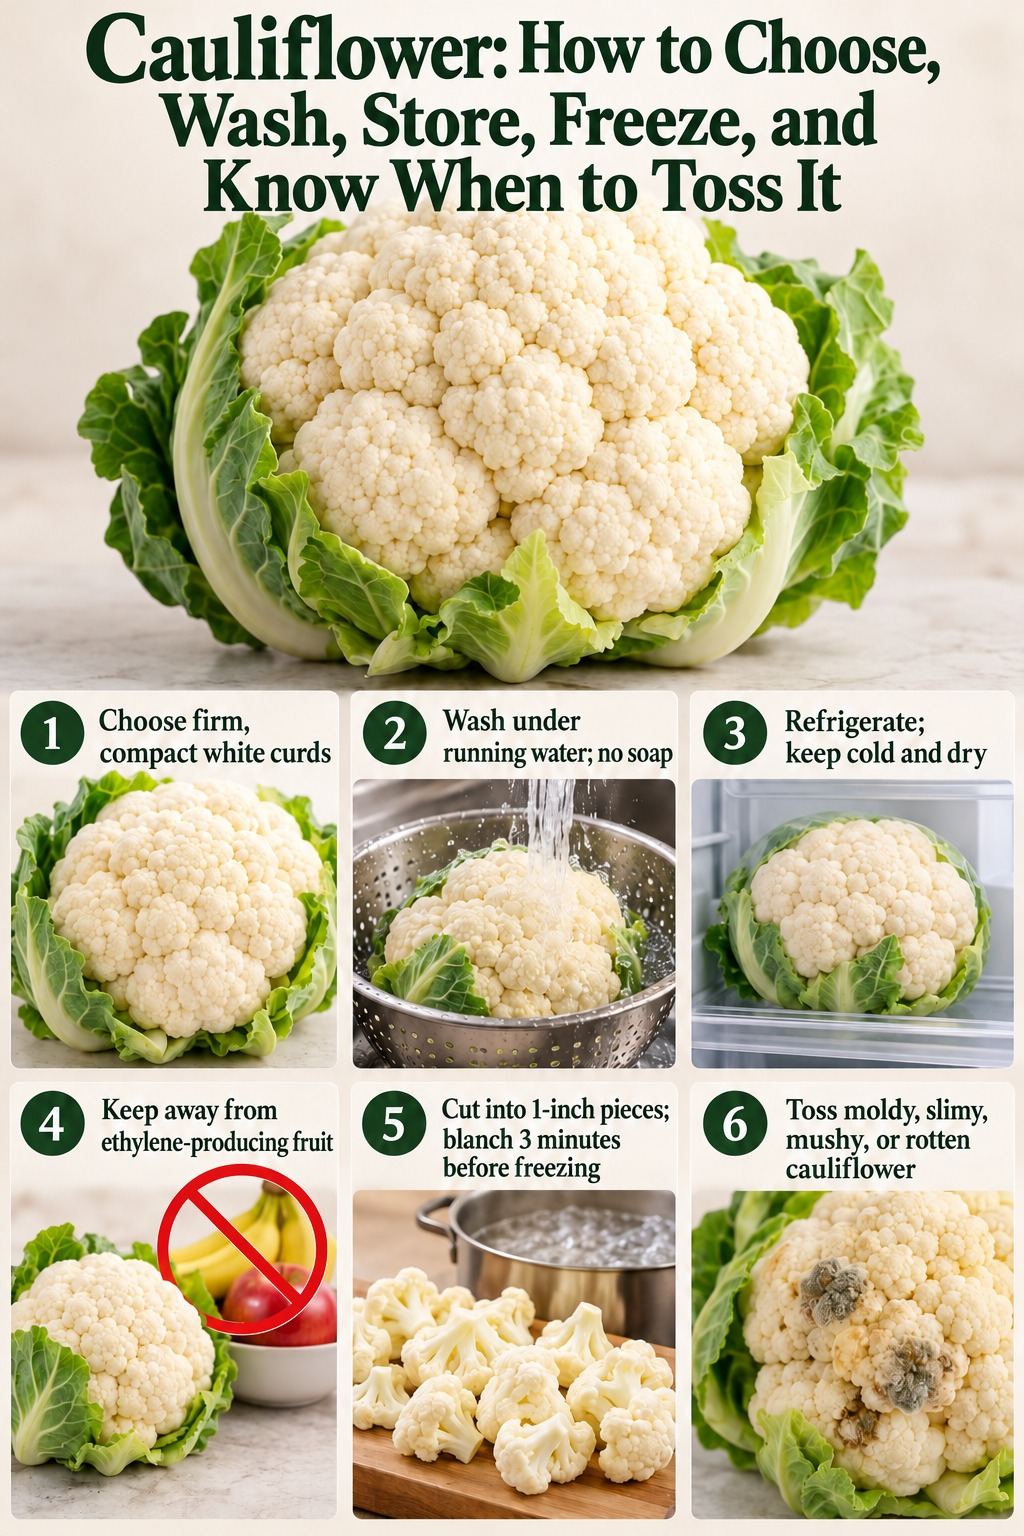
Cauliflower: How to Choose, Wash, Store, Freeze, and Know When to Toss It

Cauliflower keeps its best texture and mild flavor when you start with a compact, fresh head and keep it cold. The most useful habits are simple: choose firm curds with fresh wrapper leaves, wait to wash until you are ready to use it, refrigerate promptly, keep it away from strong ethylene producers, and blanch it before freezing.

How to choose fresh cauliflower

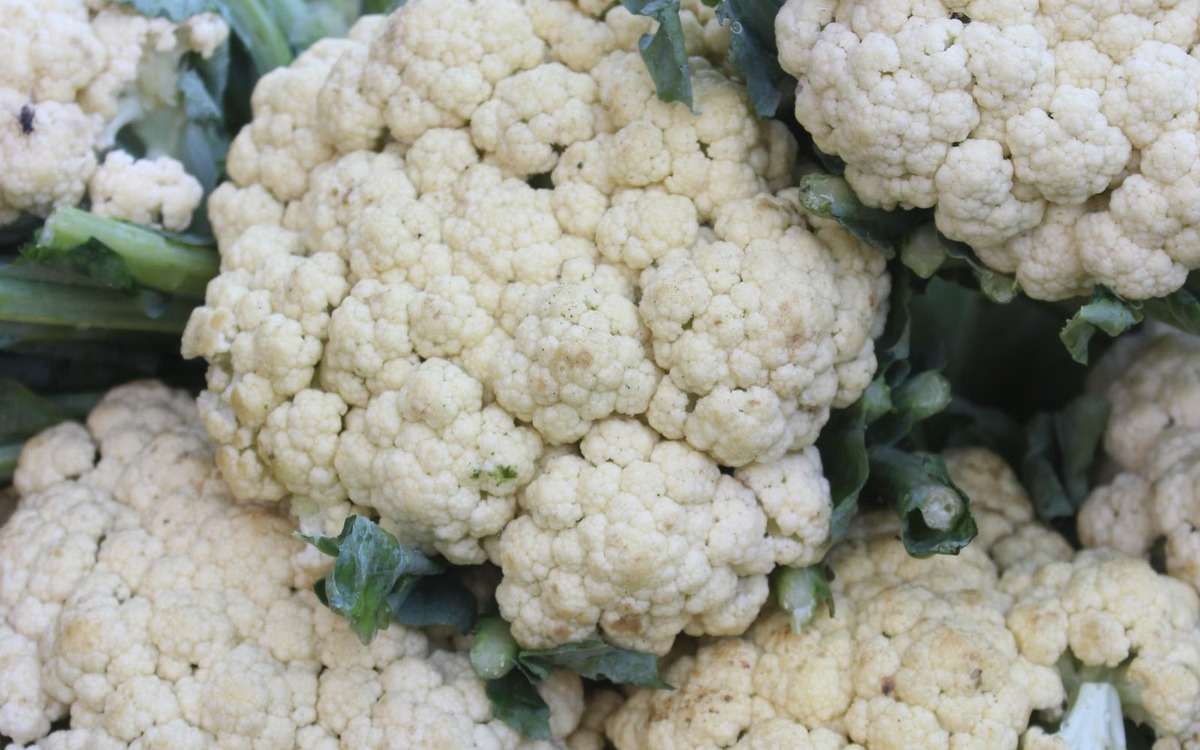
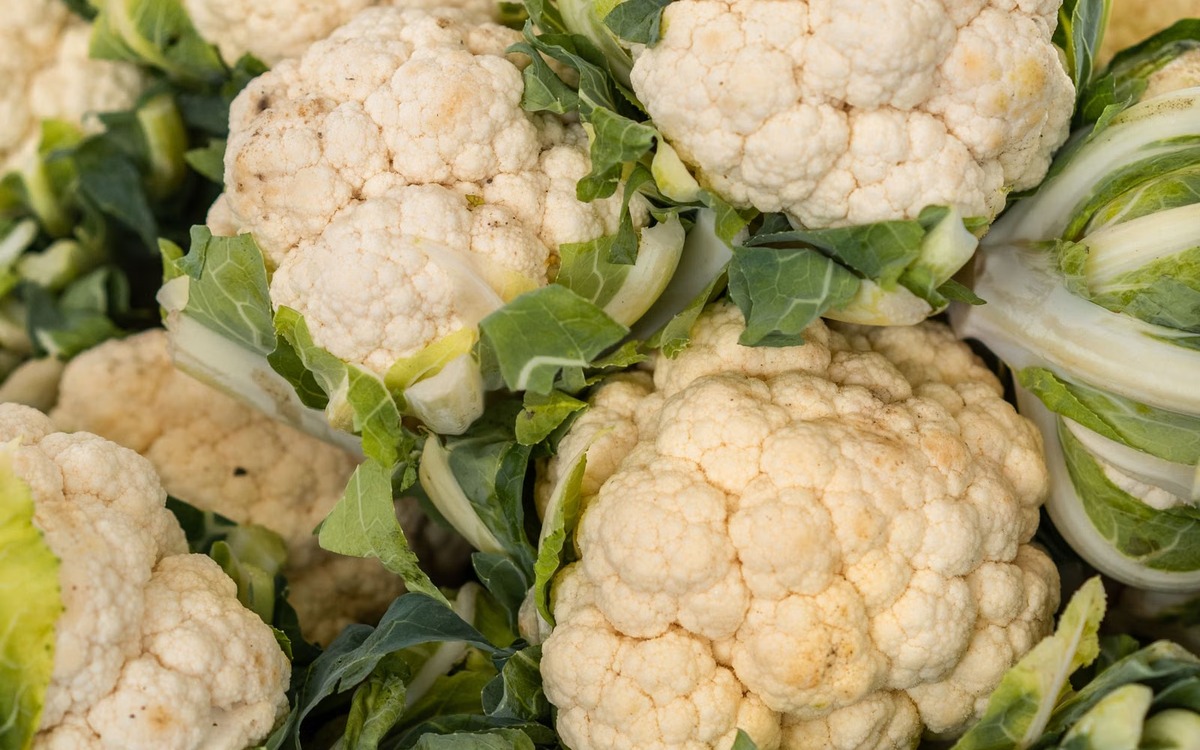
Look for a compact, firm head with white to creamy-white curds and fresh-looking green wrapper leaves. The curd should feel dense rather than loose or soft. Avoid heads with obvious decay, large damaged areas, wet mushy spots, or extensive discoloration.

Fresh white cauliflower heads displayed at a produce market

Should you wash cauliflower before storing it?

For normal refrigerator storage, keep cauliflower dry and wait to wash it until shortly before preparation. When you are ready to use it, trim away the outer leaves as needed, cut the head into manageable sections, and rinse thoroughly under cool running water.

The FDA advises washing produce under running water and does not recommend soap, detergent, or commercial produce wash. Dry the cauliflower if it will sit for a while before cooking.

Fresh cauliflower on a cutting board ready to be washed and prepared

How to store cauliflower in the refrigerator

Cauliflower is a cold-storage vegetable. Refrigerate it promptly and protect it from moisture loss without trapping standing water around the head. A produce bag or container that limits drying while still allowing some airflow is a practical home setup.

Cold conditions are important because they slow wilting, browning, yellowing, and decay. If you often buy both cruciferous vegetables, our broccoli storage and freezing guide covers the closely related vegetable and its own handling differences.

Close-up of a compact fresh white cauliflower head with green leaves

Keep cauliflower away from strong ethylene producers

Cauliflower is highly sensitive to ethylene. Exposure can discolor the curd and accelerate yellowing of the wrapper leaves, so it is better not to store cauliflower right beside strong ethylene-producing produce such as apples and pears.

How to freeze cauliflower

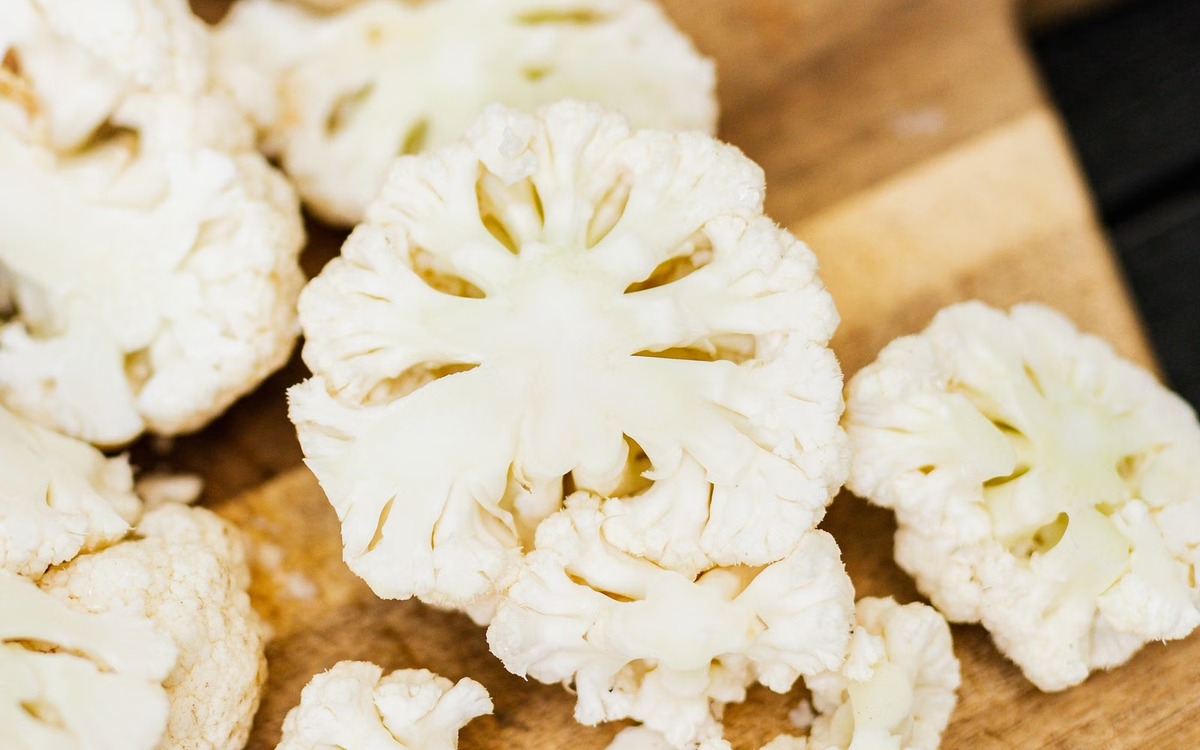
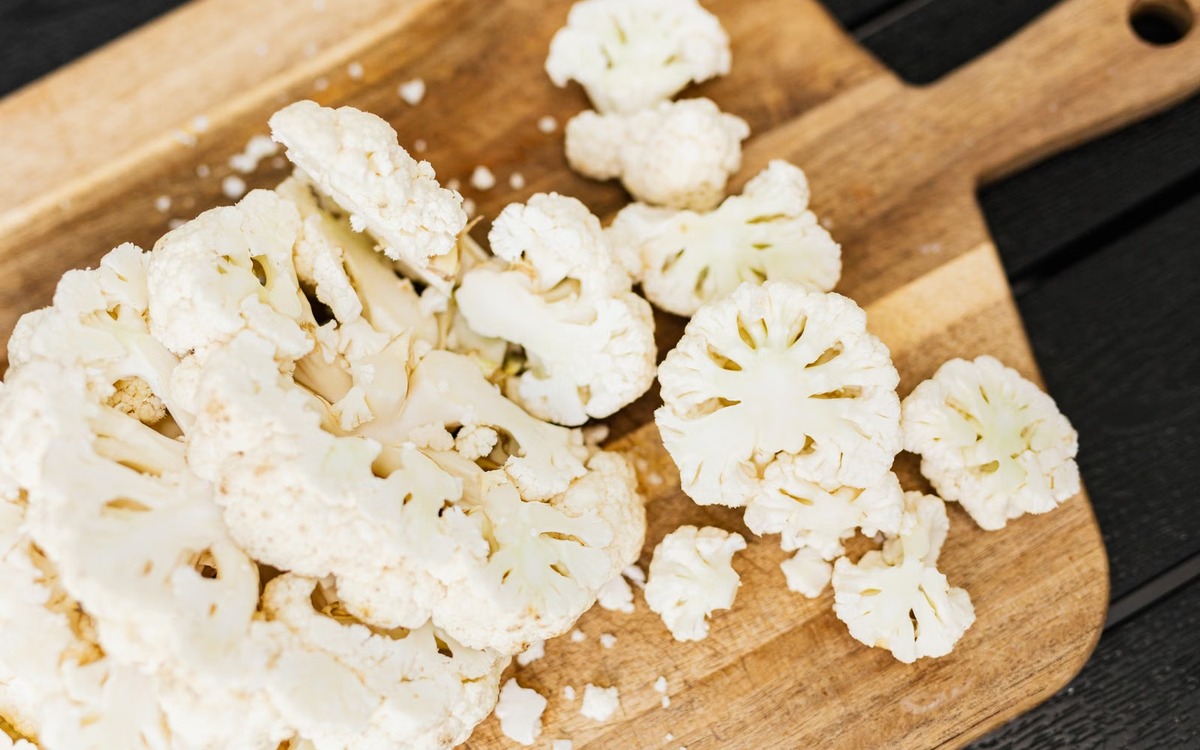
Freezing is useful when you have more cauliflower than you can eat fresh. The National Center for Home Food Preservation recommends separating the head into pieces about 1 inch across, treating them in salt water if needed to remove insects, then blanching the pieces in boiling water for 3 minutes.

Cool the cauliflower promptly after blanching, drain it thoroughly, package it in freezer-safe containers or bags, and freeze. The texture after thawing is best suited to cooked dishes. For another vegetable with its own blanching and freezer routine, see our carrots storage and freezing guide.

Fresh cauliflower florets cut on a board and ready for blanching and freezing

When should you throw cauliflower away?

Discard cauliflower that looks rotten, has visible mold, feels extensively slimy or mushy, develops widespread decay, or has a strong unpleasant odor. The FDA advises throwing away produce that looks rotten.

Small cosmetic blemishes do not automatically mean the whole head is unsafe, but use the overall condition of the cauliflower—appearance, texture, and smell—to decide whether it is still worth using.

Quick takeaways

  • Choose a compact, firm head with white to creamy-white curds and fresh green wrapper leaves.
  • Keep cauliflower refrigerated and mostly dry.
  • Wash it under cool running water just before preparation; do not use soap.
  • Store it away from strong ethylene-producing produce.
  • Blanch roughly 1-inch pieces for 3 minutes before freezing.
  • Discard cauliflower that is rotten, moldy, extensively slimy or mushy, or strongly off-smelling.

Sources

U.S. Food and Drug Administration: Selecting and Serving Produce Safely

UC Davis Postharvest Research and Extension Center: Cauliflower

National Center for Home Food Preservation: Freezing Cauliflower

Photographic Grocery Explained guide to choosing, washing, storing, freezing, and discarding cauliflower

Monday, September 21, 2026

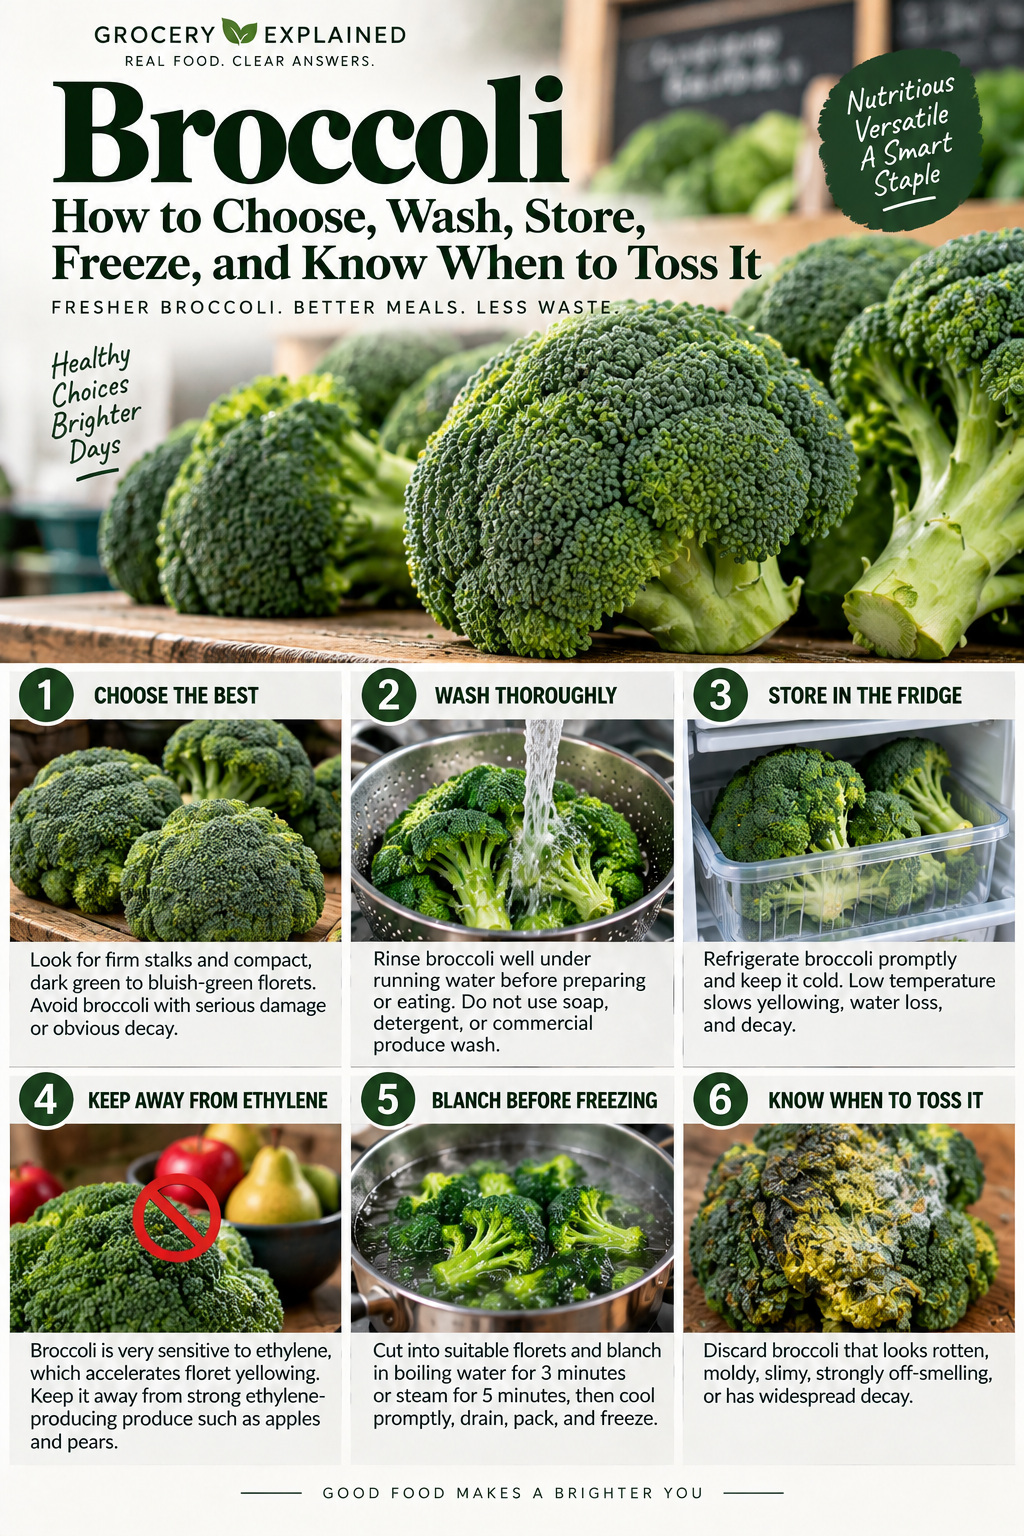
Broccoli: How to Choose, Wash, Store, Freeze, and Know When to Toss It

Broccoli is at its best when the florets are tight, the stalks are firm, and the whole head still feels fresh and crisp. Because broccoli loses quality quickly after harvest, a few simple habits—keeping it cold, waiting to wash it until use, and freezing extras correctly—can make a noticeable difference.

How to choose fresh broccoli

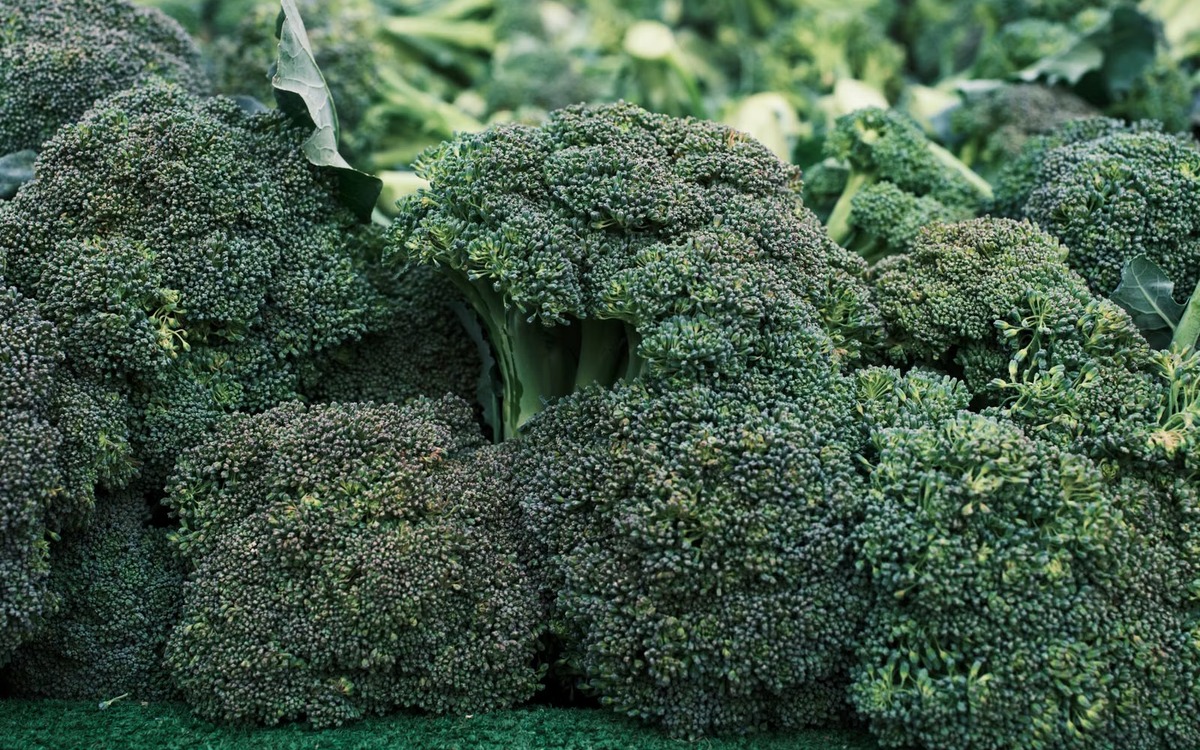
Look for compact heads with firm stalks and tightly closed florets. Fresh broccoli is usually dark green to bluish-green, though color varies somewhat by variety. Avoid heads with obvious decay, large damaged areas, very dry or browning cut ends, or widespread yellow florets.

Yellowing is often a sign that broccoli is getting older or has been exposed to warmer temperatures or ethylene. A little yellowing is mainly a quality issue, but extensive yellowing usually means the broccoli is past its best.

Fresh green broccoli heads displayed at a produce market

Should you wash broccoli before storing it?

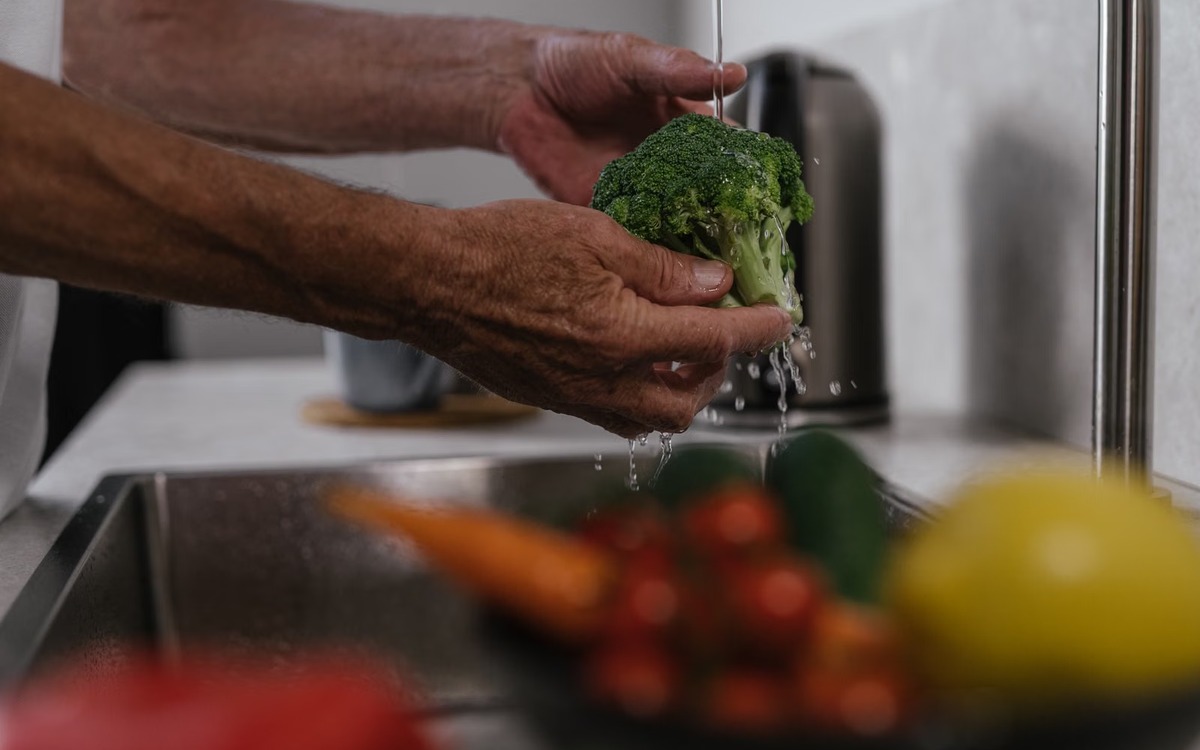
For the best refrigerator quality, wait to wash broccoli until shortly before you plan to use it. Colorado State University Extension recommends storing broccoli unwashed because extra surface moisture can make it deteriorate faster.

When you are ready to prepare it, rinse broccoli thoroughly under cool running water. The FDA does not recommend using soap, detergent, or commercial produce wash on fruits and vegetables. Dry the broccoli if you are not cooking it immediately.

Hands washing fresh broccoli under running water in a kitchen sink

How to store broccoli in the refrigerator

Refrigerate broccoli promptly. At home, a loose or perforated produce bag works well because it limits moisture loss without trapping too much condensation. Colorado State University Extension recommends using fresh broccoli within about 3 to 5 days for best quality.

Cold storage matters. UC Davis notes that low temperature slows yellowing, water loss, and decay. Keep your refrigerator at 40°F (4°C) or below, following general FDA guidance for perishable produce.

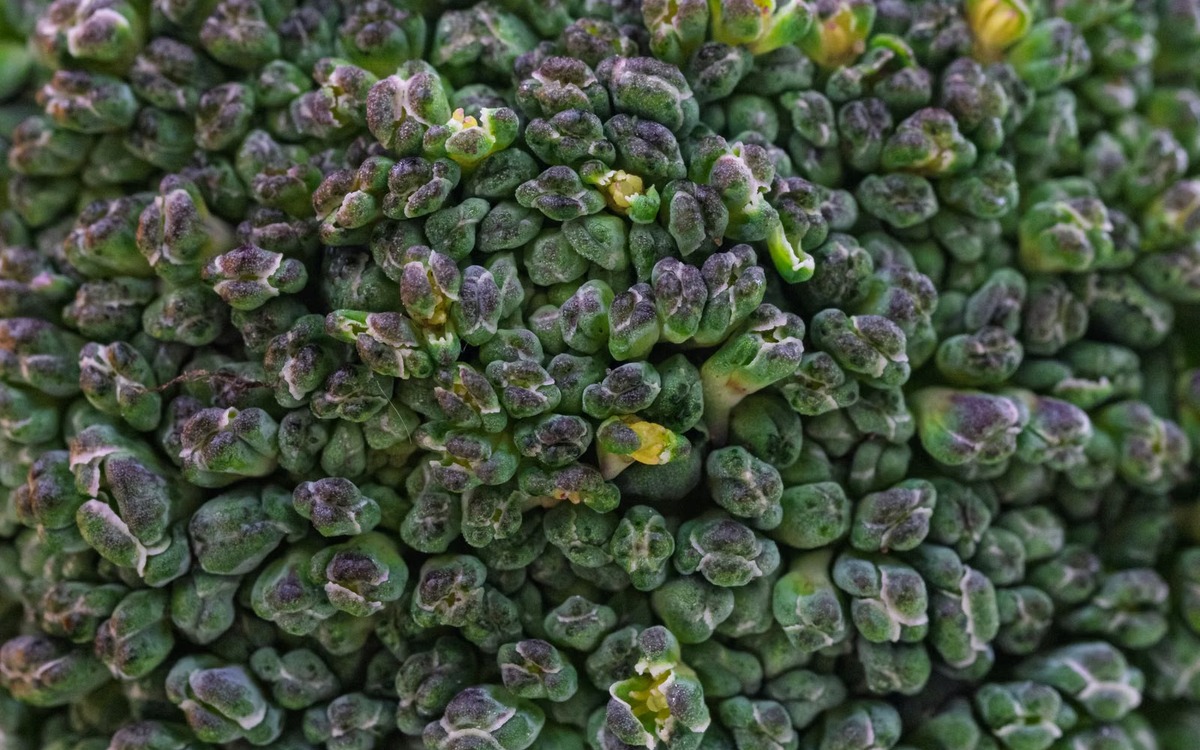
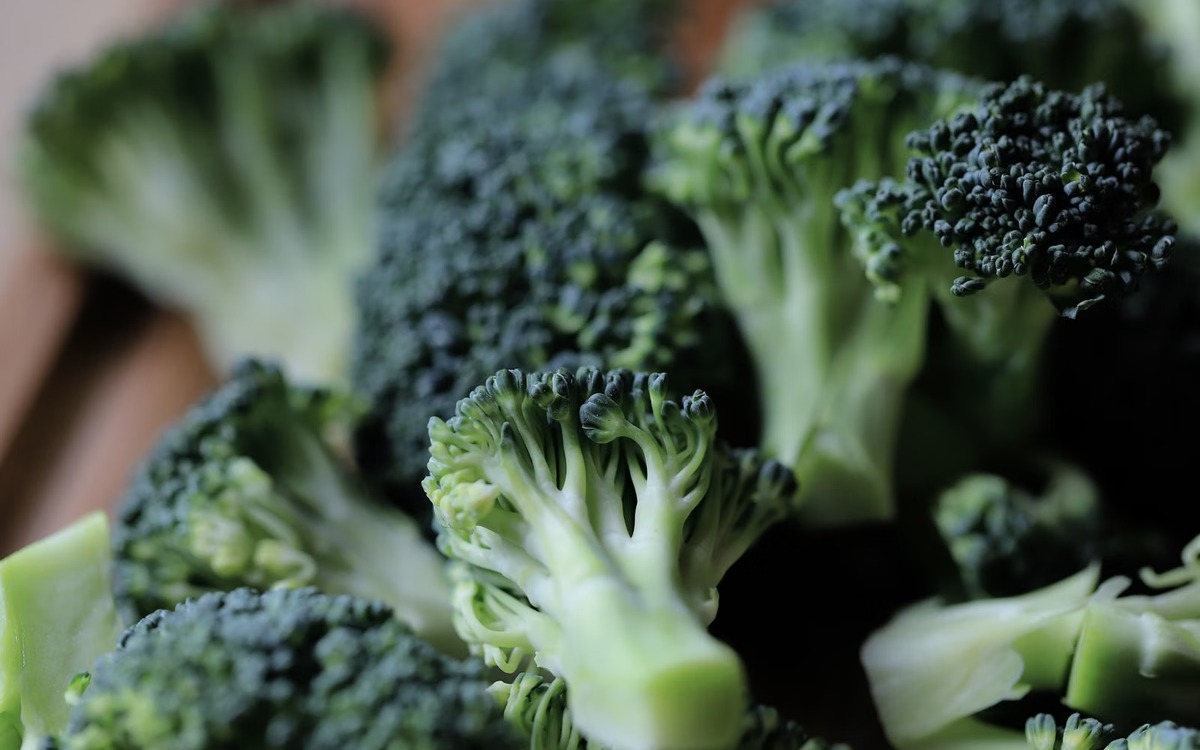
Close-up of compact fresh green broccoli florets

Keep broccoli away from strong ethylene producers

Broccoli is extremely sensitive to ethylene. UC Davis reports that ethylene exposure accelerates floret yellowing, so it is better not to store broccoli right beside strong ethylene-producing produce such as apples and pears. Cold storage is still the most important factor for slowing quality loss.

How to freeze broccoli

Freezing is a practical way to save extra broccoli for cooked dishes. Trim away leaves and woody portions, cut the head into convenient pieces, and keep florets no more than about 1½ inches across.

The National Center for Home Food Preservation recommends blanching broccoli for 3 minutes in boiling water or 5 minutes with steam. Cool it promptly after blanching, drain well, package it in freezer-safe containers or bags, and freeze. Blanching helps preserve color, texture, and quality during frozen storage.

Fresh broccoli florets cut on a wooden board and ready for blanching and freezing

When should you throw broccoli away?

Discard broccoli that looks rotten, has visible mold, feels extensively slimy or mushy, develops widespread decay, or has a strong unpleasant odor. The FDA recommends throwing away produce that looks rotten.

Do not confuse ordinary aging with an automatic safety problem. Slight yellowing or a somewhat softer stalk can mean declining quality rather than spoilage. Use the whole condition of the broccoli—appearance, texture, and smell—to decide whether it is still usable.

Quick takeaways

  • Choose firm stalks and compact, tightly closed green florets.
  • Store broccoli unwashed and refrigerated.
  • Use fresh broccoli within about 3 to 5 days for best household quality.
  • Rinse under cool running water before use; do not wash produce with soap.
  • Keep broccoli away from strong ethylene-producing fruit.
  • Blanch for 3 minutes in boiling water or steam for 5 minutes before freezing.
  • Discard broccoli that is rotten, moldy, extensively slimy, or strongly off-smelling.

Sources

U.S. Food and Drug Administration: Selecting and Serving Produce Safely

UC Davis Postharvest Research and Extension Center: Broccoli

Colorado State University Extension: How to Use Broccoli

National Center for Home Food Preservation: Freezing Broccoli

Photographic Grocery Explained guide to choosing, washing, storing, freezing, and discarding broccoli

Spinach: How to Choose, Wash, Store, Freeze, and Know When to Toss It

Spinach is one of the most perishable greens in the produce aisle. It stays usable longest when you start with crisp leaves, keep it cold and dry, wash it at the right time, and remove spoiled leaves before decay spreads.

How to choose fresh spinach

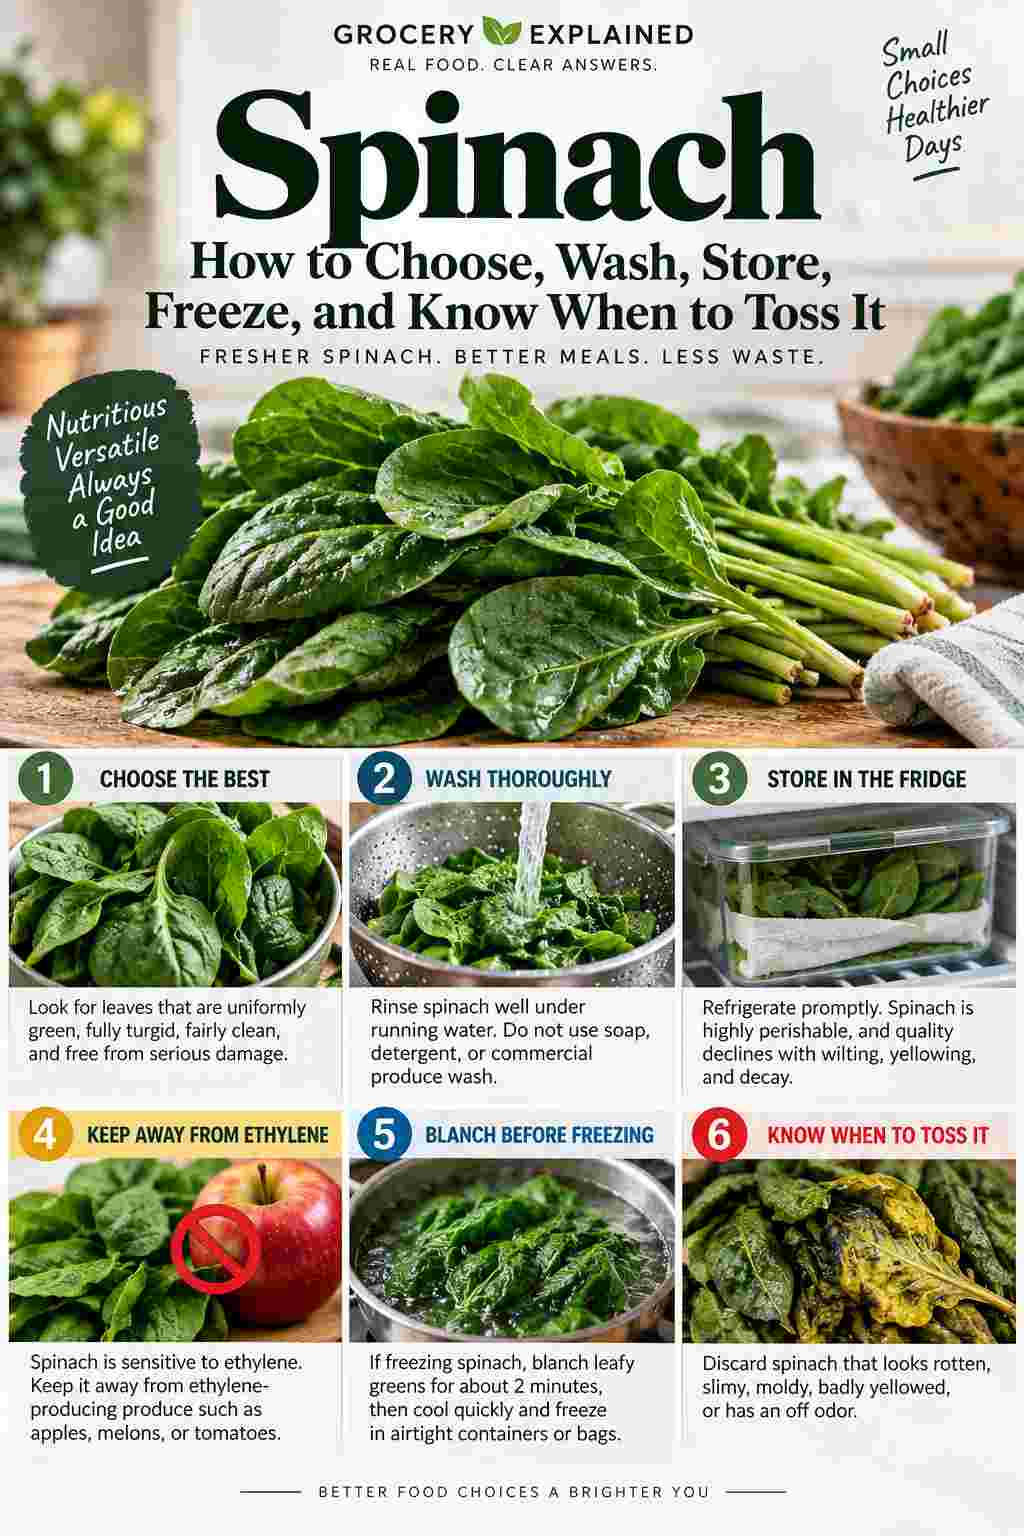
Choose leaves that are uniformly green, fully turgid, fairly clean, and free from serious damage. Avoid spinach that is already yellowing, limp, slimy, or badly bruised. For bagged spinach, choose packages that are cold and intact, and follow the printed use-by date.

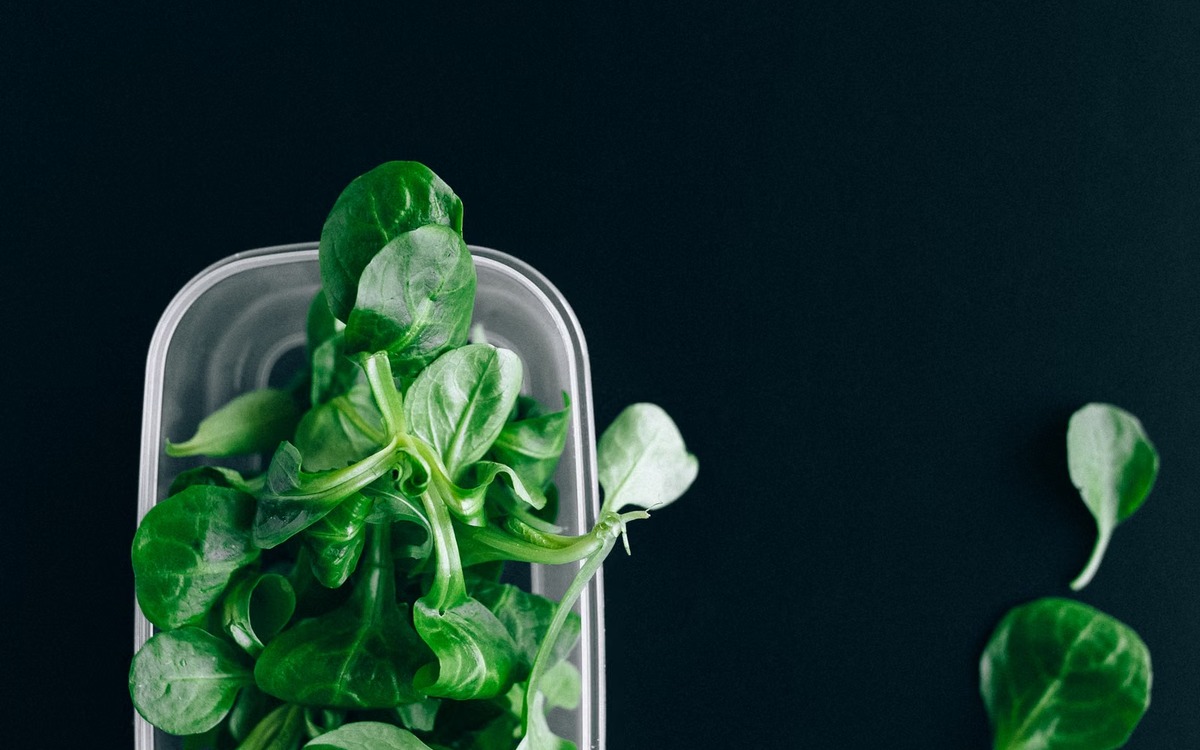
Fresh green spinach leaves displayed at a produce market

Should you wash spinach before storing it?

For best quality, wait to wash fresh spinach until you are ready to use it. Extra surface moisture can speed deterioration in storage. When it is time to eat or cook the spinach, rinse the leaves thoroughly under cool running water and dry them well with a clean towel or salad spinner.

The FDA does not recommend washing produce with soap, detergent, or commercial produce wash. Plain running water is the standard recommendation.

Fresh spinach leaves with water droplets in a kitchen colander

How to store spinach in the refrigerator

Keep fresh spinach refrigerated promptly. At home, store loose leaves in the refrigerator crisper in a breathable or loosely closed bag or container. If you use a container, a clean paper towel can help absorb excess moisture while keeping the leaves from sitting in water.

Utah State University Extension recommends using loose fresh spinach within about 3 to 5 days for best quality, while bagged spinach may last longer when kept refrigerated and used by the date on the package.

Fresh spinach stored dry and cold in a refrigerator container

Keep spinach away from ethylene-producing produce

Spinach is highly sensitive to ethylene. UC Davis notes that exposure can accelerate yellowing, so it is better not to store spinach right beside strong ethylene producers such as apples, melons, and tomatoes.

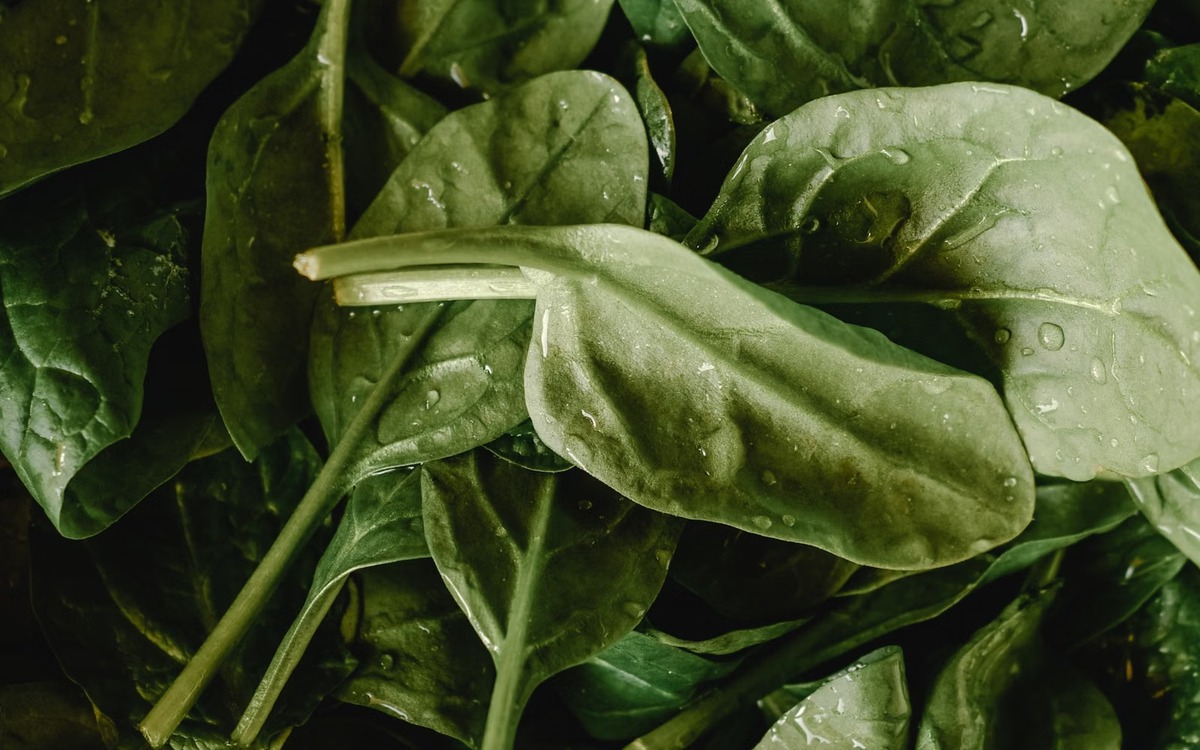
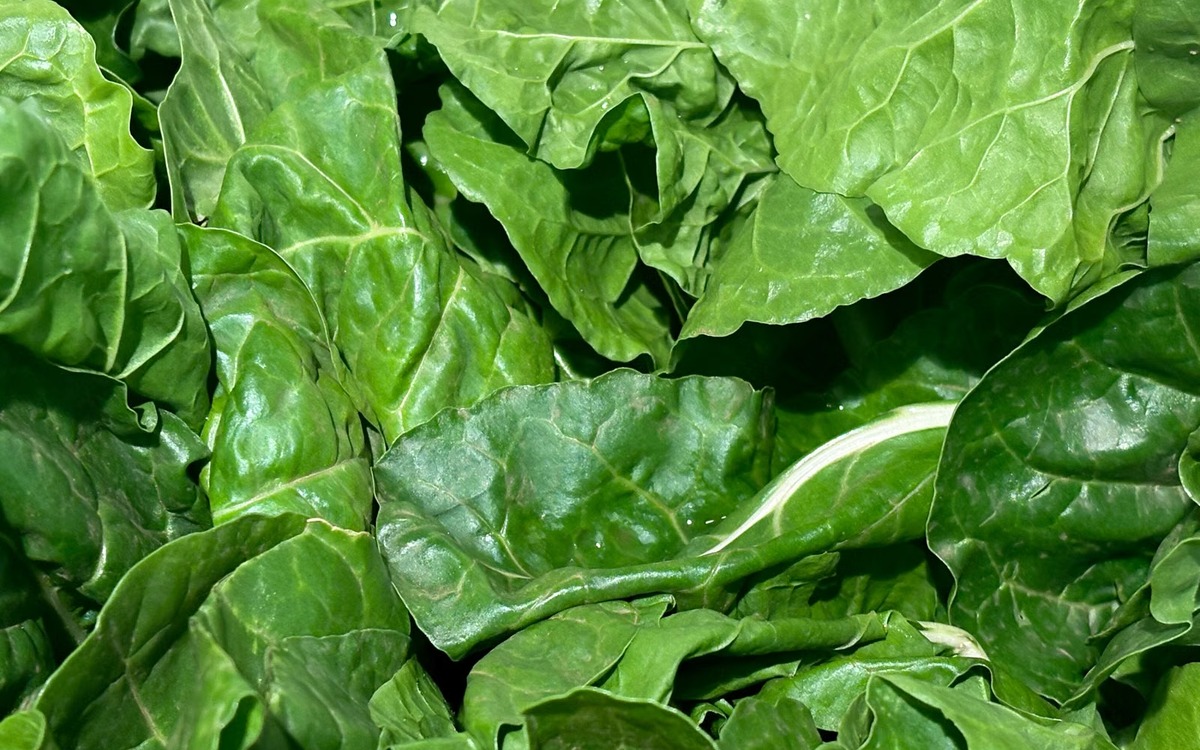
Close-up of crisp fresh green spinach leaves

How to freeze spinach

Spinach freezes well for cooked dishes such as soups, casseroles, sauces, and quiche. For the best frozen quality, wash the leaves, blanch them briefly, cool them quickly, drain well, and pack them for freezing. The National Center for Home Food Preservation lists a two-minute blanch for most leafy greens, while Colorado State University recommends roughly two to three minutes for spinach.

Frozen spinach will not have the crisp texture of fresh leaves after thawing, so it is better suited to cooked recipes than salads.

When should you throw spinach away?

Discard spinach that is rotten, slimy, moldy, strongly off-smelling, or heavily yellowed and watery. The FDA advises throwing away produce that looks rotten. A few bruised or wilted leaves can be removed if the remaining spinach is still sound, but widespread decay is a reason to toss the package.

Quick takeaways

  • Choose green, crisp, turgid leaves without serious damage.
  • Wait to wash spinach until you are ready to use it.
  • Rinse under cool running water and do not use soap.
  • Store spinach cold and dry in the refrigerator.
  • Keep it away from ethylene-producing produce.
  • Blanch spinach before freezing it for cooked dishes.
  • Discard spinach that is slimy, moldy, rotten, or foul-smelling.

Sources

Guidance used for this article comes from the U.S. Food and Drug Administration, UC Davis Postharvest Research and Extension Center, Utah State University Extension, Colorado State University Extension, and the National Center for Home Food Preservation.

Photographic Grocery Explained guide to choosing, washing, storing, freezing, and discarding spinach

Friday, September 18, 2026

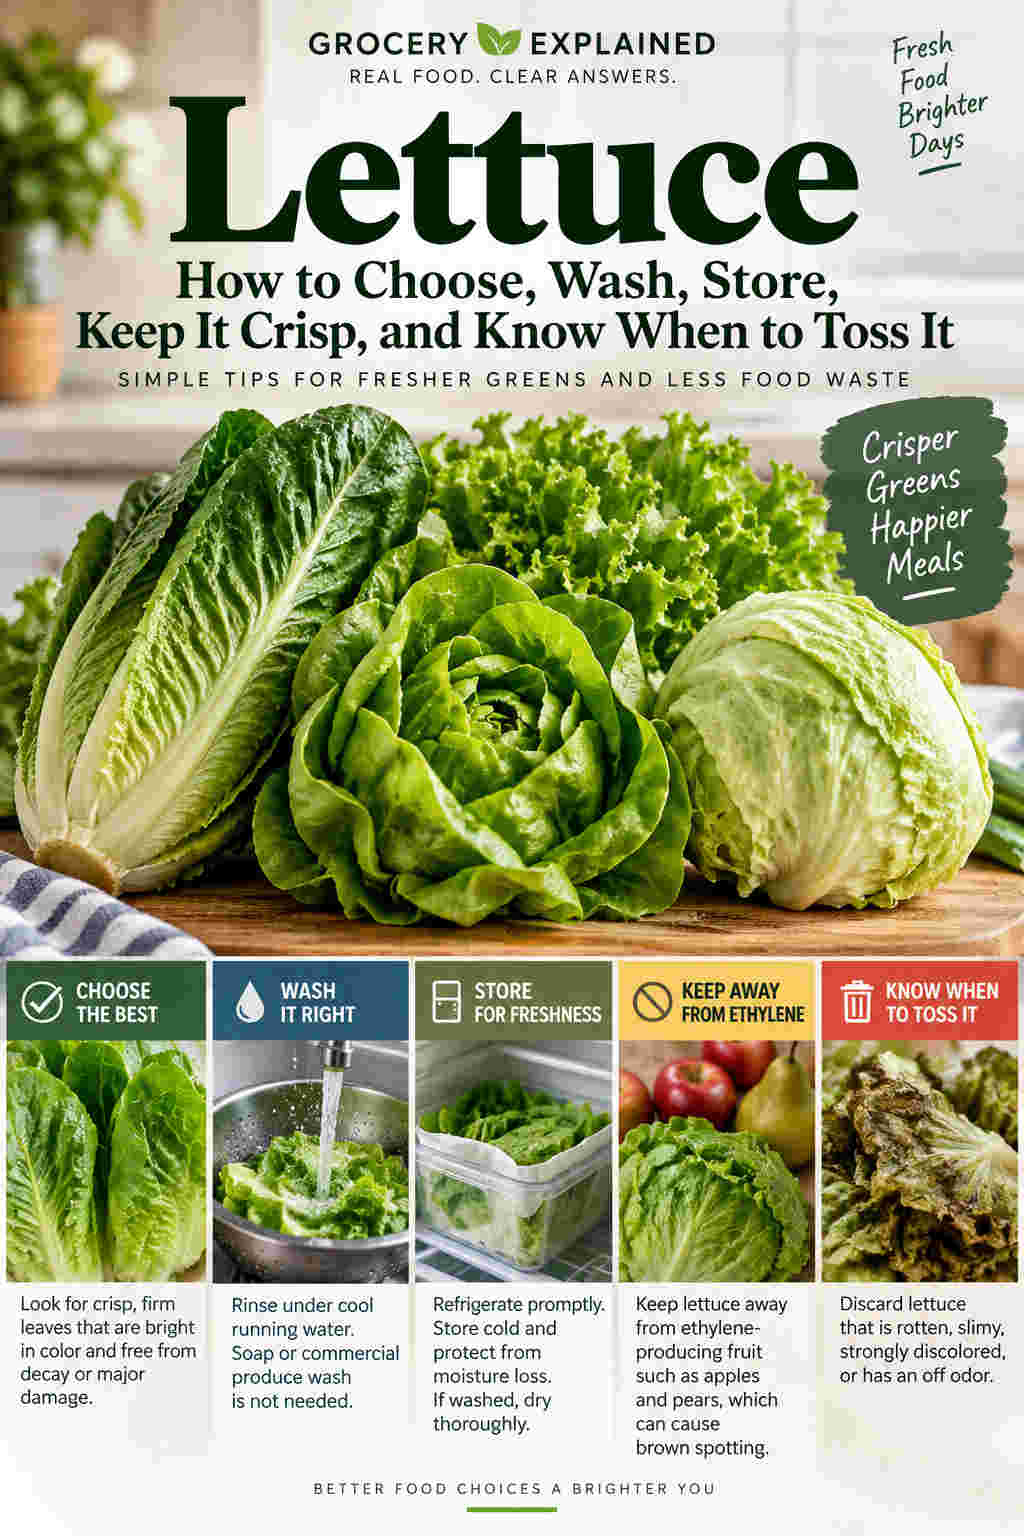
Lettuce: How to Choose, Wash, Store, Keep It Crisp, and Know When to Toss It

Fresh lettuce can go from crisp to limp surprisingly fast, but most of the difference comes down to how fresh it was when you bought it, how cold you keep it, and how much moisture surrounds the leaves. This guide covers the practical basics for choosing, washing, storing, and using lettuce while it is still at its best.

How to choose fresh lettuce

Look for leaves that are crisp, turgid, and bright for the variety. Avoid heads or loose leaves with obvious decay, heavy bruising, large slimy areas, or extensive mechanical damage. For romaine and loose-leaf types, UC Davis notes that good-quality leaves should be crisp and free from decay and damage.

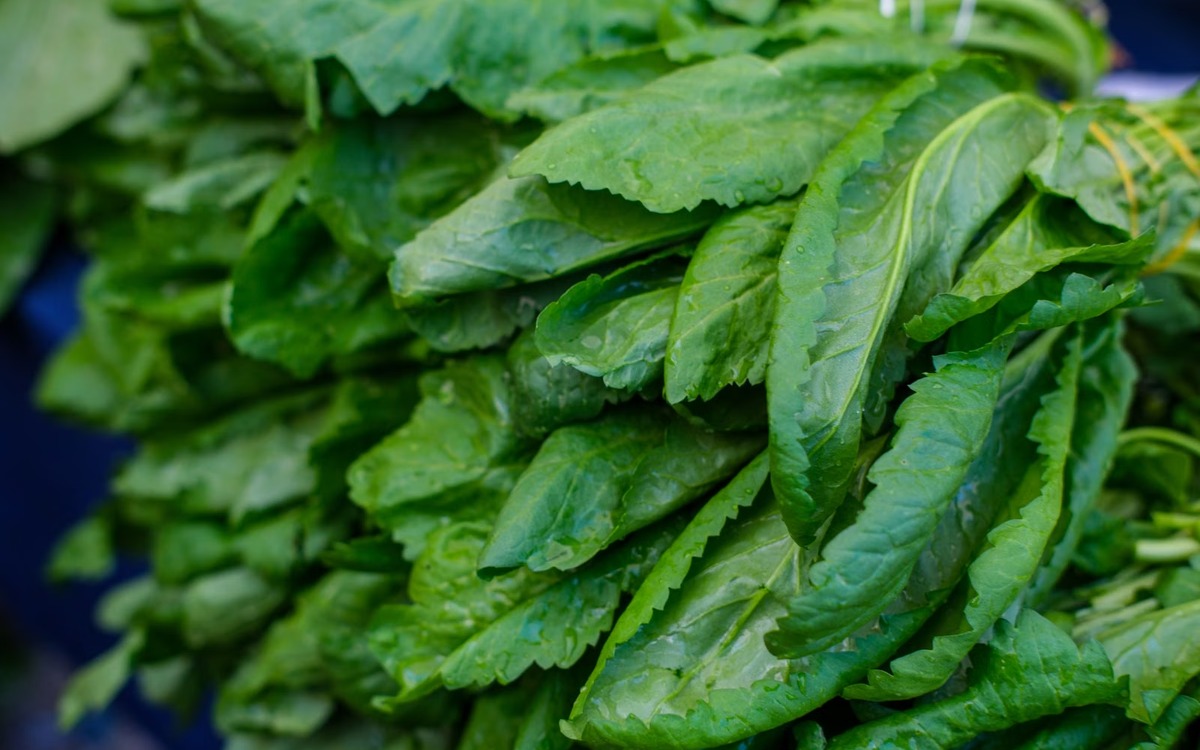
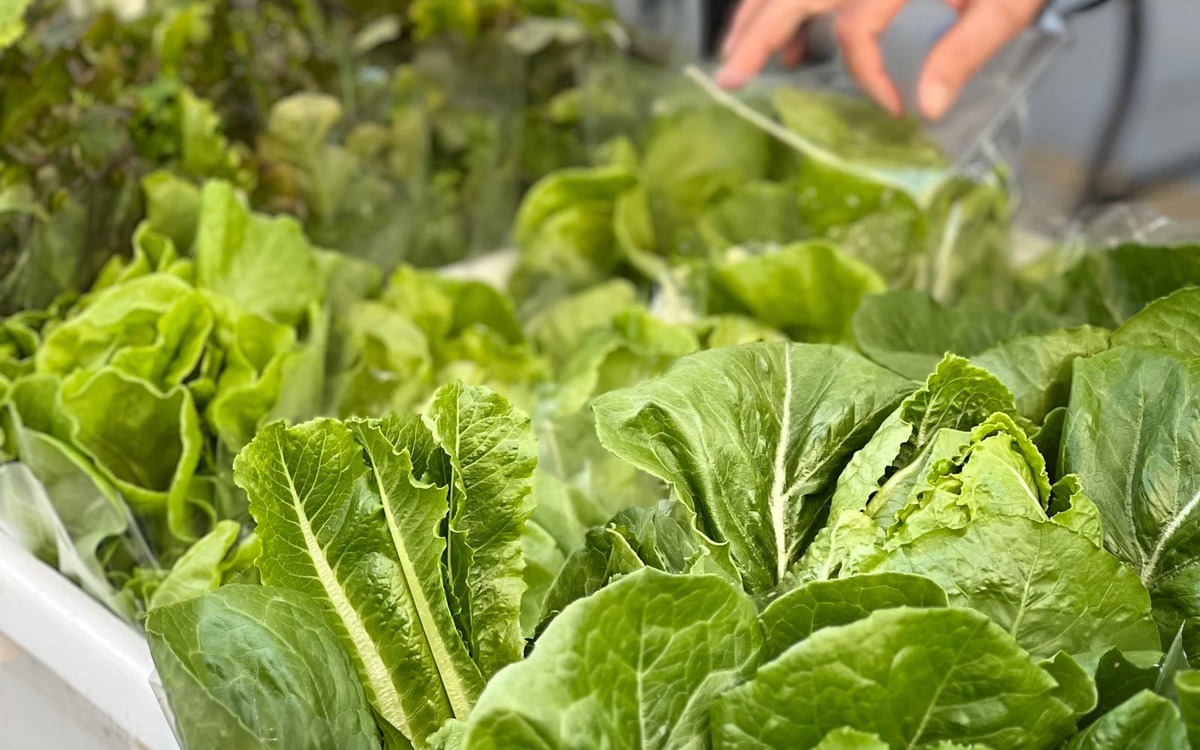
Fresh romaine and leaf lettuces displayed at a farmers market

Should you wash lettuce before storing it?

For whole heads and unwashed loose lettuce, the simplest routine is usually to keep it dry until you are ready to use it. Colorado State University Extension recommends not cleaning fresh greens before storage. If you do wash lettuce ahead of time, dry it very thoroughly because excess surface moisture can speed deterioration.

When you are ready to eat lettuce, separate the leaves as needed and rinse them thoroughly under cool running water. The FDA advises washing produce under running water and says not to use soap, detergent, or commercial produce wash. Dry the leaves with a clean towel or salad spinner.

Hands rinsing fresh lettuce under cool running water in a kitchen

How to store lettuce in the refrigerator

Lettuce is a refrigerated food. The FDA recommends keeping perishable produce such as lettuce in a clean refrigerator at 40°F (4°C) or below. At home, store lettuce in the produce drawer or in a container or bag that helps limit moisture loss without trapping excess water against the leaves.

A practical setup is a container lined with clean paper towels, as suggested by Colorado State University Extension. The goal is to protect the leaves from drying out while also preventing standing moisture. For typical household storage, plan to use lettuce within about a week for best quality; actual life varies with variety, freshness at purchase, and refrigerator conditions.

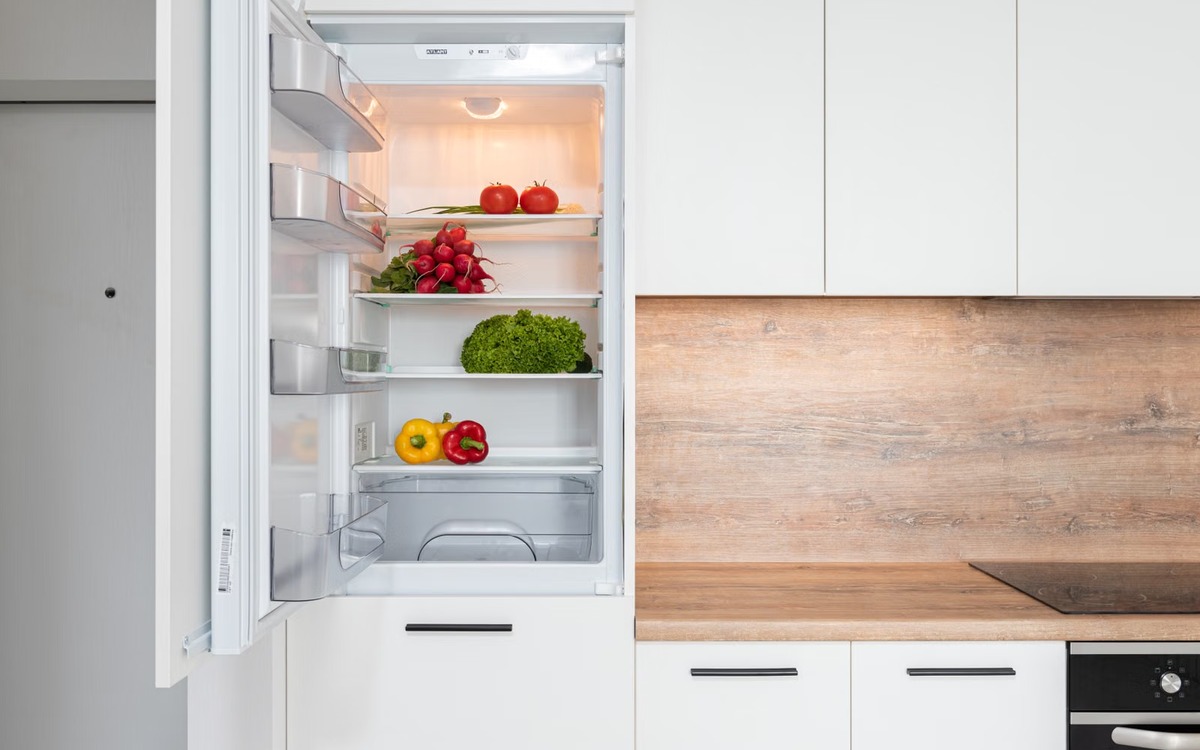
Fresh lettuce and vegetables stored inside a clean refrigerator

Keep lettuce away from ethylene-producing fruit

Lettuce is sensitive to ethylene. UC Davis reports that exposure can cause russet spotting, especially on the midribs. Apples and pears are examples of ethylene-producing fruits, so keeping lettuce away from them in the refrigerator can help preserve its appearance.

How to keep lettuce crisp

Lettuce loses crispness as it loses water. Cold temperatures and high humidity slow that process, while a loose barrier such as a bag or covered container reduces moisture loss. At home, a crisper drawer or a roomy container is usually more useful than leaving an uncovered head on a refrigerator shelf.

If leaves are already badly wilted, slimy, rotten, or strongly off-smelling, storage tricks will not restore them. Remove damaged leaves promptly and discard lettuce that clearly shows decay.

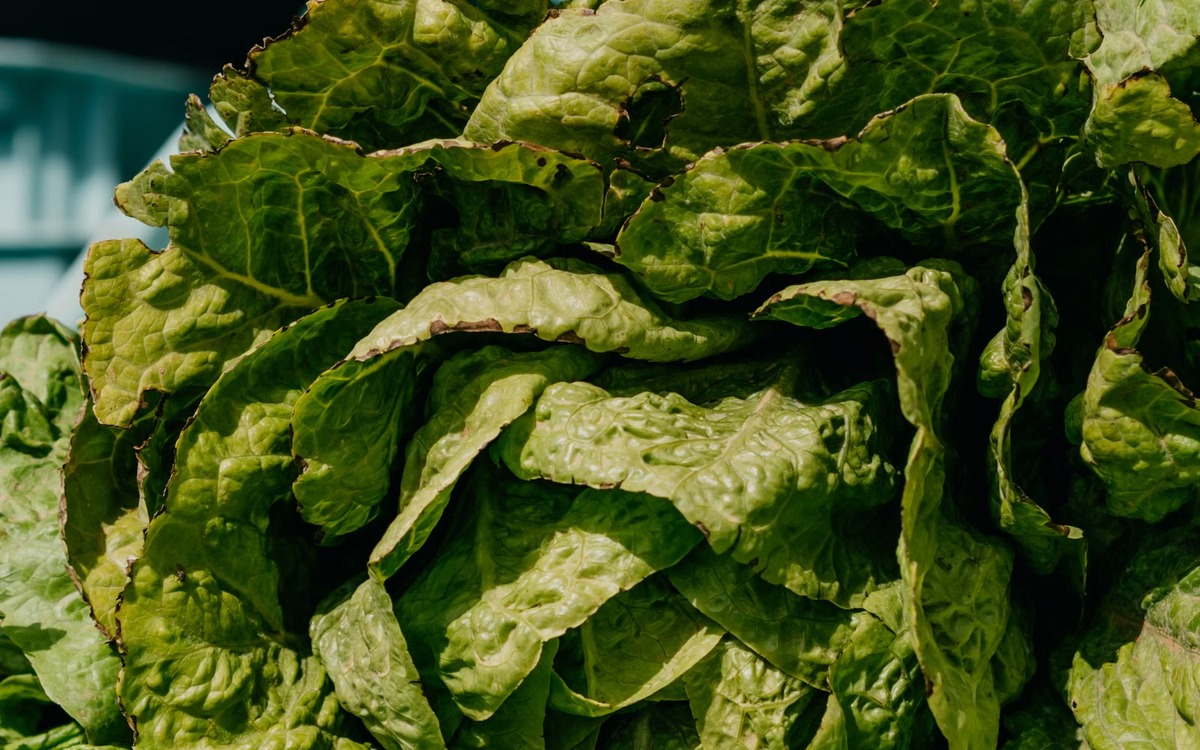
Close-up of fresh crisp green lettuce leaves

Can you freeze lettuce?

Freezing is not a good way to preserve lettuce for salads. The high water content means the leaves lose their crisp texture after freezing and thawing. Colorado State University Extension specifically notes that tender lettuce greens do not freeze well. If you want crisp lettuce, refrigeration is the better storage method.

When should you throw lettuce away?

Discard lettuce that looks rotten or has extensive slime, mold, severe darkening, or an unpleasant odor. The FDA advises throwing away produce that looks rotten. A few dry or bruised outer leaves can simply be removed if the rest of the head remains sound, but widespread decay is a reason to toss it.

Quick takeaways

  • Choose crisp, turgid leaves without obvious decay or major damage.
  • Keep lettuce refrigerated at 40°F (4°C) or below.
  • Wash under cool running water just before use, and do not use soap.
  • Dry washed lettuce thoroughly and protect it from moisture loss.
  • Store it away from ethylene-producing fruit such as apples and pears.
  • Use refrigerated lettuce within about a week for best household quality.
  • Do not expect frozen lettuce to stay crisp for salads.

Sources

Food-safety guidance: U.S. Food and Drug Administration. Storage and quality guidance: UC Davis Postharvest Research and Extension Center, Colorado State University Extension, and Utah State University Extension.

Photographic Grocery Explained guide to choosing, washing, storing, keeping lettuce crisp, and knowing when to discard it

Zucchini: How to Choose, Wash, Store, Freeze, and Know When to Toss It

A practical guide to buying tender zucchini, keeping it fresh in the refrigerator, washing it at the right time, freezing extras, and spotting spoilage.

Zucchini is one of those vegetables that can look perfectly sturdy at the store and then lose quality surprisingly fast at home. Its thin skin and high water content make it convenient to cook, but they also make it prone to bruising, shriveling, chilling injury, and decay if it sits too long.

The basic strategy is simple: buy firm, glossy zucchini; keep it dry and cold for short-term storage; wash it just before preparation; and freeze extra zucchini with the right blanching step instead of waiting for it to soften in the refrigerator.

How to choose good zucchini

Look for zucchini that feels firm for its size and has glossy, tender-looking skin. The stem end should be intact, and the surface should be free of cuts, deep bruises, pitting, yellowing, or visible decay. UC Davis lists overall firmness, glossy skin, a tender rind, and freedom from physical damage and decay among the main quality indicators for summer squash.

Smaller to medium zucchini are often the easiest choice for everyday cooking because very mature squash can develop tougher skin, larger seeds, and more fibrous flesh. A huge zucchini is not automatically unsafe, but it may be less tender than a younger one.

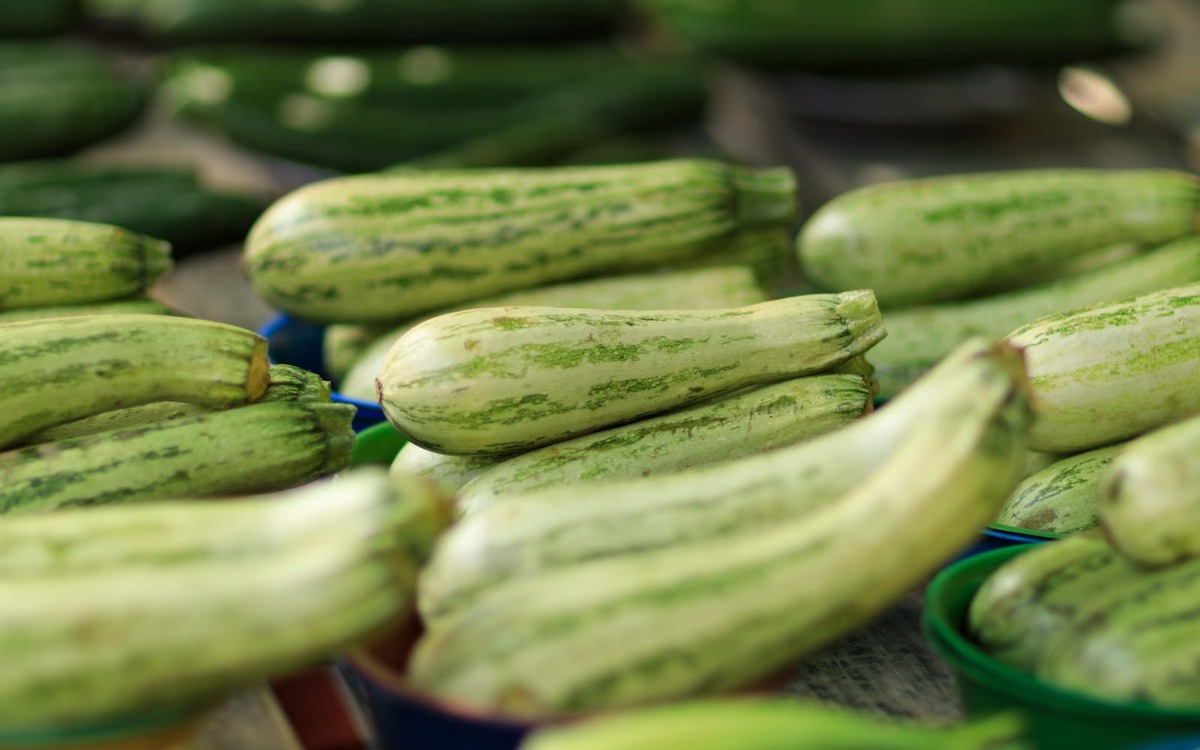
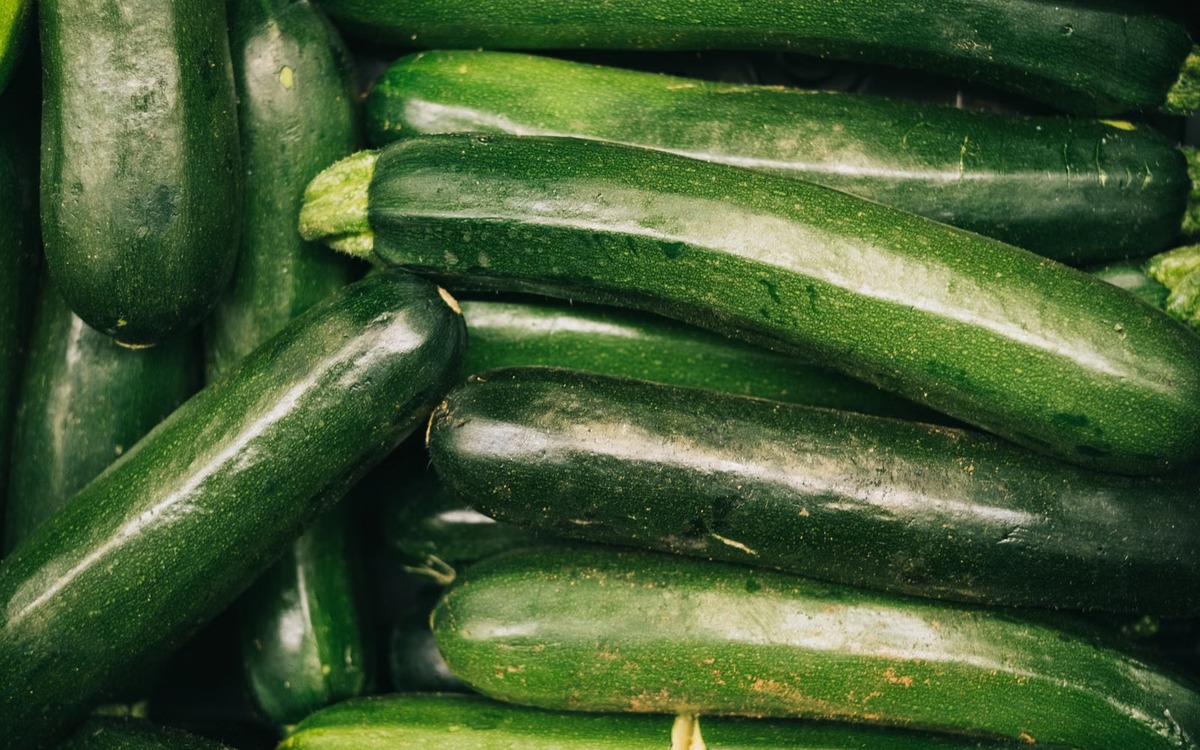
Fresh green zucchini displayed at a produce market
Choose firm, glossy zucchini without deep bruises, yellowing, or visible decay.

Wash zucchini just before you use it

For storage, keeping zucchini dry is useful because extra surface moisture can encourage spoilage. Utah State University recommends storing zucchini unwashed and washing it just before preparation.

When you are ready to cook or cut it, rinse the zucchini thoroughly under cool running water and gently rub the surface. The FDA recommends washing produce under running water and does not recommend soap, detergent, or commercial produce wash. Dry the zucchini with a clean towel or paper towel after rinsing.

How to store zucchini in the refrigerator

For normal home storage, place dry, unwashed zucchini in a perforated produce bag or another container that limits moisture loss without trapping heavy condensation, then keep it in the refrigerator crisper drawer. Utah State University lists about one week as an expected upper shelf-life range, while noting that best quality is usually earlier.

There is an important temperature nuance: commercial postharvest guidance puts the ideal range for summer squash around 41–50°F (5–10°C). Standard home refrigerators are often colder than that. UC Davis notes that extended storage below about 41°F can cause chilling injury, including surface pitting, discoloration, and faster decay after the squash warms up again. In practice, store zucchini in the crisper rather than against the very cold back wall and plan to use it promptly rather than treating it as a long-storage vegetable.

Fresh zucchini stored in a refrigerator crisper drawer
Keep dry, unwashed zucchini in the crisper and use it while it is still firm and glossy.

Keep whole zucchini whole until you need it

Whole zucchini generally holds quality better than cut zucchini. Once you slice or grate it, more moist surface area is exposed and texture declines faster. If you only need half, refrigerate the cut portion promptly in a clean covered container and use it soon.

Before slicing, inspect the squash. Small superficial marks can often be trimmed away, but widespread softness, leaking liquid, mold, or a rotten smell are signs that the zucchini should not be used.

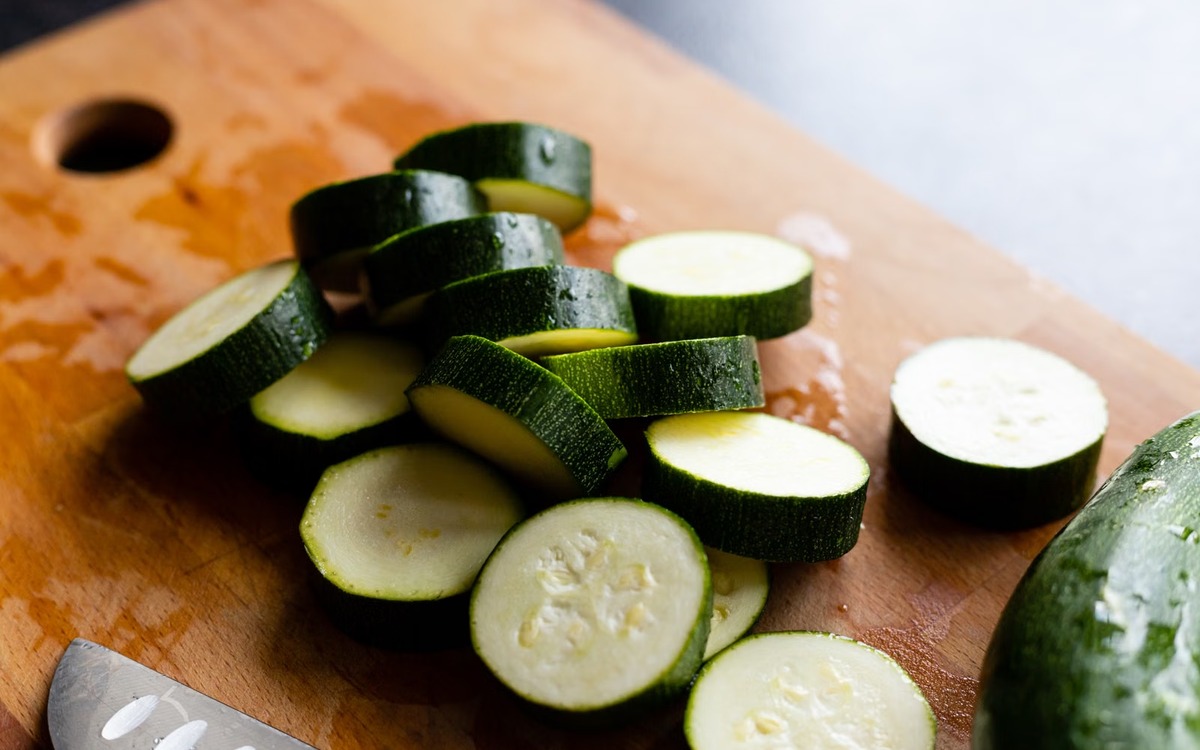
Fresh zucchini sliced on a wooden cutting board
Cut only what you need; exposed zucchini loses texture faster than a whole squash.

How to freeze zucchini

Freezing is a good option when you have more zucchini than you can use while it is fresh, but the preparation matters. The National Center for Home Food Preservation recommends choosing young squash with tender skin, washing it, cutting it into 1/2-inch slices, and water-blanching the slices for 3 minutes before cooling, draining, packaging, and freezing.

Blanching slows enzyme activity that would otherwise damage color, flavor, and texture during frozen storage. After blanching, cool the zucchini promptly, drain it well, package it in freezer-safe containers or bags, label it, and freeze it. Thawed zucchini will be softer than fresh zucchini, which makes it better suited to soups, casseroles, sauces, sautés, and baked dishes than to raw salads.

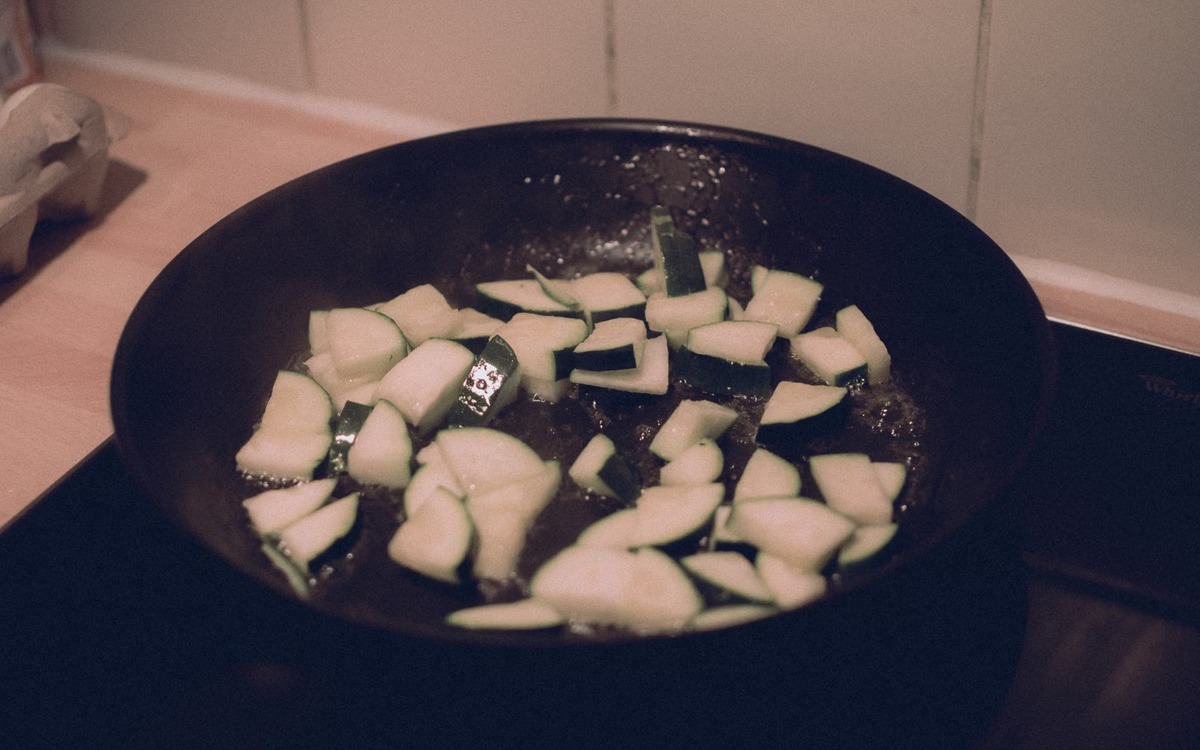
Sliced zucchini cooking in a skillet
Frozen zucchini softens after thawing, so cooked dishes are usually the best destination.

How to tell when zucchini has gone bad

Discard zucchini that is visibly rotten, moldy, slimy, leaking, or extensively soft. The FDA advises throwing away produce that looks rotten. Deep pitting, large water-soaked areas, strong discoloration, or an unpleasant fermented or rotten odor are also good reasons not to use it.

A slightly dull surface or a small dry scar does not automatically mean the whole squash is spoiled. Judge the zucchini as a whole: firmness, smell, visible decay, and the condition of the flesh after cutting are more useful than one cosmetic mark.

Simple zucchini storage routine

  • Buy firm, glossy zucchini with minimal damage.
  • Store it dry and unwashed in the refrigerator crisper.
  • Wash under running water just before preparation; do not use soap.
  • Use fresh zucchini promptly rather than storing it for long periods.
  • For freezing, slice and blanch for 3 minutes, then cool, drain, pack, and freeze.
  • Discard zucchini that is rotten, moldy, slimy, leaking, or extensively soft.

Handled this way, zucchini stays useful for quick weeknight meals without turning into a forgotten soft squash at the back of the refrigerator.

Photographic Grocery Explained guide to choosing, washing, storing, freezing, and checking zucchini for spoilage
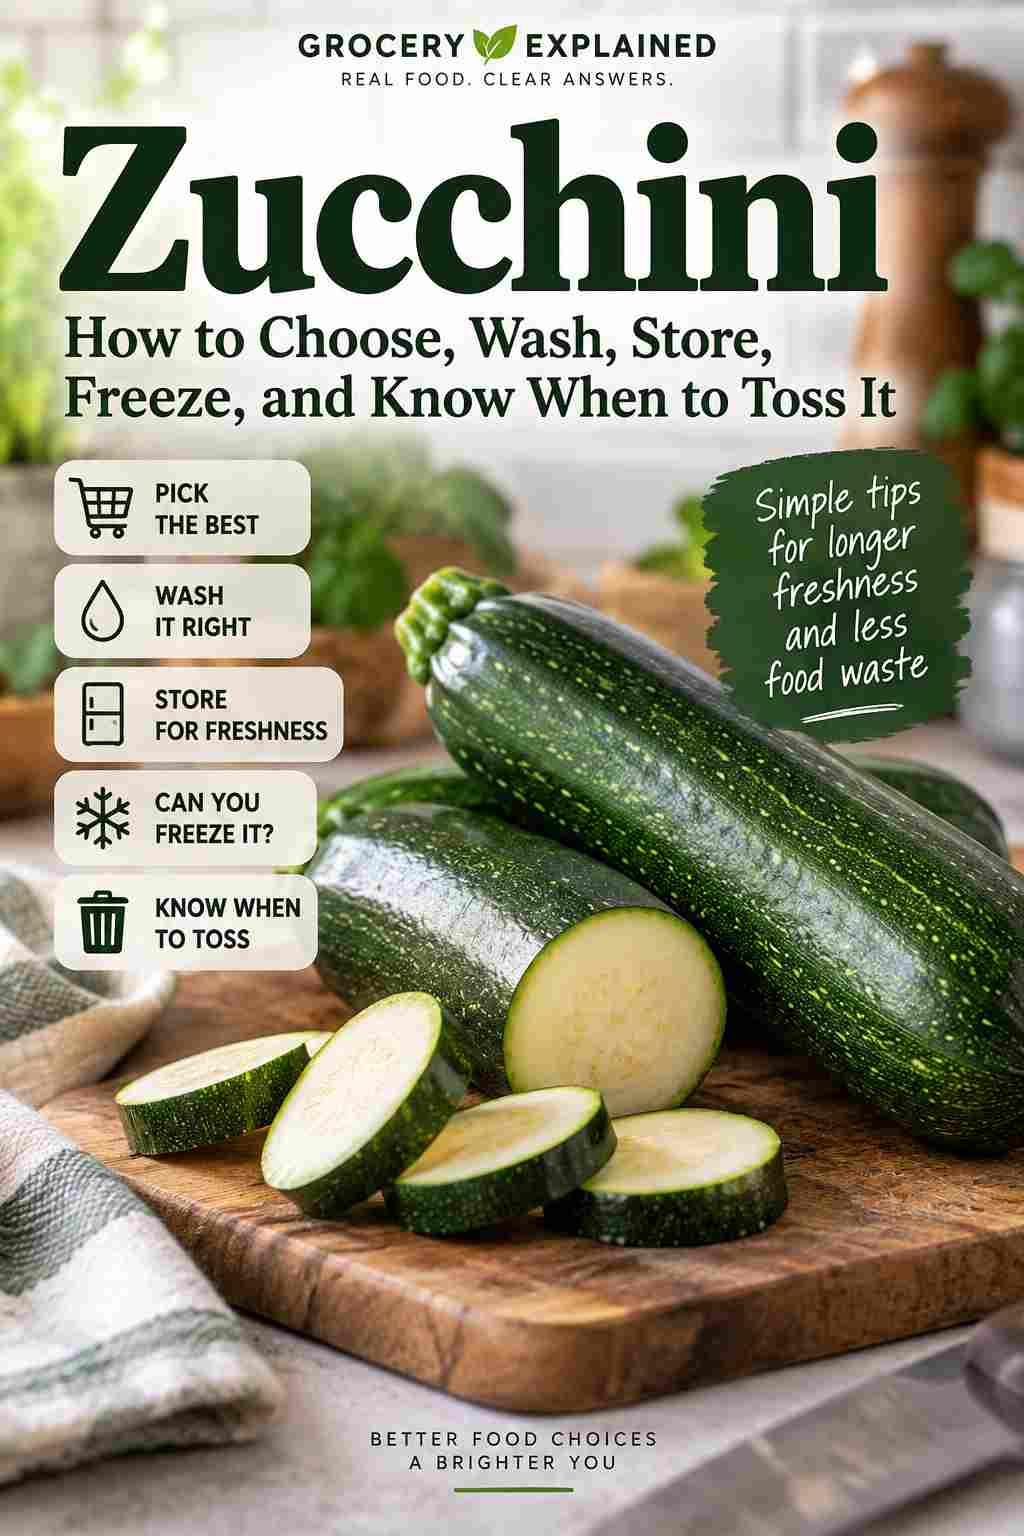
A visual summary of how to choose, wash, store, freeze, and safely discard zucchini.

Wednesday, September 16, 2026

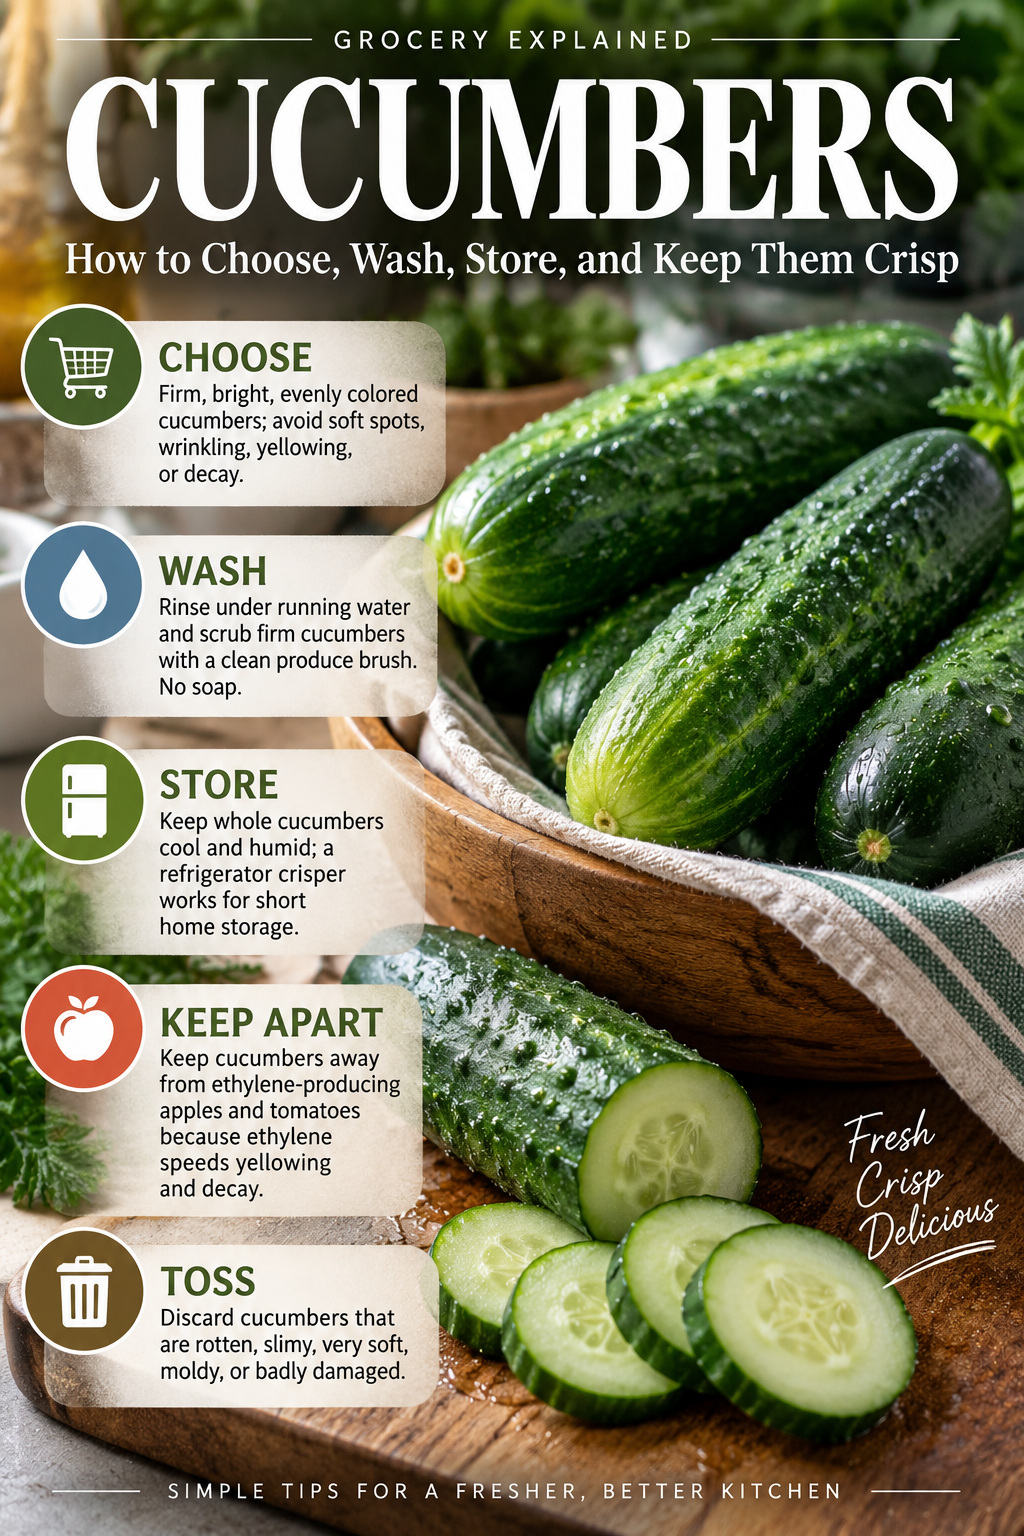
Cucumbers: How to Choose, Wash, Store, and Keep Them Crisp

A practical guide to buying better cucumbers, washing them safely, storing them for better texture, and spotting the point when they should be tossed.

Cucumbers seem simple, but they are unusually sensitive to storage conditions. They lose water quickly, can develop chilling injury when kept too cold for too long, and yellow faster around ethylene-producing produce. The goal at home is not perfect commercial storage; it is to keep them cool, humid, undamaged, and away from the foods that speed deterioration.

How to choose cucumbers that will last

Look for cucumbers that feel firm and heavy for their size, with bright, even color and no soft spots, major bruising, shriveling, or yellowing. Colorado State University Extension recommends firm cucumbers without soft spots or discoloration, and UC Davis lists firmness, decay, yellowing, and physical damage among the key quality factors.

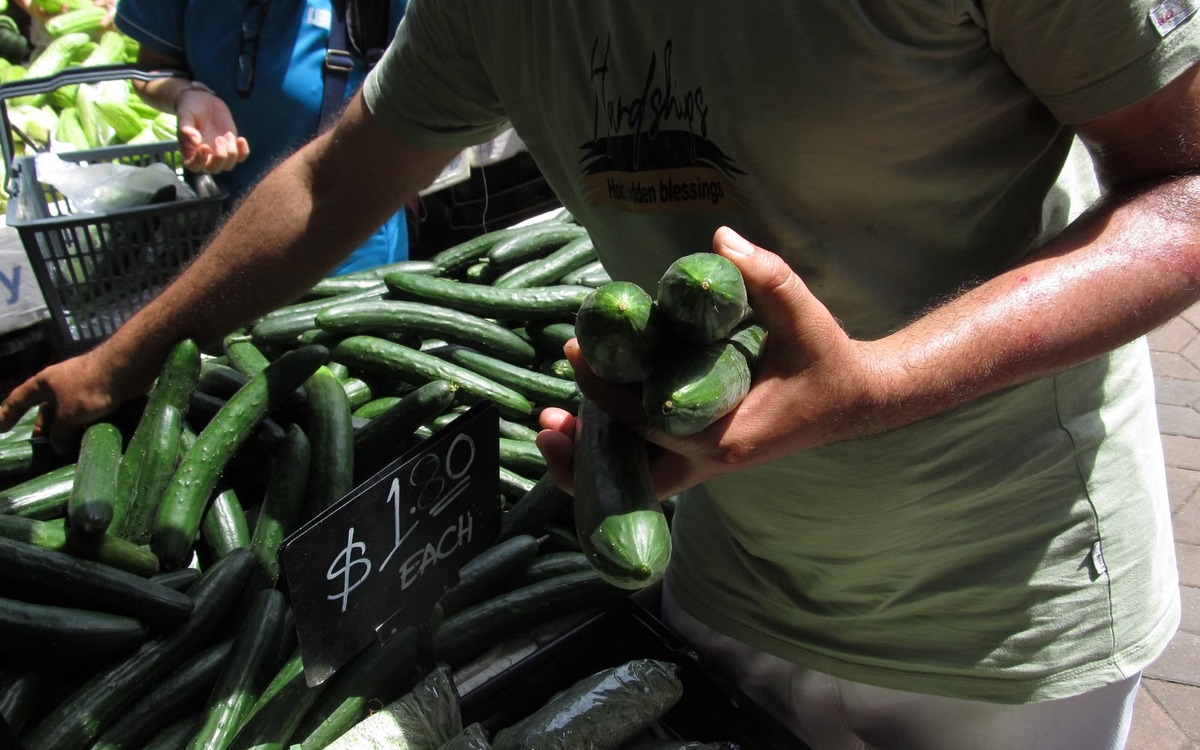
Fresh green cucumbers being selected at a market stall
Start with firm, evenly colored cucumbers without soft or damaged areas.

Wash them right before cutting or eating

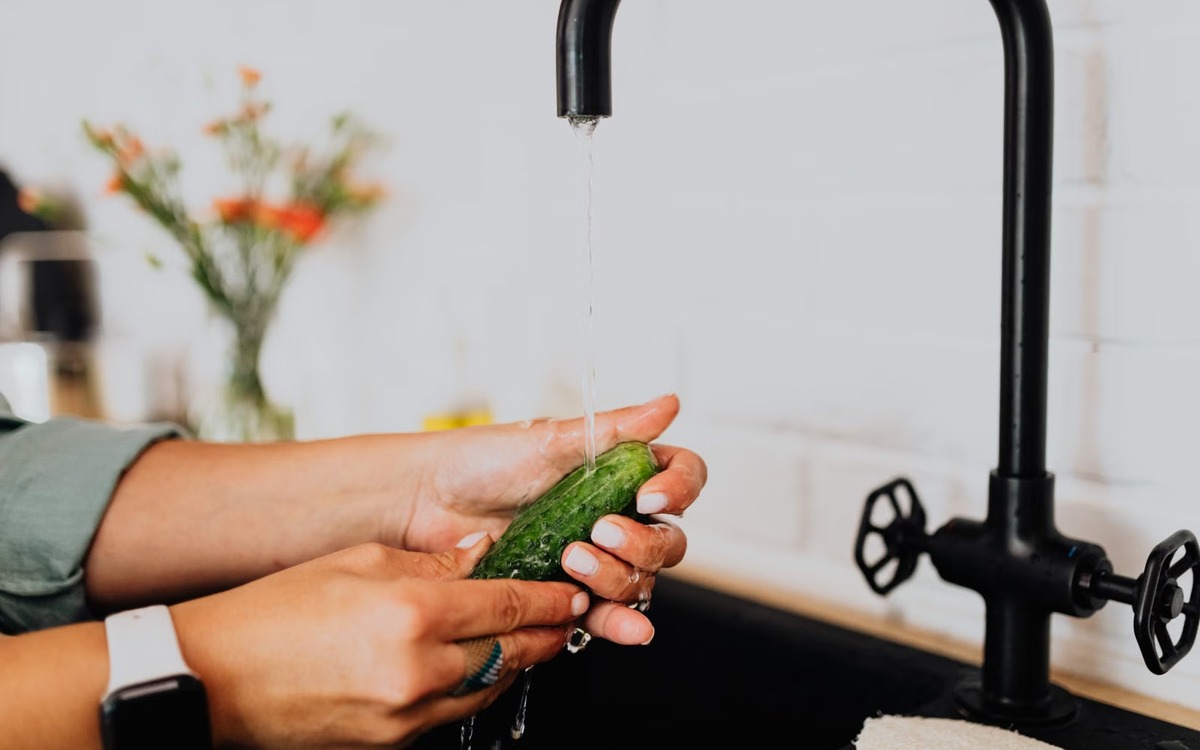
Rinse cucumbers thoroughly under clean running water before preparing or eating them. Because cucumbers are firm produce, the FDA recommends scrubbing the surface with a clean produce brush. Do not wash produce with soap, detergent, bleach, or commercial produce wash. Dry the cucumber with a clean towel or paper towel after rinsing.

A fresh cucumber being washed under running water in a kitchen sink
Use running water and a clean produce brush; soap is not needed.

How to store cucumbers at home

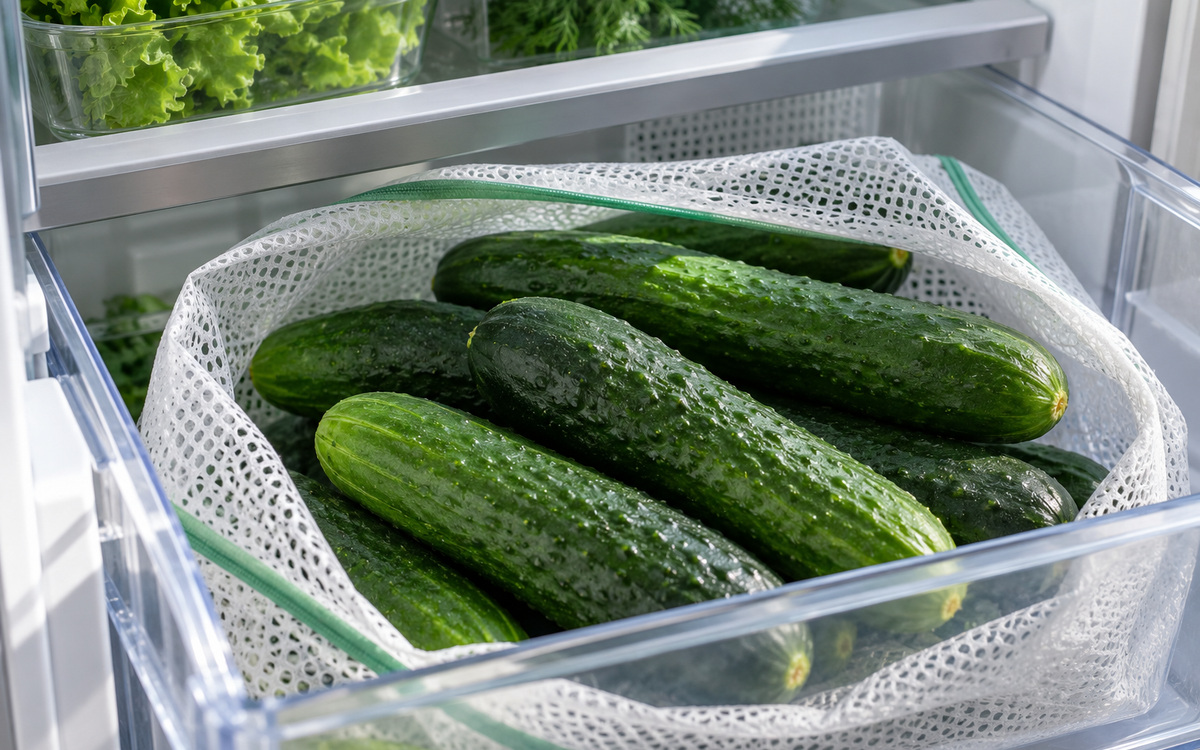
The ideal storage temperature for cucumbers is warmer than a typical refrigerator: UC Davis lists about 50–55°F (10–12.5°C), while University of Minnesota Extension notes that these ideal cool, humid conditions are hard to reproduce in most homes. In practice, a refrigerator crisper is a reasonable short-term option. A perforated or breathable bag helps limit moisture loss without trapping too much condensation.

Do not expect indefinite refrigerator storage. University of Minnesota Extension gives about one week as a practical home-storage expectation, while UC Davis notes that chilling injury can develop when cucumbers are held below about 50°F for several days. If your refrigerator runs very cold, use cucumbers sooner rather than trying to stretch their storage time.

Whole cucumbers stored in a breathable mesh bag inside a refrigerator crisper drawer
A breathable bag in the crisper is a practical short-term home-storage setup.

Keep cucumbers away from apples and tomatoes

Cucumbers are sensitive to ethylene. UC Davis reports that low levels of ethylene can accelerate yellowing and decay, and University of Minnesota Extension specifically advises not storing cucumbers with apples or tomatoes. If your crisper contains those foods, separate them rather than packing everything tightly together.
Once you cut a cucumber

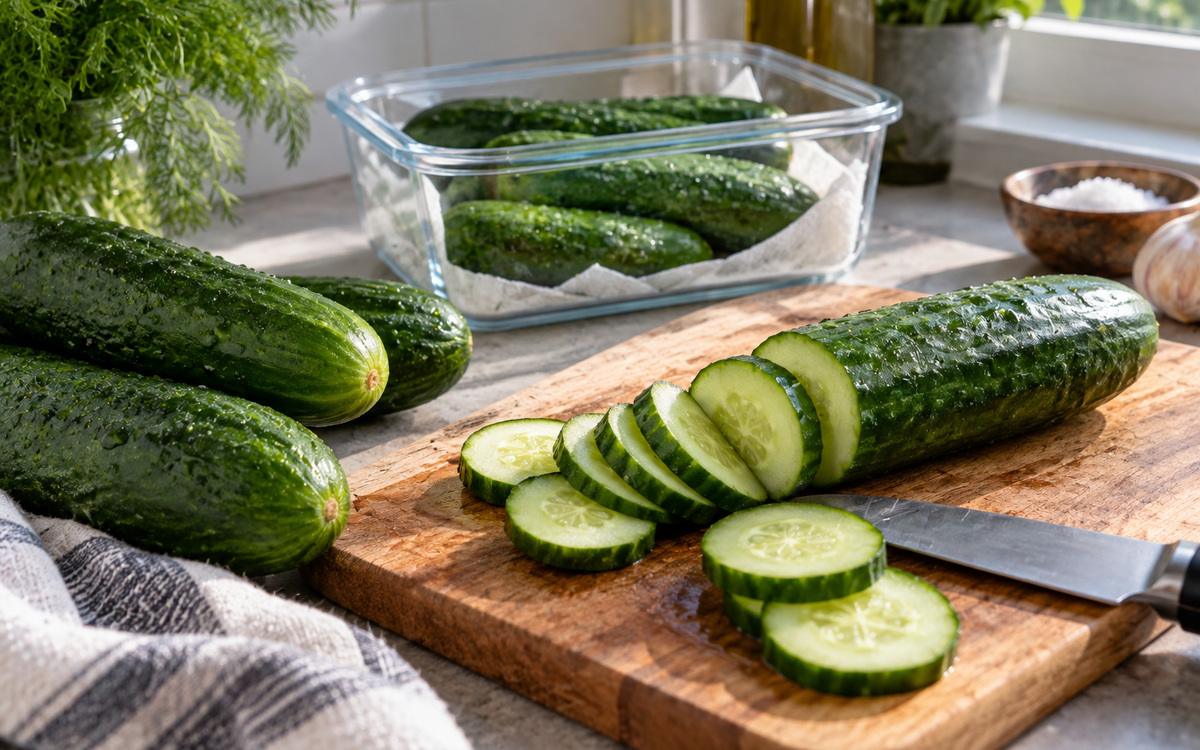
Cut produce should be kept cold. University of Minnesota Extension recommends holding cut produce at 41°F (5°C) or below, and FDA guidance says pre-cut produce should be refrigerated. Cover the cut cucumber or place the pieces in a clean covered container, return them to the refrigerator promptly, and use them while they still look and smell fresh.

Fresh cucumber being sliced on a wooden cutting board in a bright kitchen
Refrigerate cut cucumber promptly in a clean covered container.
When to toss cucumbers

Discard cucumbers that are clearly rotten, moldy, slimy, leaking, badly damaged, or very soft. FDA guidance says to throw away produce that looks rotten and to cut away damaged or bruised areas before preparation. If spoilage is widespread or the cucumber has broken down substantially, it is better to discard it than try to salvage it.
Simple takeaways

  • Choose firm cucumbers with bright, even color and no soft spots.
  • Wash under running water and scrub with a clean produce brush; do not use soap.
  • Use a breathable or perforated bag for short-term cool storage.
  • Keep cucumbers away from apples and tomatoes because ethylene speeds yellowing and decay.
  • Refrigerate cut cucumber promptly and discard produce that is clearly spoiled.
Photographic Grocery Explained guide to choosing, washing, storing, and keeping cucumbers crisp
A visual guide to choosing, washing, storing, separating, and discarding cucumbers.

Grapes: How to Choose, Wash, Store, Freeze, and Know When to Toss Them

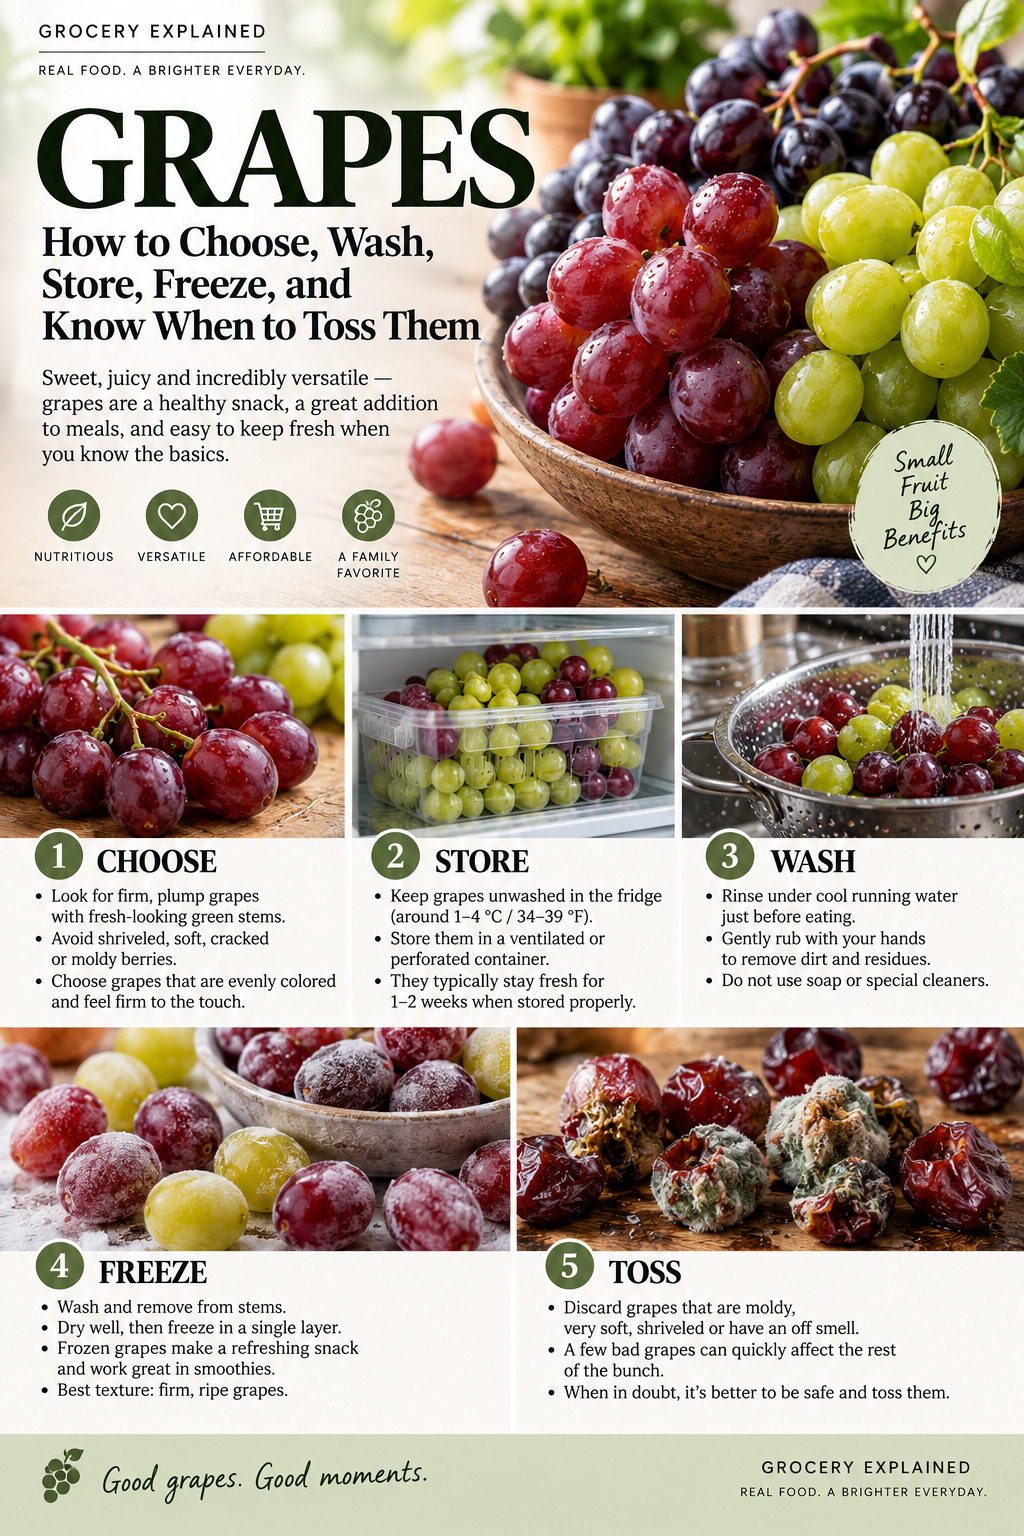
Grapes are easy to buy and easy to waste if they go into the refrigerator damp, damaged, or already starting to mold. The best routine is simple: choose firm fruit with healthy-looking stems, keep the bunches cold and dry, wash only what you are about to eat, and freeze extras while they are still sound.

Choose grapes that are firm, plump, and well attached

Good table grapes should look plump and feel firm rather than soft or wrinkled. UC Davis lists berry firmness and the absence of decay, cracked berries, stem browning, shriveling, sunburn, and insect damage among the important quality markers for table grapes.

Stems are useful clues too. Utah State University Extension advises looking for firm, plump grapes with good color and green stems. Brown, dry stems and lots of loose berries are signs that the bunch has been sitting longer or is overripe.

A pale, dusty-looking film on the skin is not automatically a problem. Many grapes naturally carry a waxy bloom. What matters more is whether the berries are intact, firm, dry, and free from mold, leaking juice, or widespread shriveling.

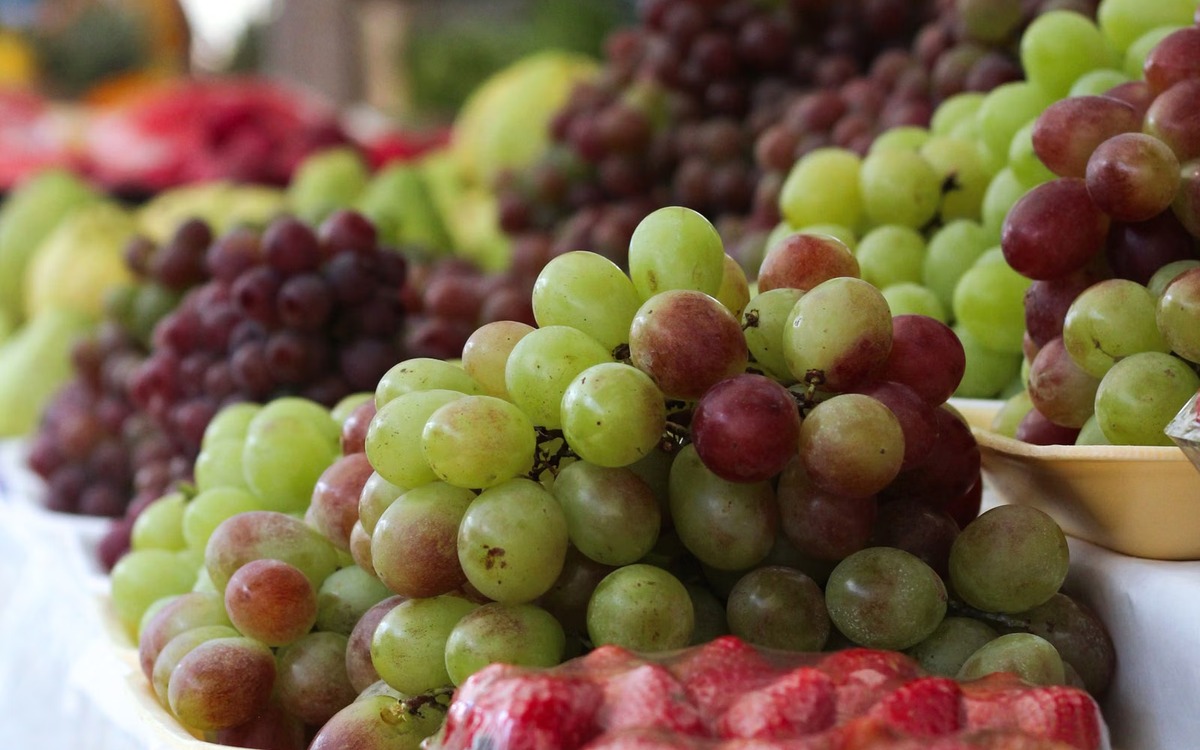
Fresh red and green grapes displayed at a market for shoppers to choose from

Refrigerate grapes promptly and keep them dry

Grapes are a refrigerated fruit. Utah State University Extension recommends storing fresh grapes in the refrigerator in a perforated plastic bag, while UC Davis notes that low temperature is one of the most important controls for maintaining grape quality after harvest.

At home, that means putting grapes into the refrigerator soon after shopping instead of leaving them on the counter for days. A ventilated produce container or the original perforated bag works well because it keeps the fruit cold without trapping as much surface moisture.

Before storing, remove any crushed, leaking, or moldy berries. Colorado State University Extension specifically advises discarding spoiled or moldy grapes before storage because spoilage organisms can spread to nearby fruit.

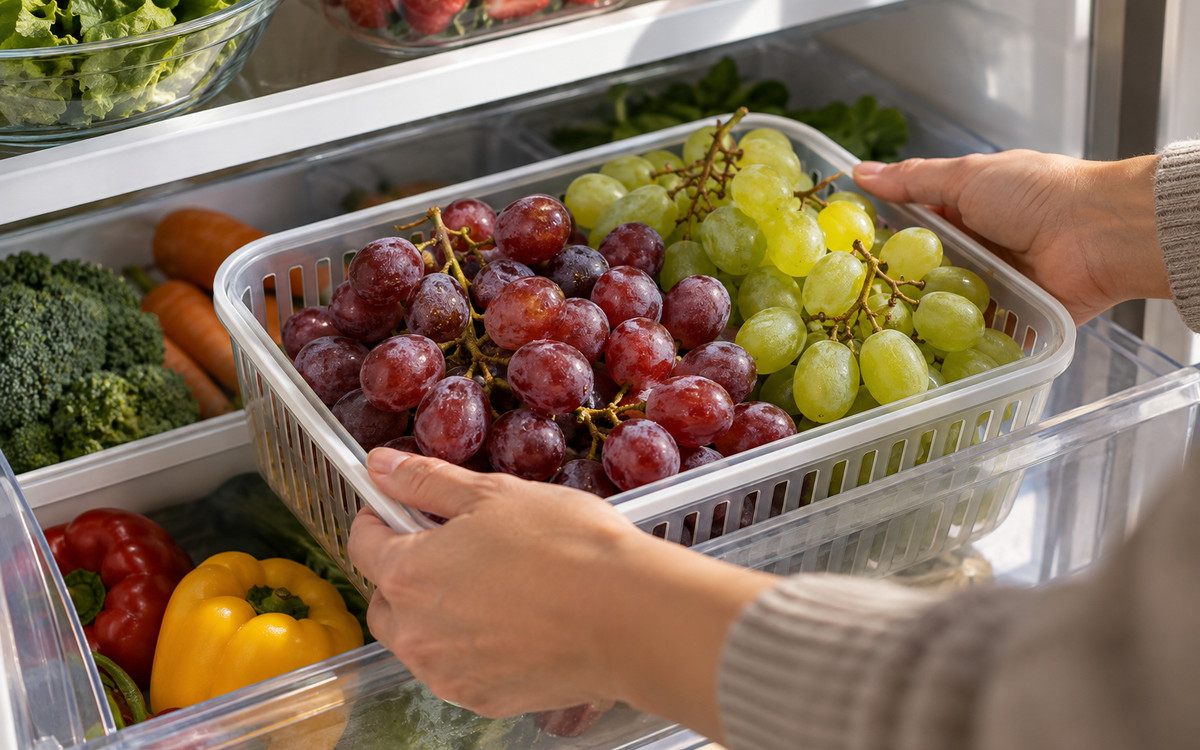
Red and green grapes being placed in a ventilated container inside a refrigerator

Wait to wash grapes until you are ready to eat them

For best keeping quality, store grapes unwashed and rinse them just before serving. Utah State University Extension says to wash grape clusters just before use under a gentle spray of water, then drain and pat them dry. Penn State Extension also recommends waiting to wash grapes until you are ready to eat them to reduce conditions that favor mold.

When it is time to eat them, rinse the grapes under cool running water and gently rub the berries with clean hands. The FDA advises washing produce under running water and does not recommend soap, detergent, or commercial produce washes.

Do not soak grapes for long periods. After rinsing, drain them well or dry them with a clean towel if you are not serving them immediately.

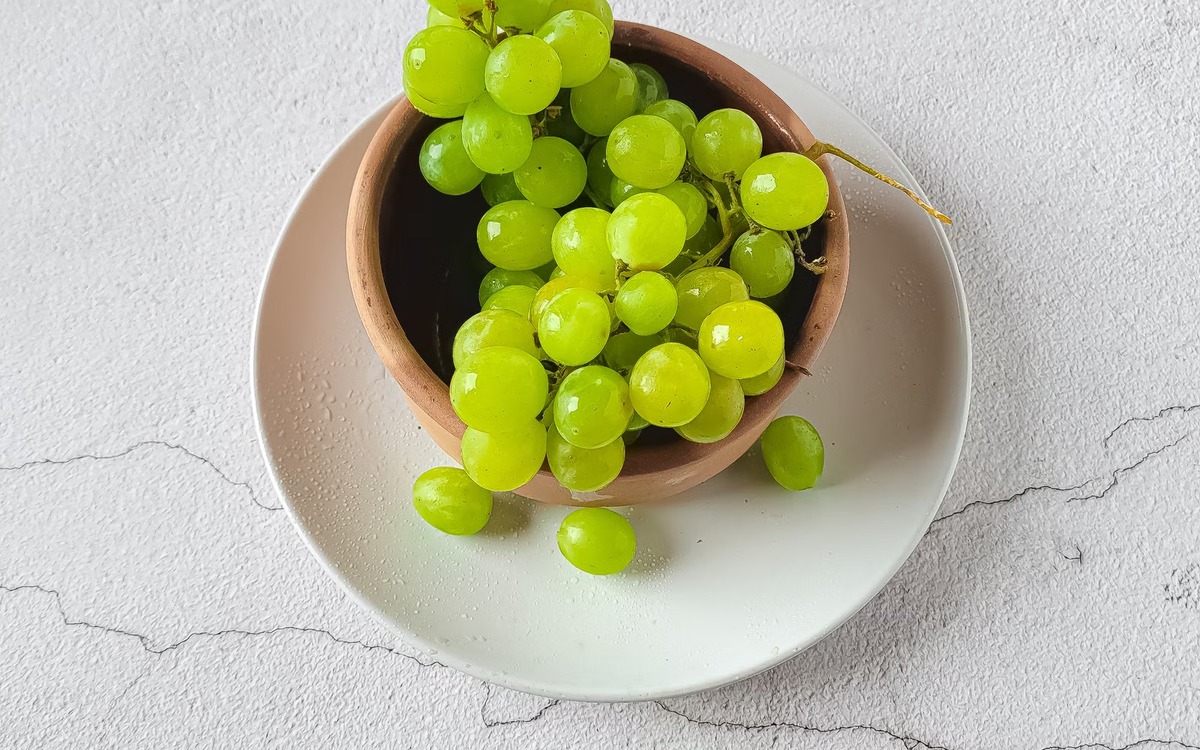
Fresh green grapes in a bowl ready to rinse and serve

Freeze sound, ripe grapes before they decline

Freezing is a practical way to save a bunch you will not finish in time. The National Center for Home Food Preservation recommends choosing fully ripe, firm, sweet grapes, then sorting, stemming, and washing them before freezing. Seedless grapes can be left whole.

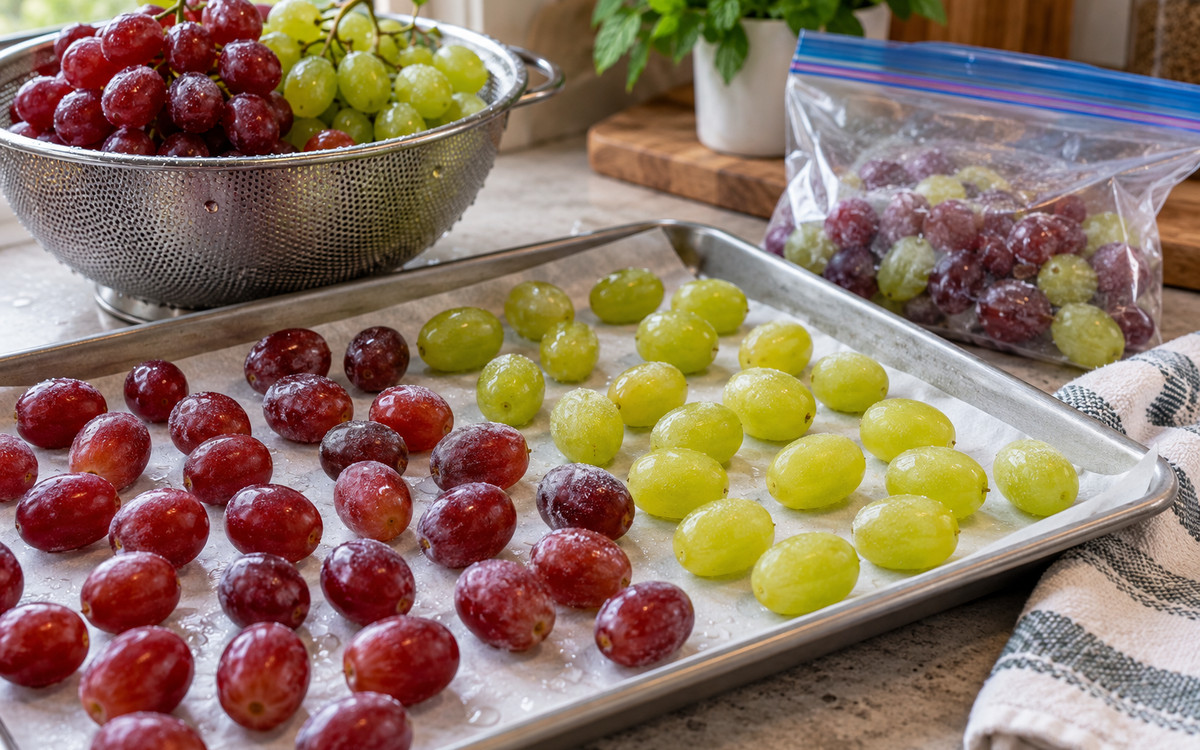
For an easy snack-style method, wash and stem the grapes, dry them thoroughly, spread them in a single layer on a tray, and freeze until firm before transferring them to a freezer container or bag. Colorado State University Extension lists tray packing as an appropriate method for whole grapes.

Frozen grapes work especially well as a cold snack or in smoothies. Their texture changes after freezing and thawing, so they are not a perfect substitute for fresh grapes in every dish.

Washed red and green grapes arranged on a tray before freezing

Do not try to rescue moldy grapes

If a grape is moldy, discard it. USDA Food Safety and Inspection Service guidance says mold can spread quickly in fruits and vegetables, and soft fruits can be contaminated below the visible surface.

If you find a moldy grape inside a container, remove the moldy fruit and any pieces directly touching it. Inspect the rest carefully. Grapes that are overly mushy, leaking, fermented-smelling, or showing additional mold should also be discarded.

Normal moisture on freshly washed grapes is different from leaking juice caused by breakdown. Likewise, a few loose berries are not automatically unsafe, but a bunch with widespread softening, shriveling, mold, or off odors has reached the point where keeping it is not worth the risk.

A simple grape routine

  1. Buy firm, plump bunches with fresh-looking stems and no visible mold.
  2. Refrigerate them soon after shopping in a ventilated or perforated container.
  3. Keep grapes unwashed until you are ready to eat them.
  4. Rinse under cool running water; do not use soap or produce detergent.
  5. Dry well if you are preparing grapes for storage or freezing.
  6. Freeze firm, ripe extras before quality drops too far.
  7. Discard moldy, leaking, overly mushy, or clearly spoiled grapes.

Bottom line

The best answer to how to store grapes is to keep them cold, dry, and unwashed until you need them. Start with good-quality fruit, remove damaged berries, rinse only before eating, and freeze extras while they are still firm and sound. That routine gives you a better chance of finishing the bunch before mold or shriveling takes over.

Photographic Grocery Explained guide to choosing, storing, washing, freezing, and checking grapes for spoilage

Tuesday, September 15, 2026

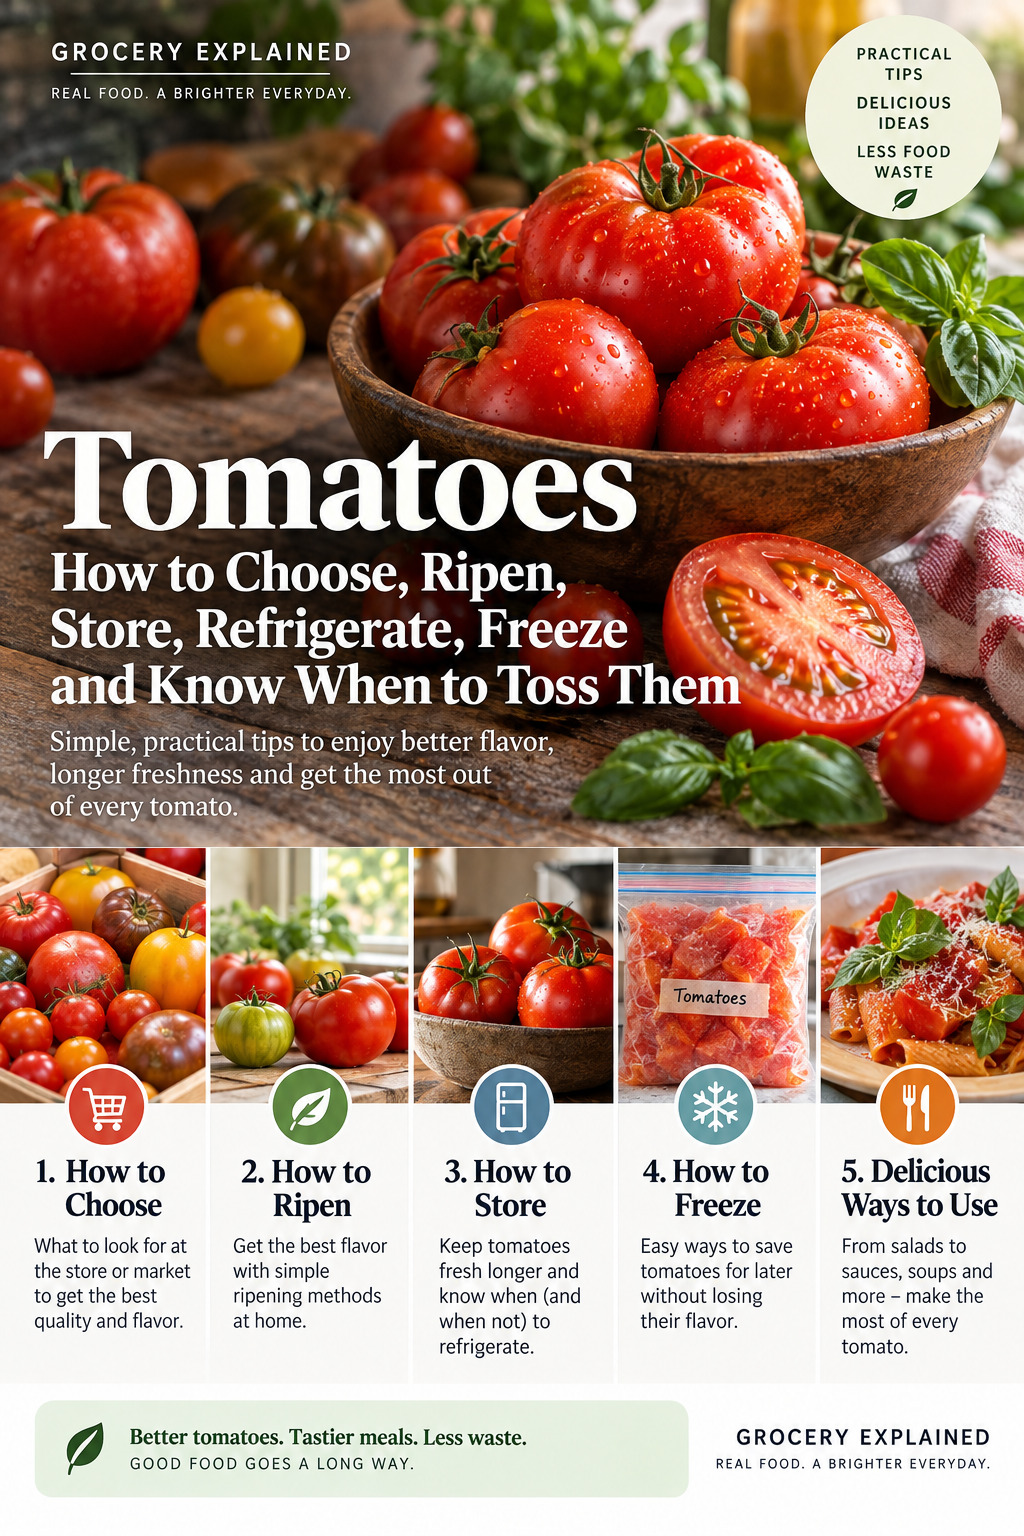
Tomatoes: How to Choose, Ripen, Store, Refrigerate, Freeze, and Know When to Toss Them

Tomatoes are simple to buy but surprisingly easy to store badly. A tomato that still needs to ripen does best in different conditions from one that is already fully ripe, and a cut tomato has different food-safety needs again. The practical goal is to keep good texture and flavor for as long as possible without turning storage into a complicated project.

The basic routine is straightforward: buy firm tomatoes without major damage, let underripe tomatoes finish ripening away from direct sun, use ripe tomatoes soon, refrigerate ripe or cut tomatoes when you need to slow deterioration, and freeze extra ripe tomatoes for cooked dishes rather than expecting them to stay salad-firm after thawing.

Choose tomatoes by firmness, color, and what you plan to cook

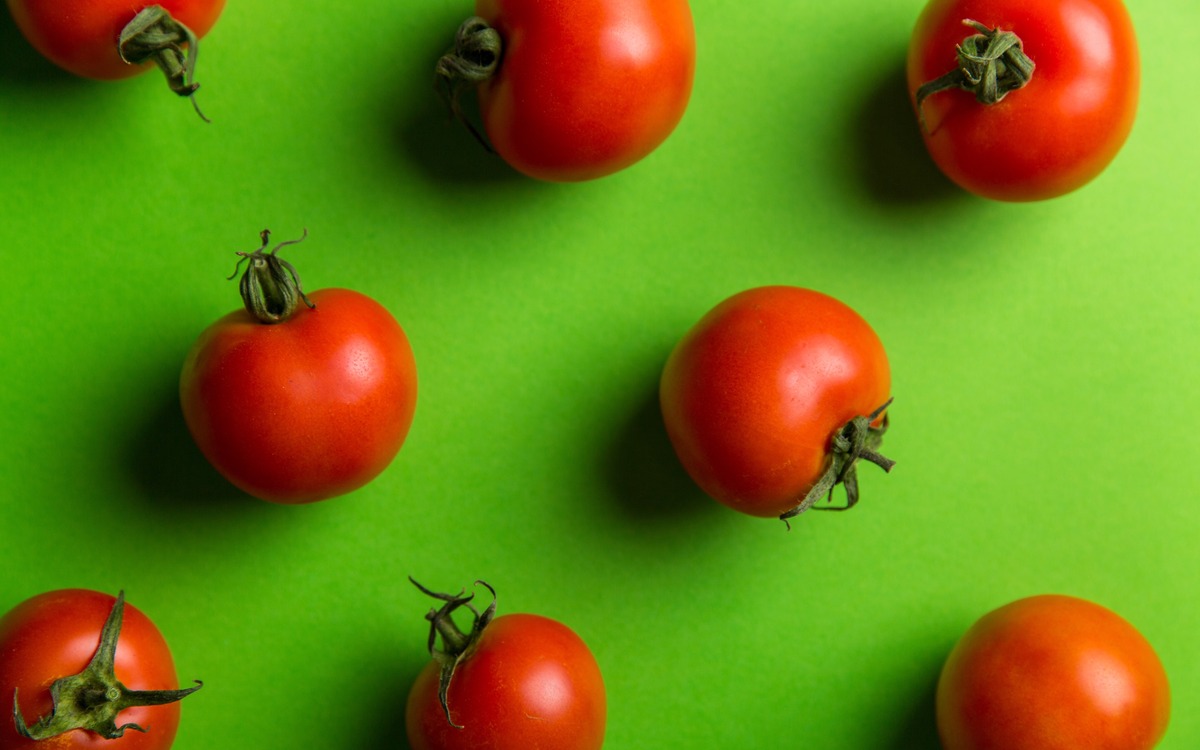
For most everyday uses, look for tomatoes that are well formed for their type, free of deep cracks and bruises, and firm enough to hold their shape. The University of California, Davis Postharvest Research and Extension Center describes good-quality tomatoes as smooth, well formed, evenly colored for the variety, and not soft enough to deform easily from overripeness.

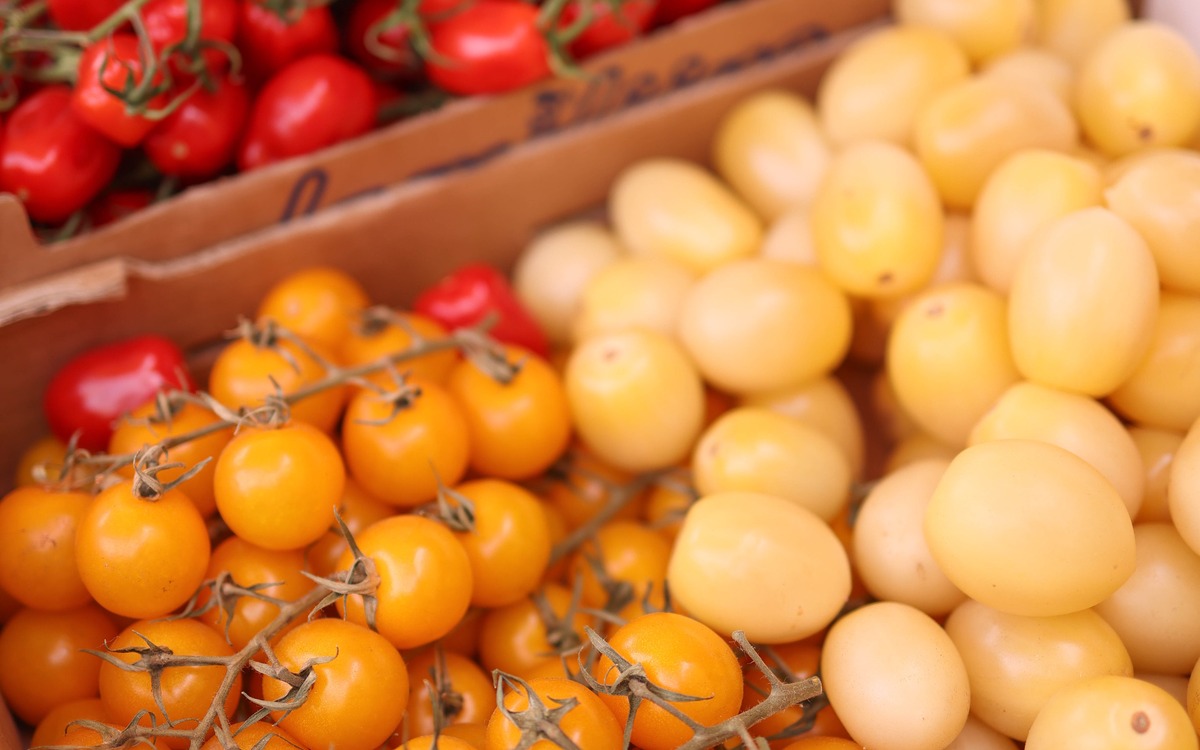
Color alone is not a perfect ripeness test because tomato varieties can be red, orange, yellow, purple, striped, or green when ripe. Use color together with firmness. A tomato for tonight's salad can be fully colored and gently yielding. If you need several days before using it, a slightly firmer, less-developed tomato gives you more time.

Skip tomatoes with leaking cracks, extensive bruising, obvious mold, or areas that look rotten. FDA produce guidance recommends choosing produce that is not badly bruised or damaged when possible and discarding produce that looks rotten.

Colorful ripe tomatoes displayed at a market for shoppers to choose from

Let underripe tomatoes finish ripening at room temperature

Tomatoes continue to ripen after harvest. UC Davis notes that mature-green tomatoes respond to ethylene and that standard ripening happens best at moderate room-like temperatures rather than in very cold storage. Utah State University Extension likewise recommends keeping unripe tomatoes in a warm place away from direct sunlight and notes that refrigerator temperatures slow or stop normal ripening.

For home storage, place underripe tomatoes in a single layer or otherwise avoid crushing them. Keep them out of hot direct sun; a windowsill that becomes very warm can soften fruit faster than it colors evenly. Check them daily so you can move fully ripe tomatoes into your cooking plan before they become overripe.

You do not need to wrap every tomato individually. Good air circulation and gentle handling matter more. If one tomato develops a wet leak or mold, remove it promptly and check the fruit touching it.

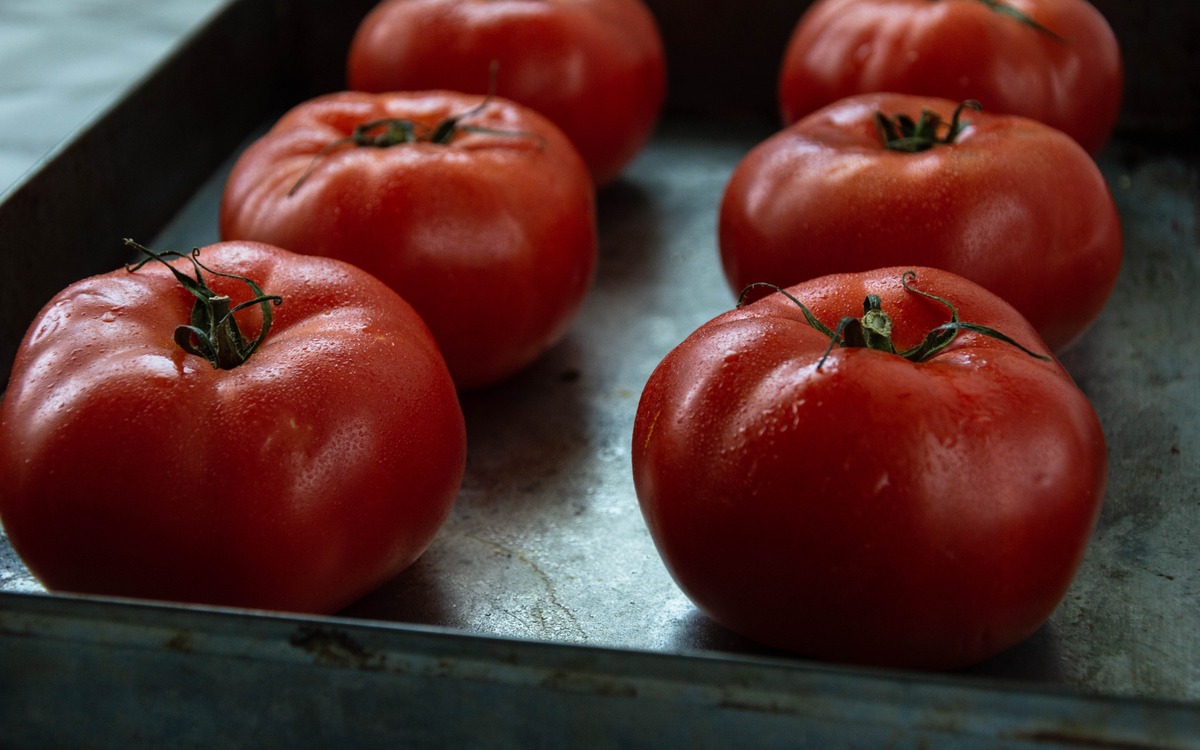
Ripe red tomatoes arranged together as they finish ripening for kitchen use

Room temperature or refrigerator? Use ripeness as the decision point

Cold storage can slow deterioration, but tomatoes are also sensitive to chilling. UC Davis lists warmer storage ranges for mature-green and ripening tomatoes and warns about chilling injury from temperatures that are too low for too long. University of Minnesota Extension similarly advises that red tomatoes lose color, firmness, and flavor when stored below 40°F for extended periods.

That does not mean a household refrigerator is never useful. Utah State University Extension recommends letting tomatoes ripen first and refrigerating only ripe tomatoes. In practice, if a fully ripe tomato will otherwise become overripe before you can use it, refrigeration is a reasonable rescue step. Use it soon rather than treating the refrigerator as long-term storage.

Cut tomatoes are different. FDA retail guidance treats washed and cut tomatoes as time/temperature-control food and says they should be refrigerated at 41°F or below. At home, place cut tomatoes in a clean covered container and refrigerate promptly.

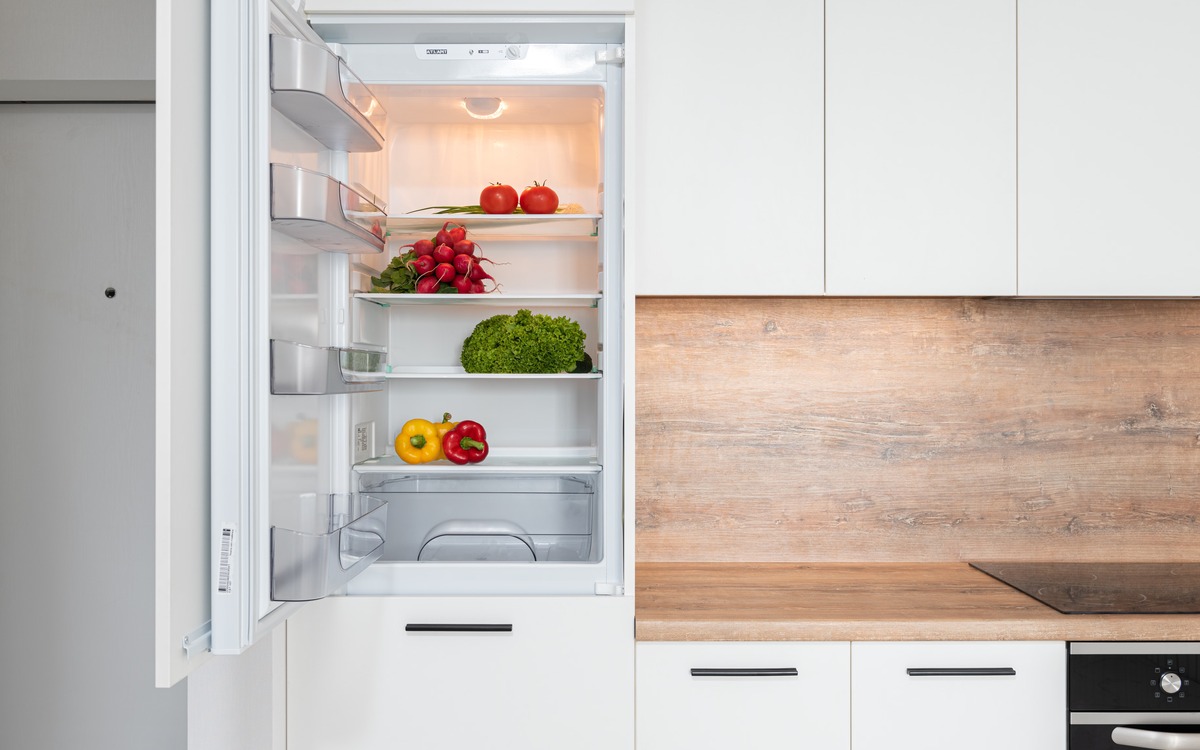
Fresh tomatoes and other produce stored inside an open refrigerator

Wash tomatoes under running water just before preparation

FDA guidance recommends washing fresh produce thoroughly under running water before eating or preparing it. Gently rub the tomato while rinsing it; soap, detergent, bleach, and commercial produce washes are not recommended.

Wash before cutting so dirt and bacteria on the surface are less likely to be transferred by the knife. Drying the tomato with a clean towel or paper towel can also help remove surface moisture. Keep produce preparation away from raw meat, poultry, and seafood and use clean knives and cutting boards.

Freeze ripe tomatoes for cooking, not for fresh salads

Freezing is useful when you have more ripe tomatoes than you can use. The National Center for Home Food Preservation recommends selecting firm, ripe tomatoes, washing them, loosening and removing the skins when desired, then freezing whole tomatoes or pieces in freezer containers with appropriate headspace.

The tradeoff is texture. Frozen tomatoes become soft after thawing, so they are much better for soups, sauces, stews, casseroles, and other cooked dishes than for sandwiches or salads. Utah State University Extension gives the same practical warning: thawed frozen tomatoes are mushy, but they remain useful in cooked foods.

If you usually cook with chopped tomatoes, freezing them in recipe-sized portions saves work later. Label the container, remove as much excess air as practical, and freeze only tomatoes that are still sound. Freezing preserves usable fruit; it does not make spoiled tomatoes safe again.

Fresh ripe tomatoes on a tray ready to be washed, cut, and prepared for freezing

Soft is not automatically spoiled, but mold is a different story

A very ripe tomato can be soft and still be useful for sauce. Look at the whole picture: aroma, leaking, surface condition, and whether the flesh is breaking down. FDA guidance says produce that looks rotten should be discarded.

Mold on tomatoes should be treated more strictly than a simple bruise. USDA Food Safety and Inspection Service guidance classifies tomatoes as soft, high-moisture produce and recommends discarding them when mold is present because contamination can extend below the visible surface. Do not just cut a small mold spot off a soft tomato and use the rest.

Also discard tomatoes with widespread watery decay, a clearly rotten or fermented odor, or extensive leaking that indicates breakdown rather than a small mechanical crack. When moldy produce has been stored next to other fruit or vegetables, inspect the nearby items and clean the storage area.

Common tomato-storage mistakes

  • Refrigerating tomatoes before they are ripe. Cold slows the ripening process and can reduce quality.
  • Leaving very ripe tomatoes on the counter too long. Once fully ripe, use them promptly or refrigerate briefly if you need extra time.
  • Washing tomatoes and leaving them wet for storage. Wash near preparation time unless you have a specific reason to wash earlier, and dry them well.
  • Leaving cut tomatoes at room temperature for extended periods. Refrigerate cut tomatoes promptly in a clean covered container.
  • Expecting frozen tomatoes to thaw crisp. Plan to use them in cooked dishes.
  • Trimming mold off a soft tomato. USDA guidance says moldy soft fruits and vegetables such as tomatoes should be discarded.

A simple tomato routine

  1. Buy tomatoes that are firm, intact, and at the ripeness stage that fits your meal plan.
  2. Keep underripe tomatoes at room temperature away from direct sun and excessive heat.
  3. Check ripening tomatoes daily and use fully ripe fruit promptly.
  4. If a fully ripe tomato needs a little more time, refrigerate it and use it soon.
  5. Wash tomatoes under running water before cutting; do not use soap or produce wash.
  6. Refrigerate cut tomatoes promptly in a clean covered container.
  7. Freeze sound ripe tomatoes when you have extras, knowing the thawed texture will be best for cooking.
  8. Discard tomatoes with mold, obvious rot, extensive watery decay, or a clearly rotten odor.

Bottom line

The best tomato storage method depends on ripeness. Let underripe tomatoes finish ripening outside the refrigerator, use ripe tomatoes while their texture is still good, refrigerate ripe or cut tomatoes when necessary, and freeze extras for cooked meals. That sequence protects quality better than using one storage rule for every tomato.

Most importantly, treat visible mold on a soft tomato as a discard signal rather than a trim-and-save situation. With a quick daily check and a plan for ripe fruit, you can use more of what you buy and waste less.

Photographic Grocery Explained guide to choosing, ripening, storing, refrigerating, freezing, and checking tomatoes for spoilage

Yogurt: How to Choose, Store, and Use It Safely

Yogurt can be a quick breakfast, a snack, or a useful ingredient in sauces and dressings, but the dairy case can make a simple purchase fe...