Saturday, August 29, 2026

Leafy Greens: How to Buy, Wash, Store, and Handle Them Safely

Leafy greens are one of the easiest foods to add to salads, sandwiches, bowls, and quick meals, but they are also usually eaten raw. That makes the routine around buying, refrigeration, washing, and kitchen separation especially important. The goal is simple: choose greens in good condition, keep them cold, wash them correctly when needed, and avoid moving germs from raw foods onto leaves that will not be cooked.

Choose greens that are fresh and properly chilled

Start with condition and temperature. FDA guidance recommends choosing produce that is not bruised or damaged. For pre-cut, bagged, or packaged greens, buy them only when they are refrigerated or surrounded by ice.

For whole heads and loose greens, look for crisp leaves with the color and texture you expect for that variety. Skip produce with obvious rot, slimy patches, or badly damaged leaves. When you pack your cart or grocery bags, keep fresh produce separate from raw meat, poultry, and seafood so leaking juices cannot contaminate it on the way home.
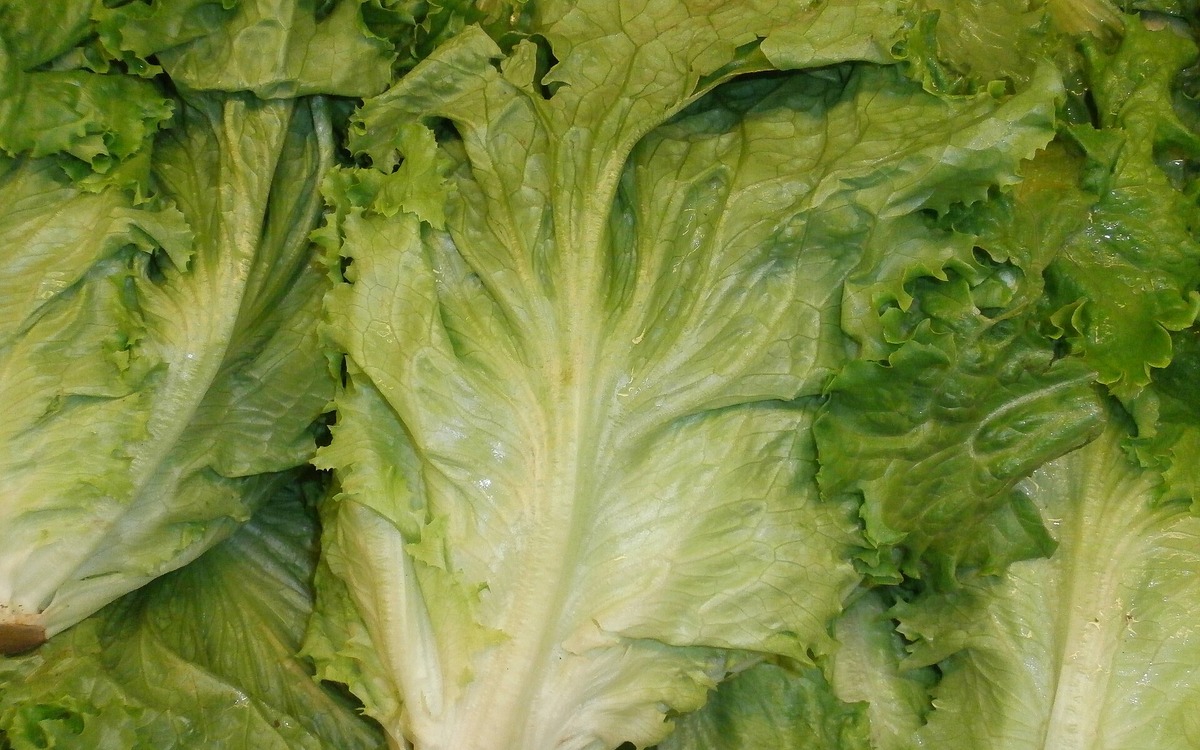
Fresh heads of lettuce displayed in a grocery produce section

Refrigerate leafy greens promptly

Leafy greens are perishable produce. The FDA recommends keeping perishable fresh fruits and vegetables in a clean refrigerator at 40°F (4°C) or below, and all pre-cut or packaged produce should be refrigerated.

Put greens away soon after shopping rather than leaving them in a warm car or on the counter. CDC guidance for leafy greens says to refrigerate them within two hours, or within one hour when they have been exposed to temperatures above 90°F (32°C).

Keep greens away from raw meat, poultry, seafood, and their juices inside the refrigerator as well. A clean produce drawer or a protected shelf area helps maintain that separation.
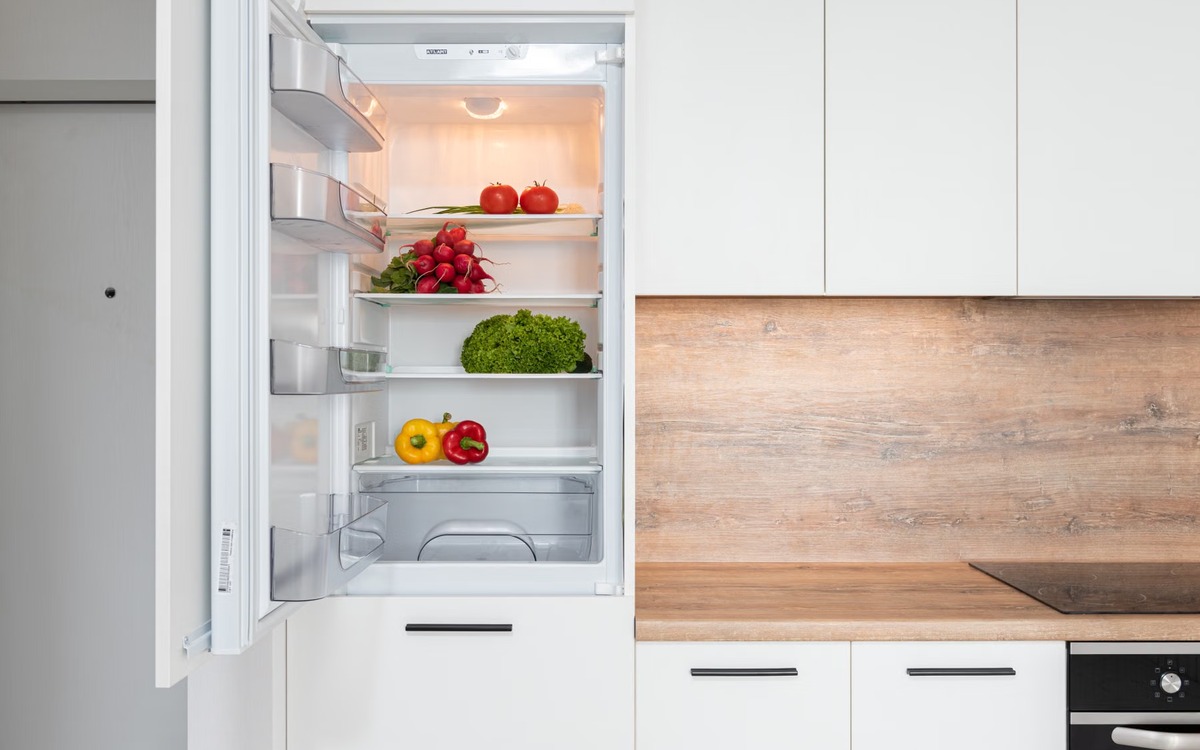
Fresh vegetables including leafy greens stored inside a clean refrigerator

Wash unwashed greens under running water

Before preparing fresh leafy greens that are not labeled ready-to-eat, start with clean hands and a clean sink area. Rinse the leaves under plain running water and gently rub their surfaces with your hands. Remove damaged outer leaves from whole heads and discard torn, bruised, or rotten portions.

Do not use soap, detergent, or commercial produce wash. FDA guidance says plain running water is the appropriate method for fresh produce. Washing can reduce dirt and some bacteria, but it cannot remove every germ.

Avoid soaking greens in a sink or bowl of standing water as your main washing method. Water in the sink can become contaminated and can spread contamination between leaves. After rinsing, dry the greens with a clean cloth or paper towel, or use a clean salad spinner.
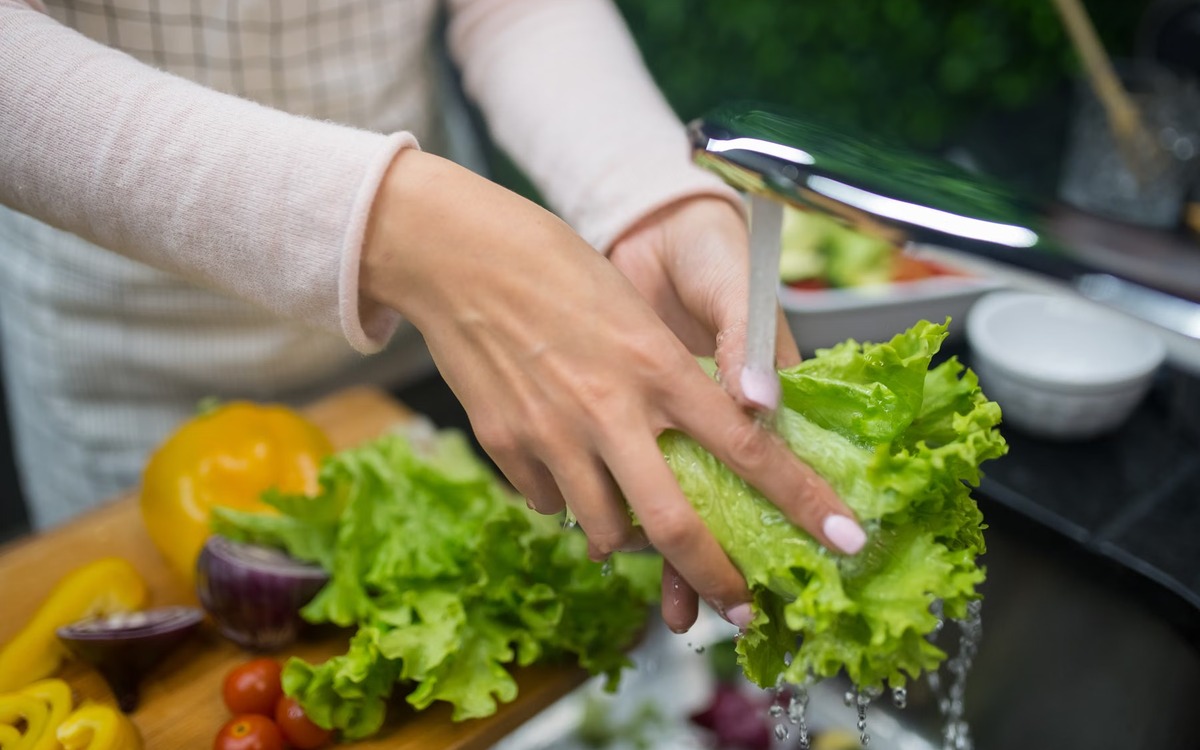
Fresh lettuce being rinsed under running water in a home kitchen

Do not automatically rewash ready-to-eat packaged greens

If a package says ready to eat, triple washed, or no washing necessary, FDA and CDC guidance says you can use the greens without washing them again. Rewashing is not automatically safer, especially if the sink, colander, hands, or countertop introduce new contamination.

If you decide to wash a ready-to-eat product anyway, make sure the sink, utensils, and surfaces are clean first. Keep the leaves away from anything that has touched raw meat, poultry, seafood, or eggs.
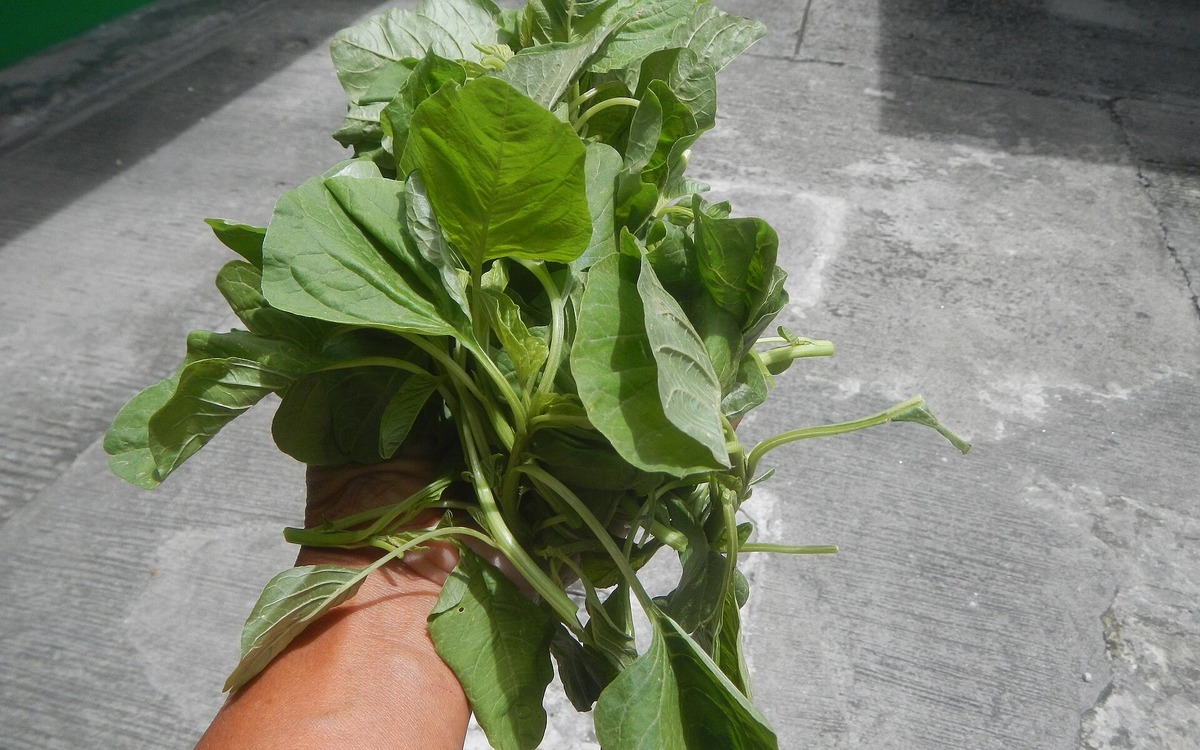
Fresh spinach leaves illustrating ready-to-eat and salad greens

Keep raw-food germs away from salad ingredients

Leafy greens are often served without a cooking step, so cross-contamination matters. Wash cutting boards, knives, dishes, and countertops with hot soapy water after preparing raw meat, poultry, or seafood and before using them for greens or other ready-to-eat foods.

If possible, use a separate cutting board for fresh produce. Wash your hands with soap and water for at least 20 seconds before and after food preparation, especially after touching raw animal foods.

Know what washing can and cannot do

Washing is useful, but it is not sterilization. CDC notes that no washing method can remove every germ from leafy greens. That is why safe handling is a combination of several small steps: buying produce in good condition, maintaining refrigeration, cleaning when appropriate, and preventing cross-contamination.

If leafy greens are part of a recall, washing them does not make the recalled product safe to eat. Follow the recall instructions and discard or return the product as directed.

A simple leafy-greens routine

At the store, choose undamaged greens and keep packaged or pre-cut products cold. At home, refrigerate them promptly at 40°F or below and separate them from raw animal foods. Wash unwashed leaves under running water without soap, then dry them with clean materials. If the package is clearly labeled ready-to-eat or triple washed, you do not need to wash it again.

Those habits do more than protect food safety: they also make salad prep easier because your refrigerator, washing routine, and cutting surfaces are already set up for the way the greens will actually be eaten.
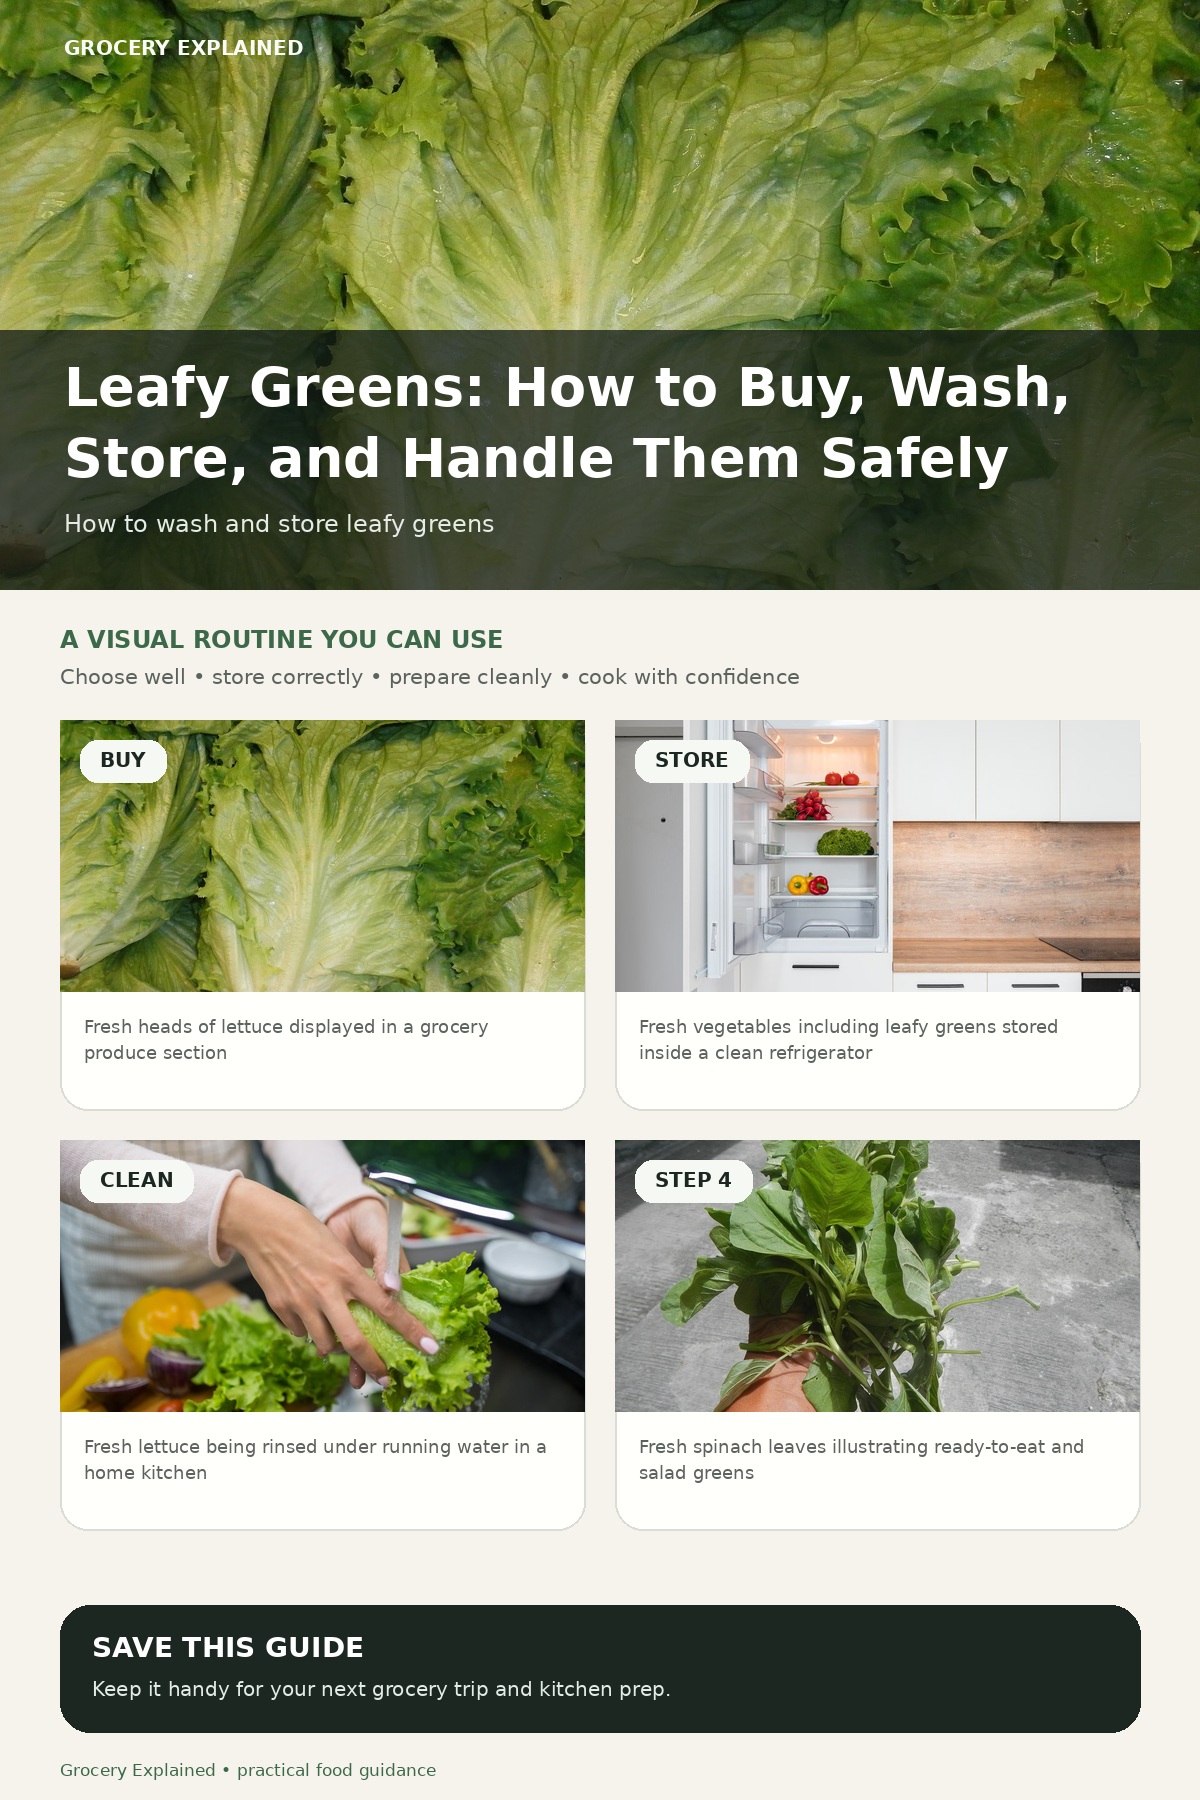
Leafy greens guide summary covering buying, refrigeration, washing, and safe handling

Mushrooms: How to Buy, Clean, Store, and Cook Them

Mushrooms are one of those groceries that can look perfect in the store and become tired surprisingly quickly at home. The useful routine is simple: start with firm mushrooms, keep them cold without trapping excess moisture, clean them just before you cook, and give them enough heat and space in the pan to brown instead of steam.

This guide focuses on common edible mushrooms sold through grocery stores and produce markets, including white button, cremini, portobello, shiitake, and oyster mushrooms. Wild and foraged mushrooms need a different level of caution, so there is a separate note on those near the end.

How to choose good mushrooms at the store

Look for mushrooms that feel firm and look reasonably dry. Skip packages with obvious slime, extensive dark wet spots, or mushrooms that are collapsing into one another. A little surface variation is normal, especially among brown or specialty varieties, so freshness is better judged from the overall condition than from a perfectly uniform color.

For packaged mushrooms, check the container for pooled moisture and damaged film. If you are buying loose mushrooms, choose pieces that are intact enough for the way you plan to cook them. White button and cremini mushrooms are easy all-purpose choices; portobellos work well when you want larger caps, while shiitake and oyster mushrooms bring a different texture and flavor.

FDA produce guidance also recommends choosing produce that is not bruised or damaged and keeping pre-cut or packaged produce refrigerated. That makes the refrigerated produce section the right place for sliced or otherwise prepared fresh mushrooms.

Fresh edible mushrooms displayed for sale at a produce market

Store mushrooms cold and give moisture somewhere to go

Fresh mushrooms are perishable produce. The FDA specifically lists mushrooms among fruits and vegetables that should be stored in a clean refrigerator at 40°F (4°C) or below. A refrigerator thermometer is more useful than relying on the control dial, especially if your fridge runs warm or is frequently packed.

For whole mushrooms, avoid creating a sealed, wet microclimate. Keeping them in breathable original packaging or a clean paper bag is a practical way to reduce condensation while they stay refrigerated. FDA guidance for morels and other wild-type mushrooms also specifically recommends original or breathable packaging, such as a paper bag. For ordinary cultivated mushrooms, the same approach is useful for preserving texture, but always follow any storage directions printed on the package.

Keep mushrooms away from leaking packages of raw meat, poultry, and seafood. The FDA recommends separating produce from raw animal foods in the refrigerator and during preparation so juices and utensils do not cross-contaminate foods that may be eaten without further cooking.

Fresh button mushrooms ready for refrigerated storage

Clean mushrooms shortly before you use them

You may have heard that mushrooms should never touch water. For food safety, the FDA's general produce guidance is straightforward: rinse fresh produce under running water and gently rub the surface. Do not use dish soap, detergent, bleach, or commercial produce wash. After rinsing, dry the mushrooms with a clean cloth or paper towel.

For cooking quality, keep the rinse brief rather than leaving mushrooms soaking in a bowl. Mushrooms already contain plenty of water, and a quick rinse followed by thorough drying makes it easier to get good browning in a skillet. If the mushrooms are only lightly dusty, you can also wipe away visible debris before a quick rinse.

Trim dry or damaged stem ends as needed. If a mushroom is rotten, slimy, or has obvious mold, discard it rather than trying to rescue the usable-looking parts. Wash your hands before food preparation, and use clean knives and cutting boards.

Fresh mushrooms being prepared on a clean kitchen work surface

Why mushrooms sometimes steam instead of brown

Mushrooms release a lot of water as they heat. If too many go into a small pan at once, that moisture collects faster than it can evaporate, so the mushrooms simmer in their own liquid. They are still usable, but you miss the browned edges and concentrated flavor that make sautéed mushrooms especially good.

Use a wide pan, preheat it, and give the mushrooms enough room for steam to escape. Medium-high heat works well for many skillet preparations. Let the first side make good contact with the pan before stirring constantly. Once excess moisture has cooked away and the surfaces begin to brown, add aromatics or finishing ingredients that would otherwise burn during the early high-heat stage.

This basic method works for sliced button mushrooms, cremini, shiitake caps, and many oyster mushrooms. Larger portobello caps can also be roasted or grilled. For soups and sauces, browning first is optional, but it can add a deeper savory flavor before liquid goes into the pot.

Sliced edible mushrooms browning in a frying pan

Keep raw produce and raw animal foods separate

If mushrooms are going into a meal with raw chicken, beef, seafood, or eggs, the main safety issue is cross-contamination. Use a clean cutting board for the mushrooms and do not place prepared produce on a plate or surface that just held raw animal food unless it has been washed with hot soapy water.

The same rule applies to utensils. A knife used on raw poultry should not go straight into a pile of mushrooms for a salad or garnish. Cleaning between tasks takes only a moment and removes a common route by which microorganisms move around a kitchen.

When mushrooms should be discarded

Quality naturally declines during storage, but there is a difference between a slightly dry mushroom and one that is clearly spoiled. Discard mushrooms that are slimy, rotten, moldy, or have a strong unpleasant odor. If you are uncertain about the condition of a highly perishable ingredient, replacing it is usually more sensible than building a meal around it.

Do not use cooking as a way to make obviously spoiled mushrooms acceptable. Heat can reduce many microorganisms, but it does not turn rotten produce back into good food.

A separate warning for wild and foraged mushrooms

Everything above assumes you are starting with mushrooms sold as edible food. Wild mushrooms are different. Poisonous species can closely resemble edible ones, and visual identification from an app, photograph, or casual comparison is not enough to make an unknown mushroom safe.

The FDA advises people preparing morels or other wild-type mushrooms to confirm the identity of every mushroom and consult a knowledgeable expert because poisonous species may grow near edible ones. It also notes that proper preparation and cooking do not guarantee safety for wild-type mushrooms. If the identity is uncertain, do not eat it.

The simple mushroom routine

At the store, choose mushrooms that are firm, dry-looking, and free from obvious spoilage. At home, refrigerate them at 40°F or below and avoid trapping excess moisture. Clean them under running water shortly before use, dry them well, and keep the work area separate from raw meat, poultry, and seafood.

When it is time to cook, use enough heat and pan space to let moisture escape. That one change often makes the difference between pale, watery mushrooms and deeply browned ones. Store them cold, handle them cleanly, and cook them with room to breathe.

Mushroom guide summary covering buying, refrigerated storage, cleaning, and cooking

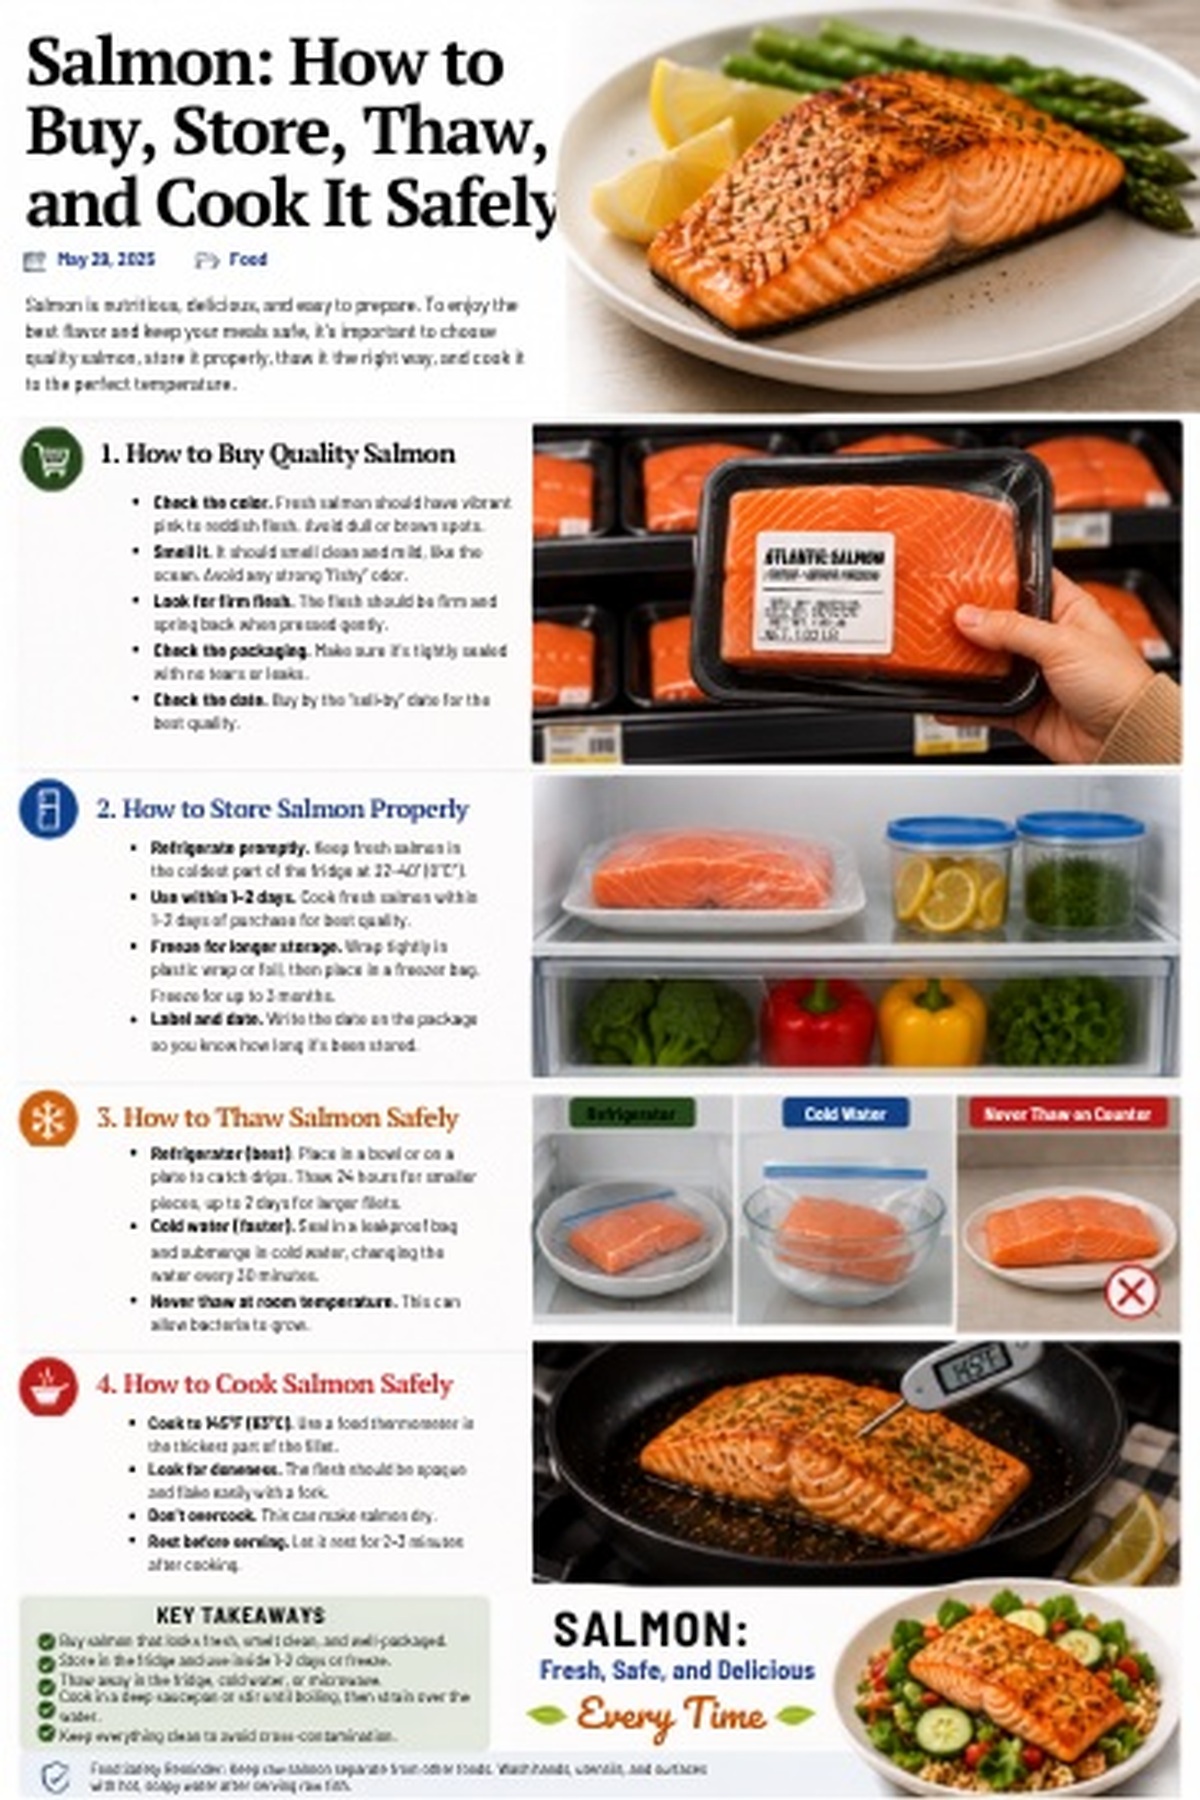
Salmon: How to Buy, Store, Thaw, and Cook It Safely

Salmon is easy to turn into a quick dinner, but the practical food-safety decisions start before the pan gets hot. The condition of the fish at the store, how quickly it gets cold at home, the way it is thawed, and how it is cooked all matter. This guide gives you a simple routine for buying salmon with confidence and keeping it safely chilled from the grocery case to the plate.

How to choose salmon at the store

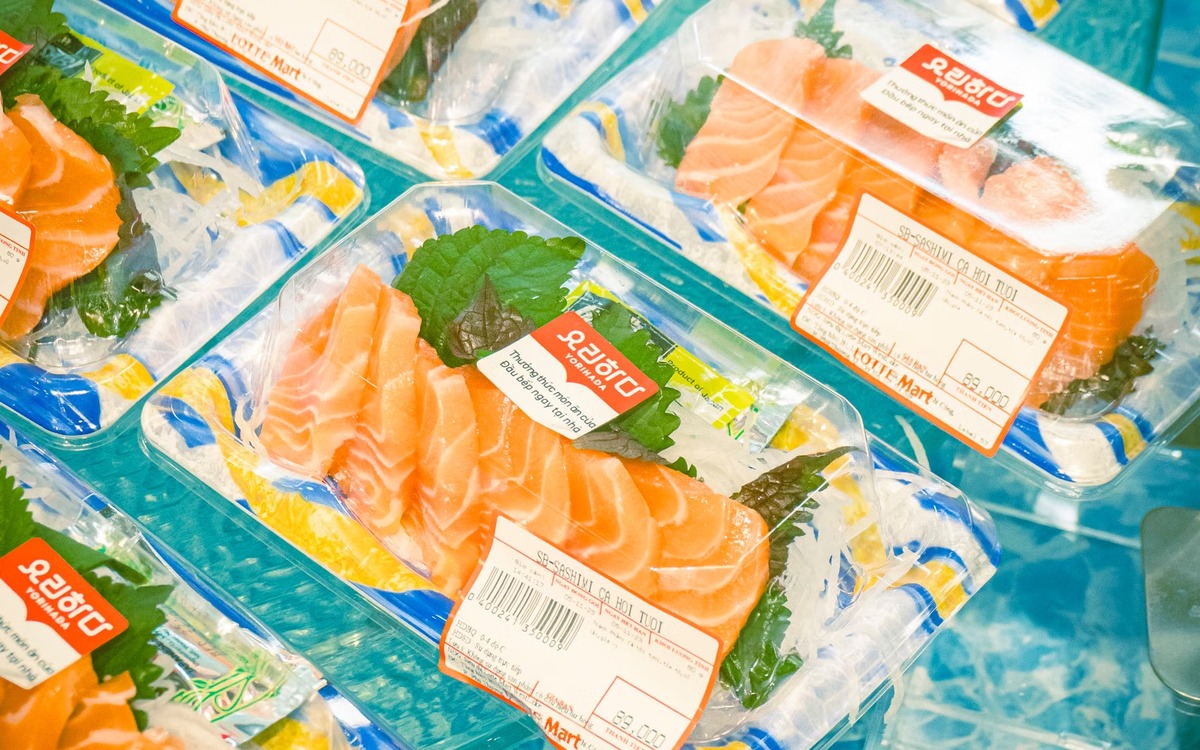
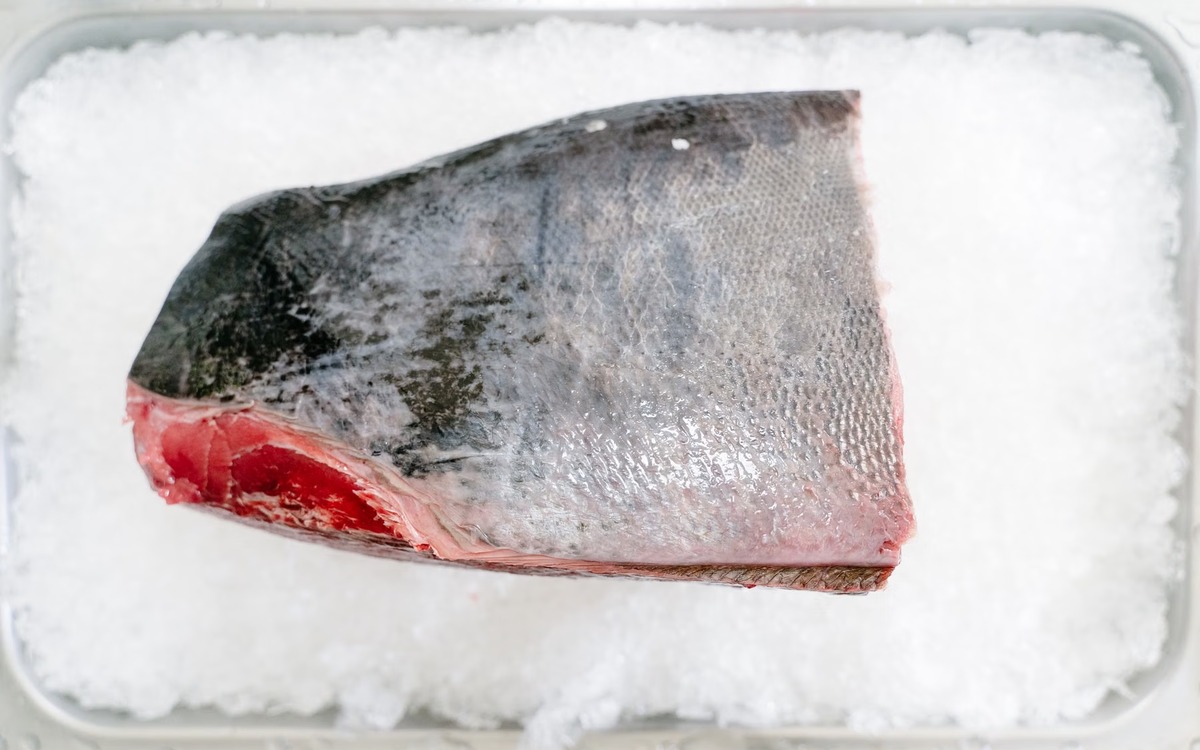
Start with temperature. FDA guidance says fresh fish should be refrigerated or displayed on a thick bed of fresh ice. Packaged frozen salmon should be solidly frozen; skip packages that are open, torn, crushed at the edges, or heavily coated with frost or ice crystals that may suggest long storage or thawing and refreezing.

Fresh salmon should smell mild and fresh rather than strongly fishy, sour, rancid, or ammonia-like. For fillets, look for firm flesh without obvious drying, darkening, or discoloration around the edges. Color by itself is not a reliable freshness test, because species, diet, processing, and packaging can affect appearance.

Fresh salmon fillets displayed cold at a seafood market

Get it cold quickly and keep your refrigerator at 40°F or below

Once salmon is in your cart, avoid turning the rest of the shopping trip into a long warm holding period. Refrigerate or freeze seafood promptly after you get home. The FDA recommends keeping the refrigerator at 40°F (4°C) or below.

If you plan to use fresh seafood within two days of purchase, keep it refrigerated. Otherwise, wrap or package it well and freeze it. Store raw salmon so juices cannot drip onto produce, cooked foods, or anything you plan to eat without further cooking. A covered container or leak-resistant package on a low refrigerator shelf makes that separation easier.

Raw salmon kept cold on ice to illustrate safe refrigerated storage

Thaw salmon without leaving it on the counter

The easiest method is to move frozen salmon to the refrigerator and let it thaw gradually. If you need it sooner, seal it in a leak-resistant plastic bag and thaw it in cold water. A microwave can also be used on the defrost setting when the salmon will be cooked immediately afterward.

Do not thaw salmon at room temperature on the counter. Cold-water and microwave thawing are fast methods, so plan to cook the fish right away rather than putting it back into a long holding cycle.

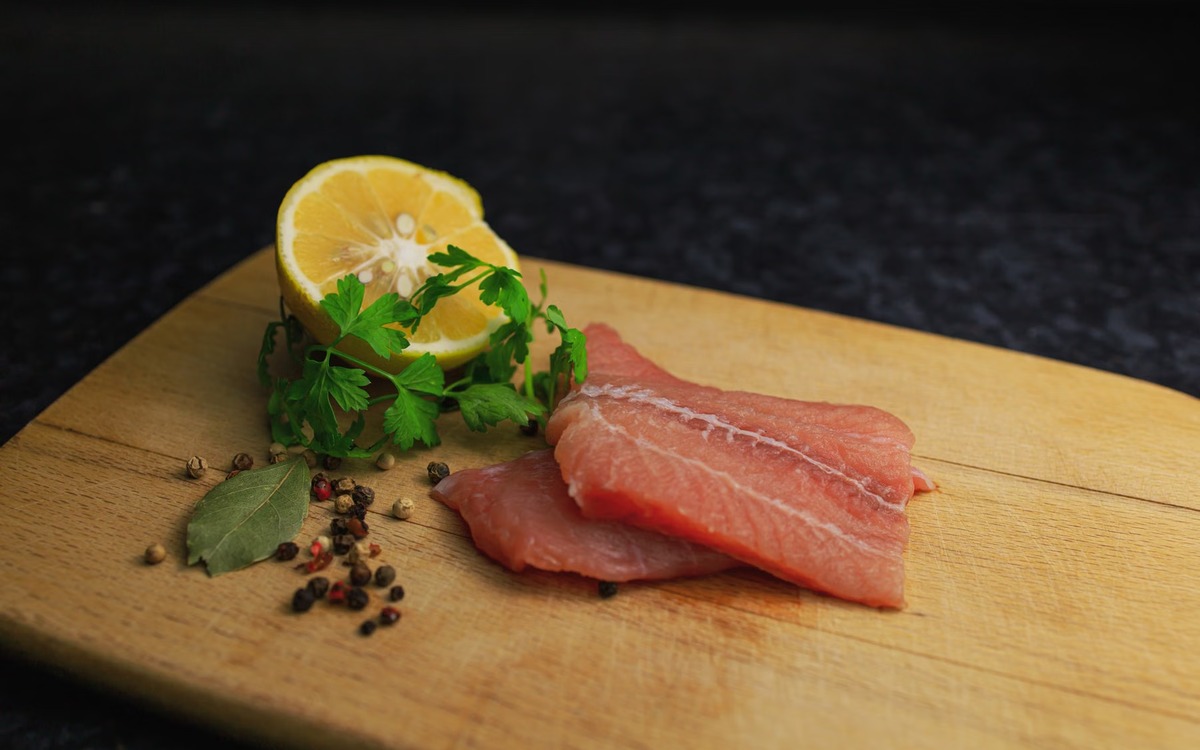
Raw salmon prepared in a kitchen as an example of safe thawing and handling

Prevent cross-contamination while you prep

Raw seafood can transfer microorganisms to hands, knives, cutting boards, plates, and ready-to-eat food. Wash your hands with soap and water after handling raw salmon, and clean utensils, dishes, cutting boards, and counters with hot soapy water before using them for cooked food or fresh produce.

Do not put cooked salmon back on an unwashed plate that held it raw. If you use a marinade on raw fish, do not reuse it as a finishing sauce unless it has been brought to a boil first.

Cook salmon to 145°F

FDA guidance recommends cooking most seafood to an internal temperature of 145°F (63°C). Check the thickest part of the fillet with a food thermometer. This is more dependable than judging safety from color alone.

If a thermometer is not available, FDA guidance notes that cooked fish should become opaque and separate easily with a fork. These visual cues are useful, but a thermometer gives you a clearer endpoint when you want to avoid guessing.

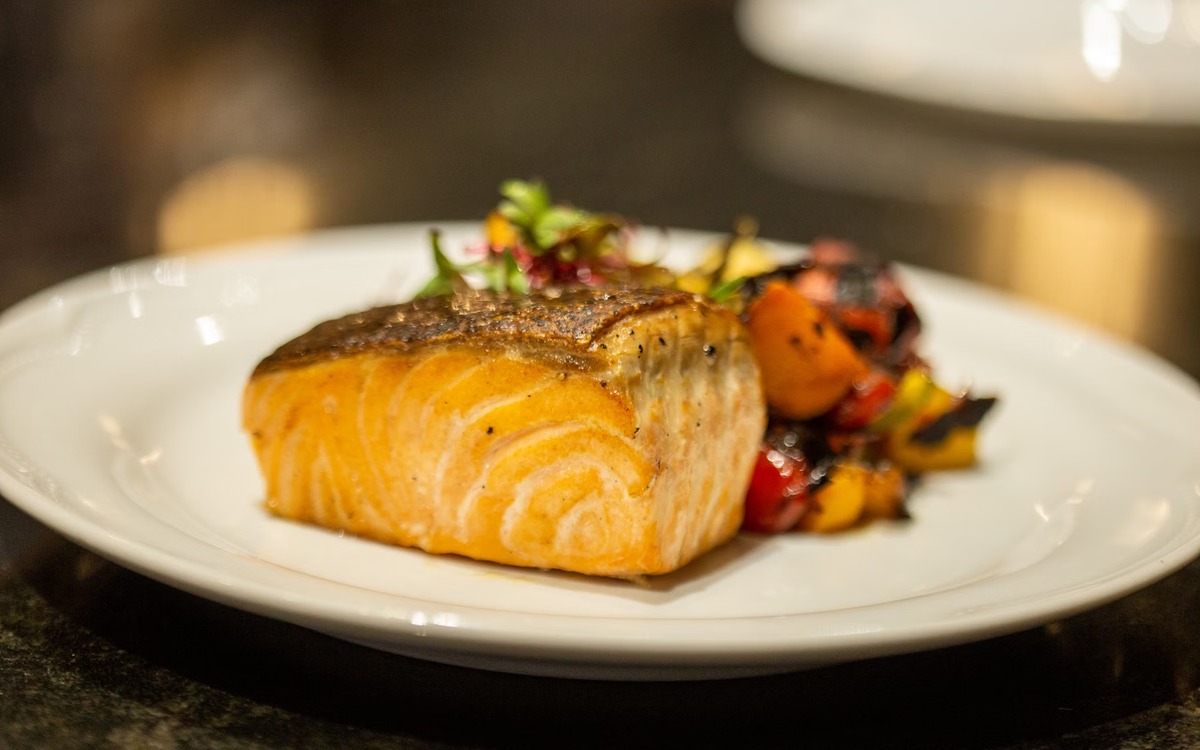
Cooked salmon served on a plate after safe preparation

Serve it promptly and handle leftovers safely

Seafood and other perishable foods should not sit at room temperature for more than two hours. When the surrounding temperature is above 90°F (32°C), that limit drops to one hour. Refrigerate leftovers promptly in covered containers rather than leaving the serving dish out for the rest of the evening.

The same rule matters when transporting salmon for a picnic or lunch: keep cold salmon cold with ice or cold packs, and keep hot food hot until it is served.

A simple salmon safety routine

At the store, choose salmon that is properly chilled, smells mild, and is in sound packaging. At home, keep it at 40°F or below and use refrigerated fresh seafood within two days or freeze it. Thaw in the refrigerator, cold water, or microwave rather than on the counter. Keep raw fish away from ready-to-eat foods, and cook salmon to 145°F in the thickest part.

Those few habits do most of the work. They also make salmon easier to plan: buy it cold, keep it cold, thaw it deliberately, cook it thoroughly, and refrigerate what is left without delay.

Salmon safety summary covering shopping, refrigeration, thawing, cooking, and serving

Thursday, August 27, 2026

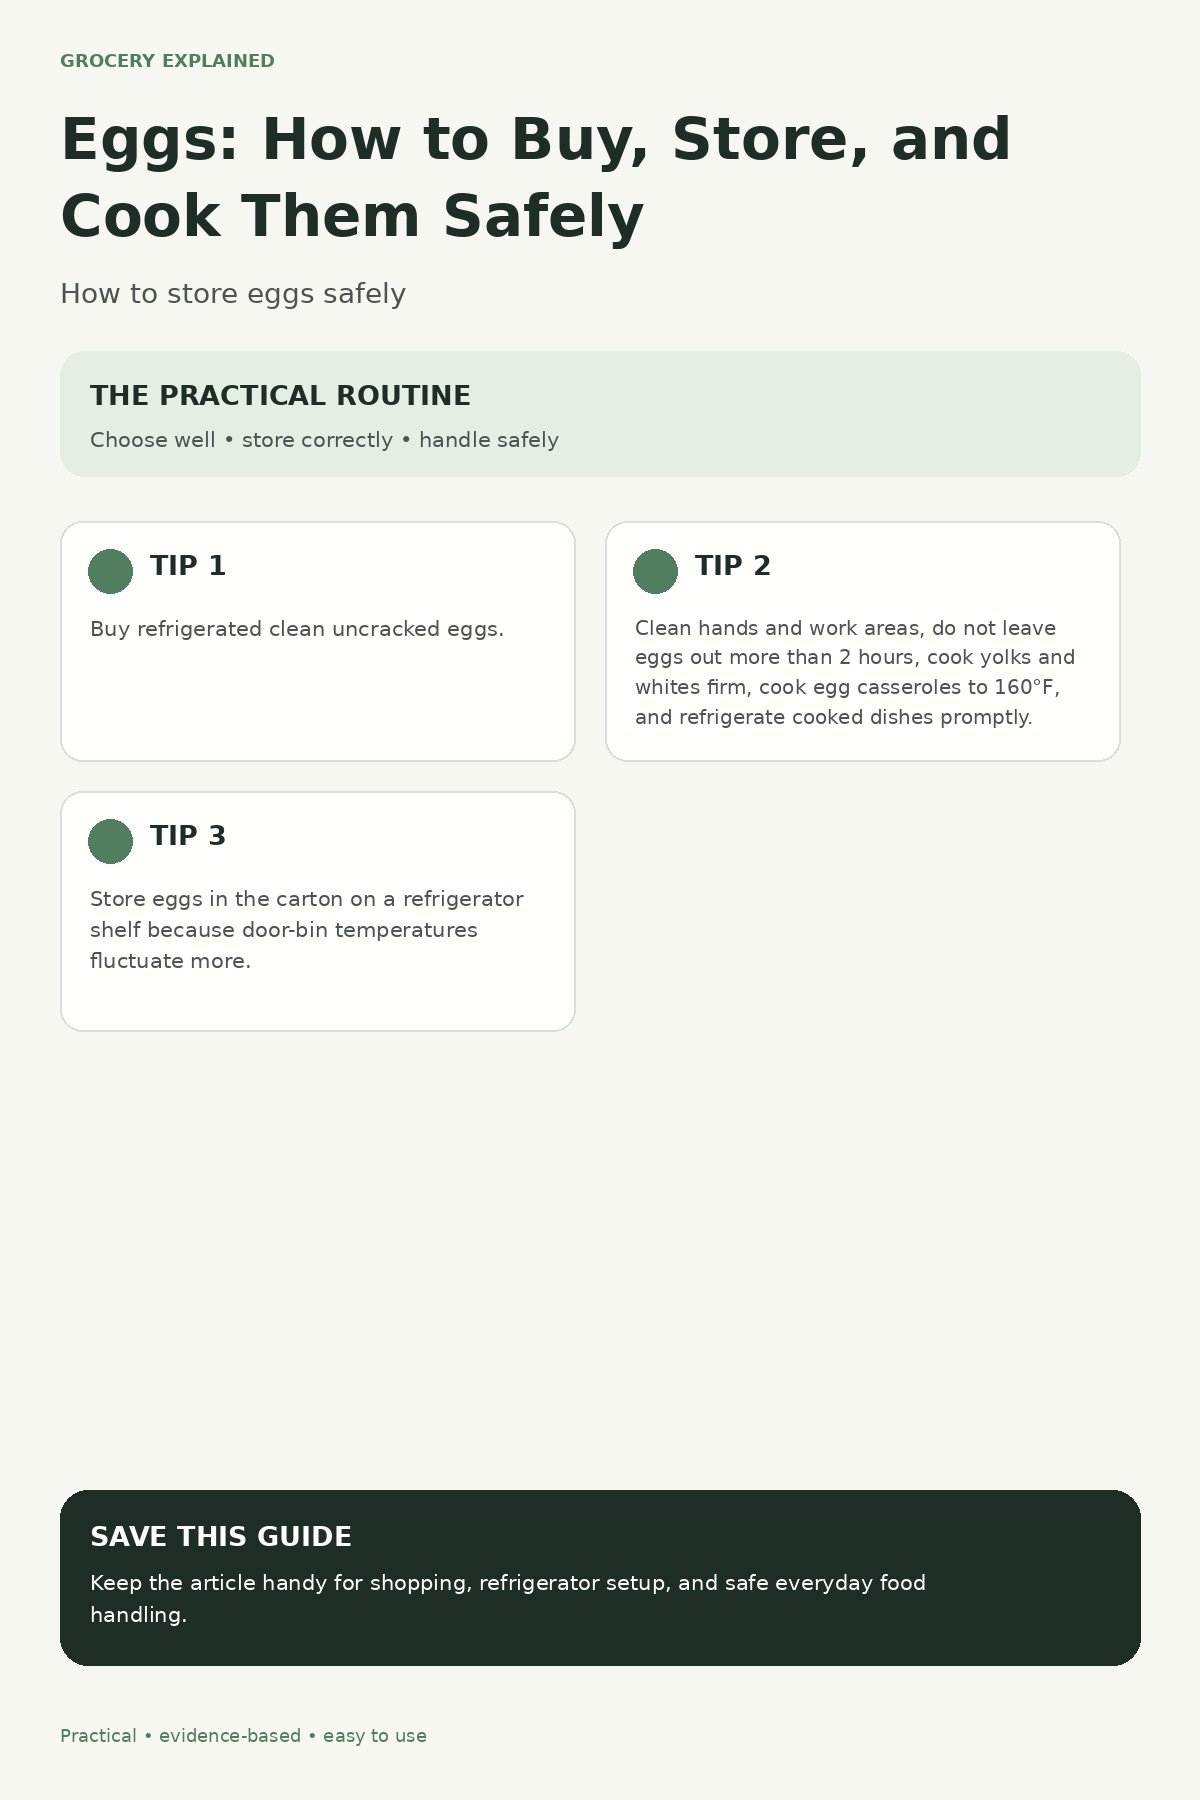
Eggs: How to Buy, Store, and Cook Them Safely

Eggs are inexpensive, versatile, and easy to keep on hand, but a few small handling habits make a real difference. Fresh shell eggs can carry Salmonella even when the shells look clean, so the safest routine starts at the store and continues through refrigeration, preparation, cooking, and leftovers.

What to check when buying eggs

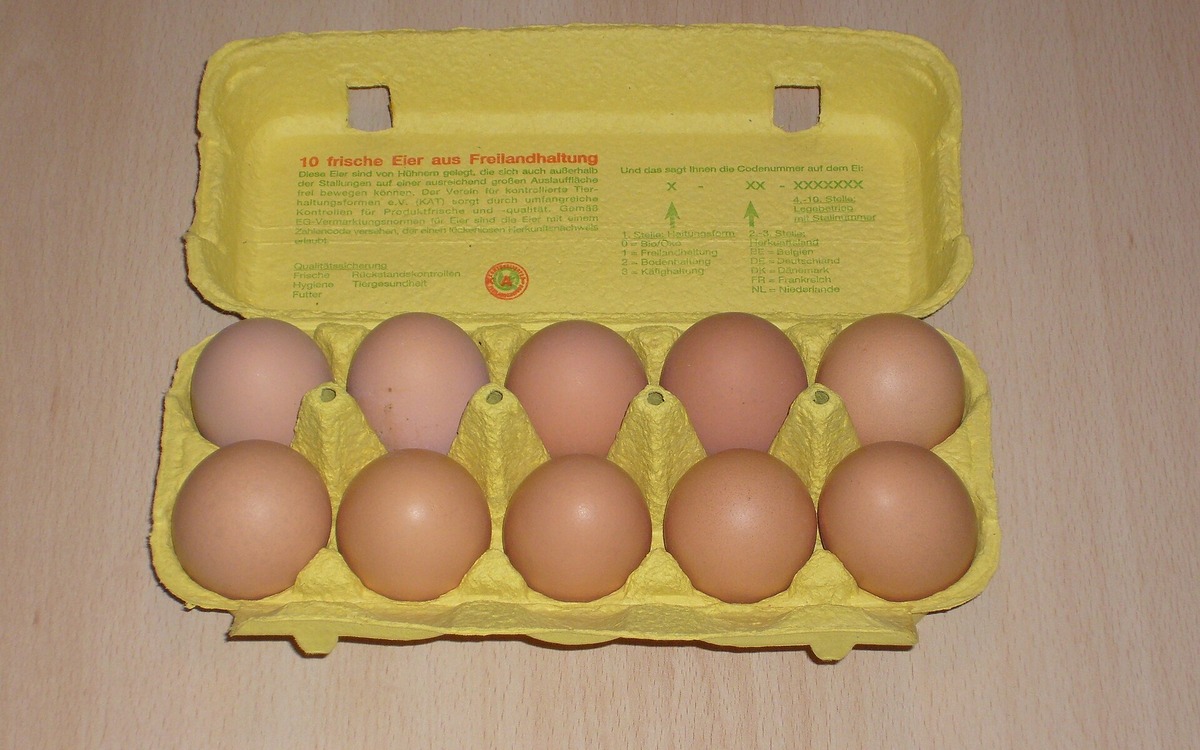
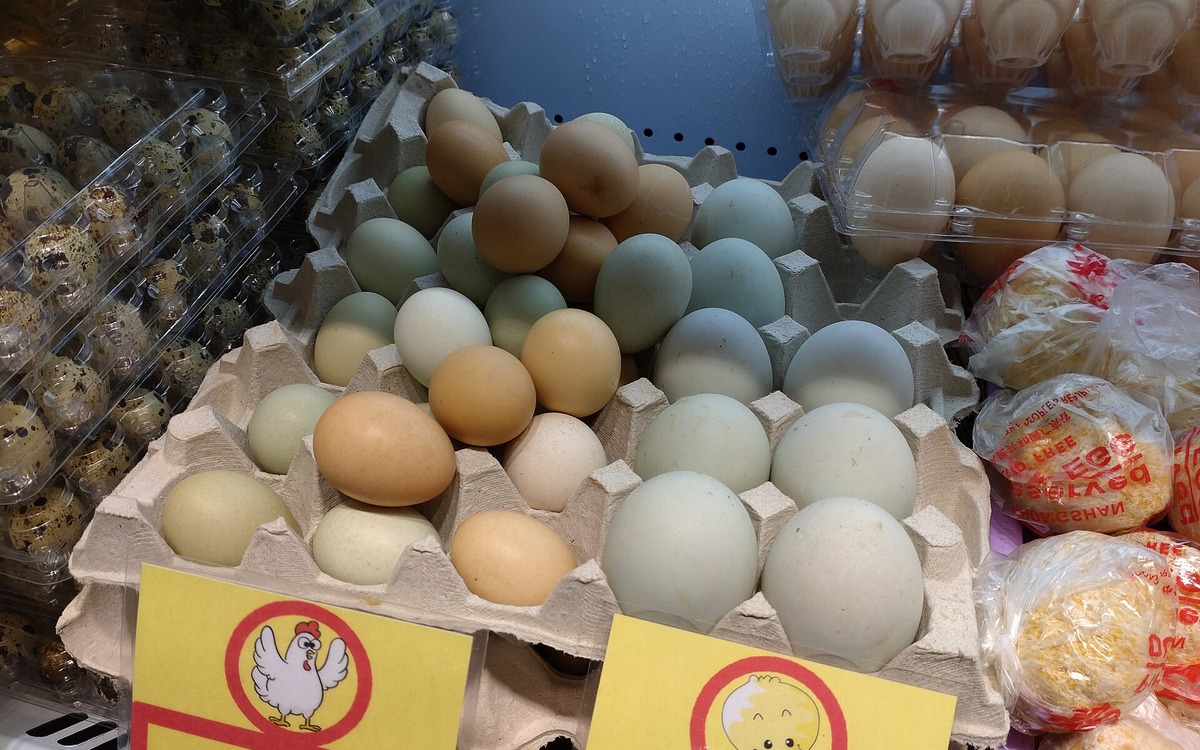
In the United States, choose shell eggs from a refrigerated case. Open the carton before buying and check that the shells are clean and uncracked. A cracked shell creates an easier route for contamination, so skip damaged eggs rather than planning to “cook them extra well” later.

Put eggs into your cart near the end of the shopping trip and get refrigerated groceries home promptly. If you are running several errands on a hot day, an insulated bag or cooler is a practical way to protect the cold chain.

Brown eggs arranged in an open carton for a grocery shopping check

Store eggs cold — and keep them in the carton

FDA guidance says to refrigerate eggs promptly at 40°F (4°C) or below. Keep them in their original carton on a refrigerator shelf rather than in the door. The carton protects the eggs, while a shelf gives them a more stable temperature than the door, which warms repeatedly when the refrigerator is opened.

For best quality, FDA recommends using refrigerated shell eggs within about three weeks. That is a quality guideline rather than a reason to leave eggs at room temperature: once eggs are refrigerated, keep them refrigerated. USDA advises not leaving eggs out for more than two hours, or more than one hour when the temperature is above 90°F (32°C).

Cartons of eggs stored inside a refrigerator

Keep raw egg away from ready-to-eat food

Wash your hands, utensils, equipment, and work surfaces with hot, soapy water before and after contact with raw eggs. If raw egg gets onto a plate, whisk, counter, or bowl, clean it before that surface touches cooked or ready-to-eat food.

You do not need elaborate equipment. The useful habit is simple: crack and prepare eggs in a clean work area, avoid spreading raw egg around the kitchen, and wash contaminated tools before reusing them.

Eggs being prepared for cooking in a home kitchen

How thoroughly should eggs be cooked?

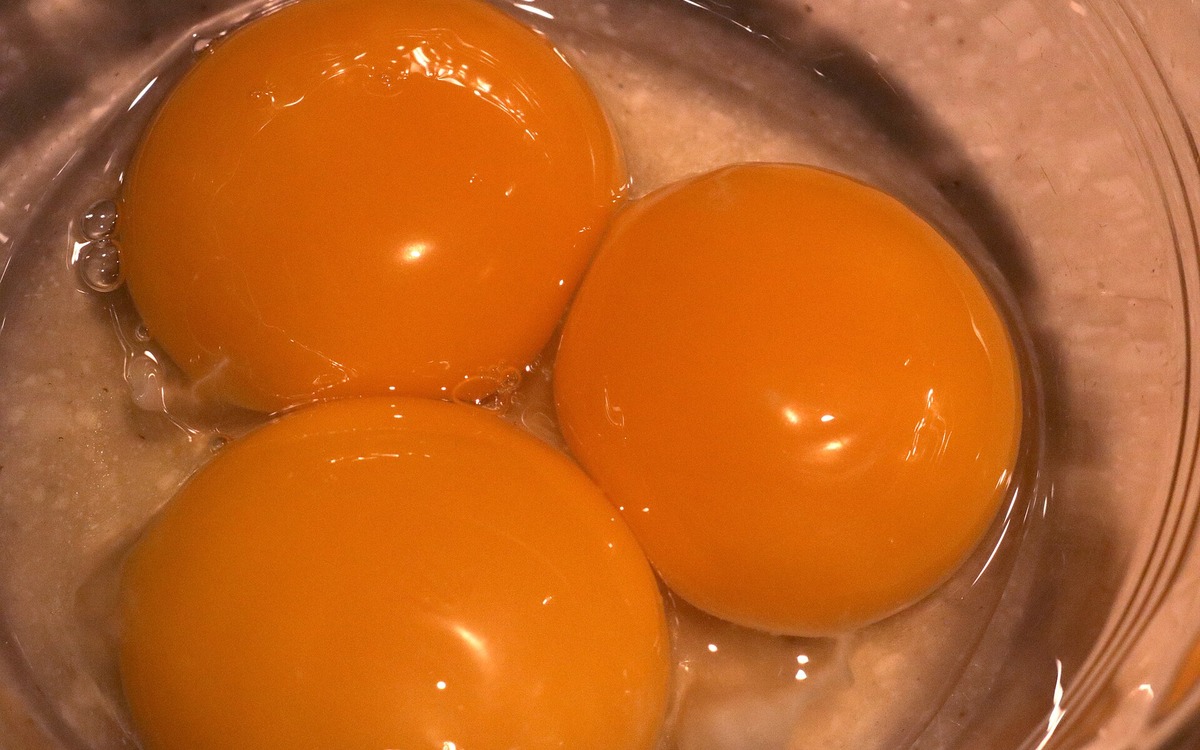
For ordinary home cooking, FDA recommends cooking shell eggs until both the white and yolk are firm; scrambled eggs should not be runny. Casseroles and other dishes containing eggs should reach 160°F (71°C), measured with a food thermometer.

If a recipe is meant to be served raw or undercooked — for example homemade Caesar dressing, eggnog, ice cream, or another preparation in which the egg will not be thoroughly cooked — use pasteurized shell eggs or pasteurized egg products. Pasteurization is the safer choice for recipes where normal cooking will not provide the safety step.

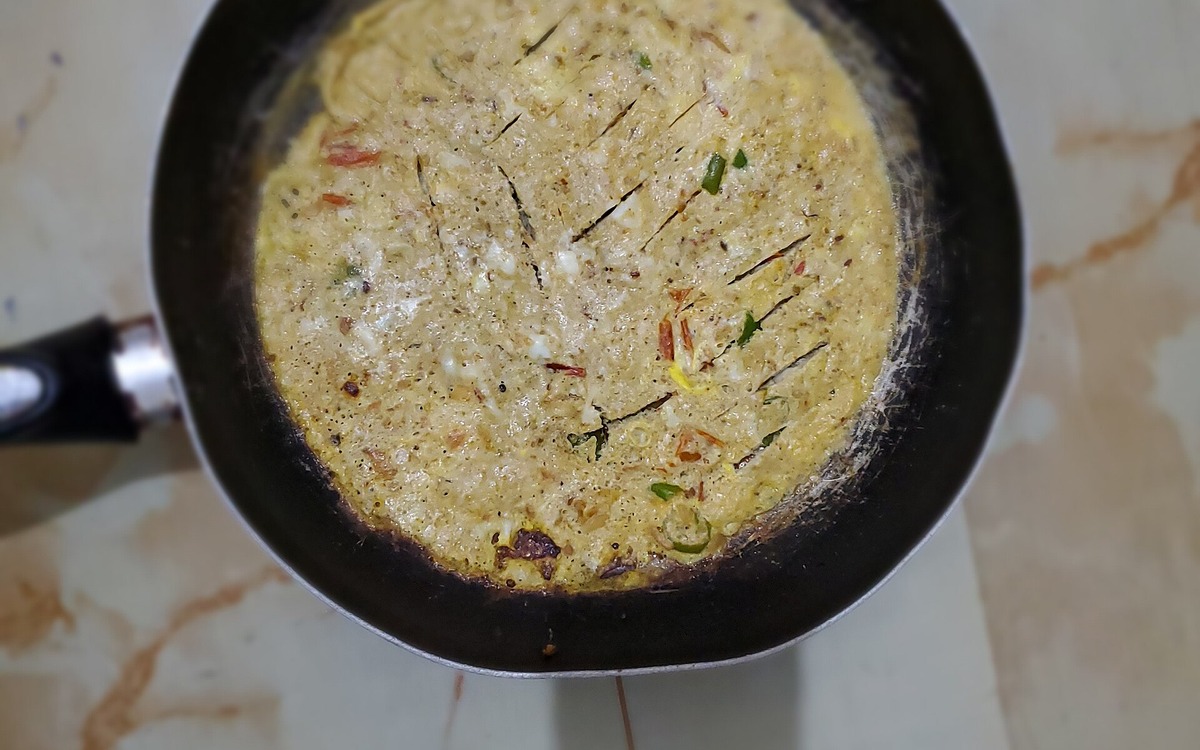
Eggs cooking thoroughly in a pan

Hard-cooked eggs and leftovers have shorter windows

Hard-cooked eggs should be refrigerated and used within one week. Cooked egg dishes and other egg-containing leftovers should generally be refrigerated within two hours and used within three to four days. If the surrounding temperature is above 90°F (32°C), refrigerate perishables within one hour.

For a large hot egg dish, divide leftovers into shallow containers so they cool more quickly. When serving cooked eggs or egg dishes later, FDA advises reheating them thoroughly to 165°F (74°C).

A simple egg-safety routine

Buy refrigerated, uncracked eggs. Refrigerate them promptly at 40°F or below in their carton on a shelf. Keep raw egg from contaminating ready-to-eat foods. Cook shell eggs until the whites and yolks are firm, use pasteurized eggs for recipes that stay raw or undercooked, and chill leftovers on time.

None of these steps makes cooking eggs complicated. They simply turn a familiar grocery staple into a more predictable, safer part of everyday meals.

Egg safety guide summarizing how to buy, refrigerate, prepare, and cook eggs safely

Monday, August 24, 2026

Ground Beef: How to Buy, Store, Thaw, and Cook It Safely

Ground beef is convenient, affordable, and easy to turn into burgers, meatballs, tacos, pasta sauce, and dozens of other meals. It also needs a little more care than an intact steak because grinding can move bacteria from the surface throughout the meat. The practical rules are simple: buy it cold, keep it cold, avoid cross-contamination, thaw it safely, and use a food thermometer when you cook it.

Choose a cold, intact package

At the grocery store, pick ground beef that is cold to the touch and packaged without tears or leaks. USDA recommends making raw ground beef one of the last refrigerated items you add to your cart, keeping it separate from ready-to-eat foods, and heading home promptly after shopping.

Color alone is not a perfect freshness test. Ground beef may be bright red on the outside and darker or grayish-brown inside because the interior gets less oxygen. A fully gray or brown package may be deteriorating, but appearance cannot tell you whether harmful bacteria are present. Check the package, date, temperature, and overall condition rather than relying on color alone.

Packages of raw meat displayed in a refrigerated grocery case

Refrigerate it quickly and use it soon

Keep raw ground beef at 40°F (4°C) or below. USDA recommends using refrigerated ground beef within 1 to 2 days or freezing it for longer storage. If you know you will not cook it in that window, freezing it early is simpler than waiting until the last minute.

Store raw ground beef where leaks cannot drip onto produce, leftovers, or other ready-to-eat foods. Keep the package sealed or place it in a clean container or bag. FDA also recommends refrigerating or freezing perishables within two hours of purchase, or within one hour when the outside temperature is above 90°F (32°C).

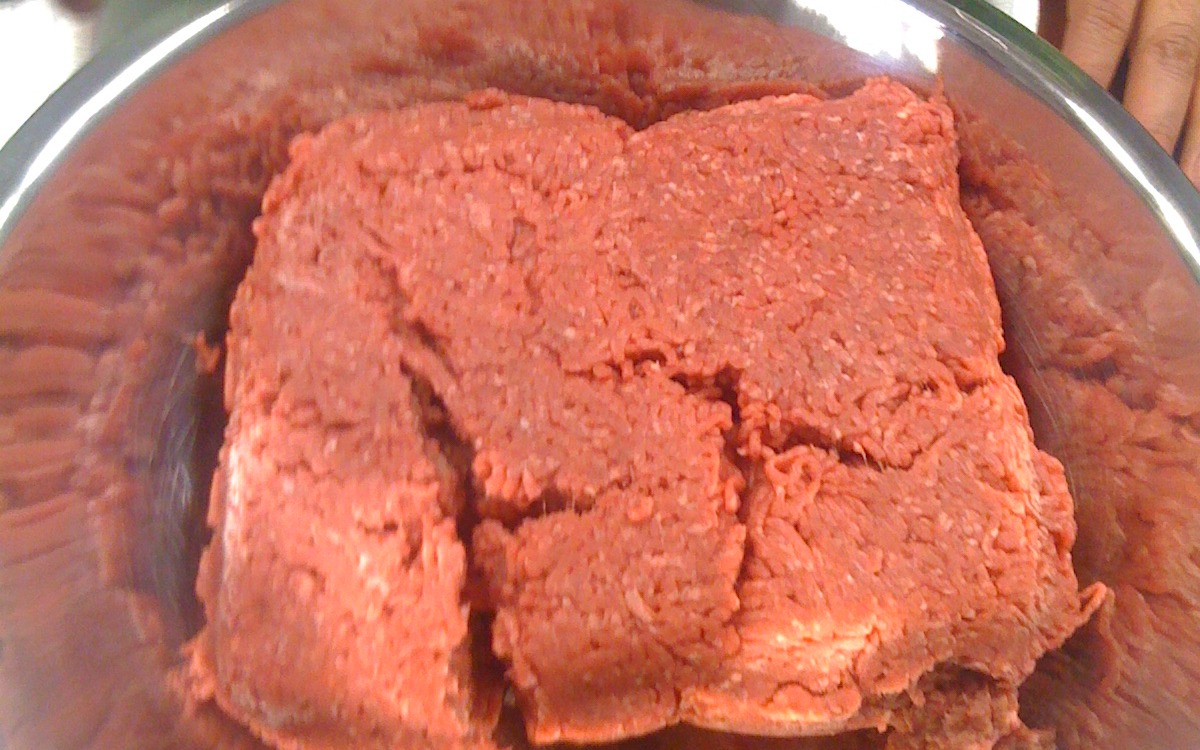
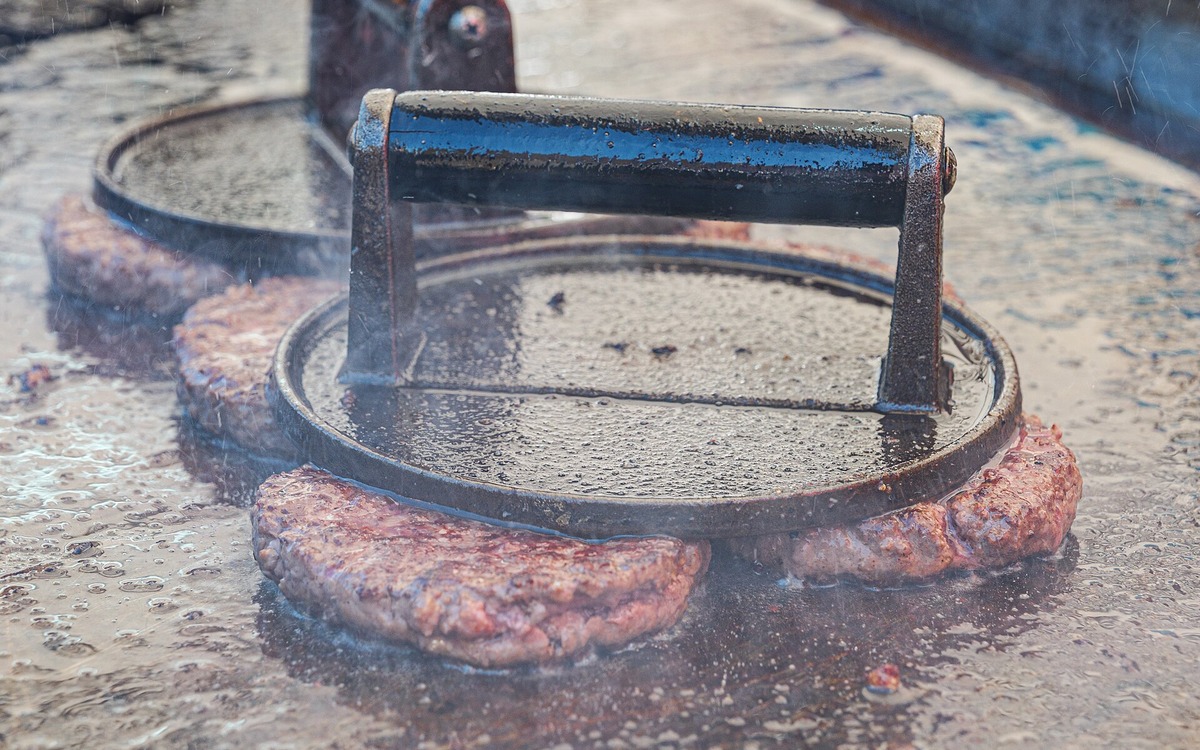
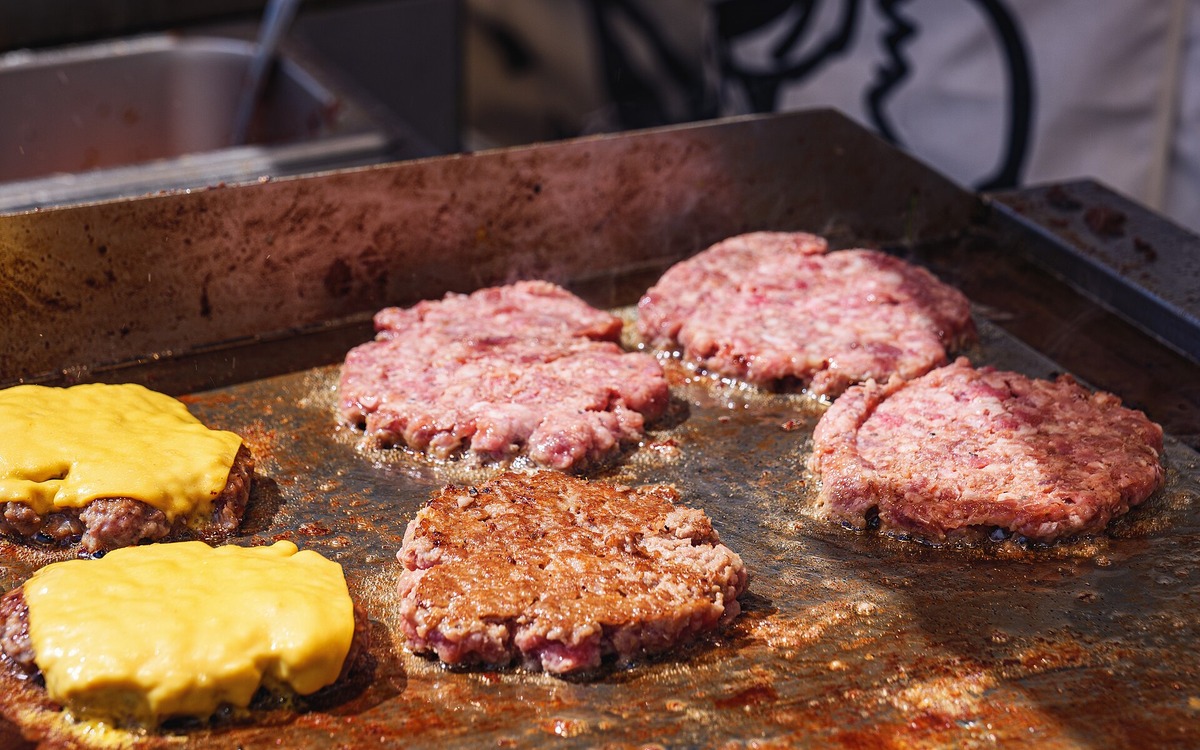
Raw ground beef patties prepared on a tray before cooking

Thaw ground beef safely

The safest low-effort method is thawing in the refrigerator. USDA says ground beef may thaw within about a day in the refrigerator, and once thawed it can generally remain refrigerated for another 1 to 2 days before cooking.

For faster thawing, use cold water or the microwave. For cold-water thawing, keep the meat in a leakproof package, submerge it in cold water, and change the water every 30 minutes. Ground beef thawed in cold water or in the microwave should be cooked immediately. Do not thaw ground beef on the kitchen counter.

If ground beef was thawed in the refrigerator and stayed properly cold, USDA says it can be refrozen before cooking, although quality may decline. If it was thawed in cold water or in the microwave, cook it before refreezing.

Raw beef being handled on a clean preparation surface before cooking

Keep raw meat separate

Wash your hands before and after handling raw ground beef, and clean cutting boards, plates, utensils, counters, and other surfaces that touched the raw meat. Do not put cooked burgers or meatballs back onto a plate that held raw ground beef unless the plate has been washed first.

Avoid rinsing raw ground beef. Washing raw meat is unnecessary and can spread contaminated droplets around the sink and nearby surfaces. The step that destroys harmful bacteria is proper cooking, not rinsing.

Cook ground beef to 160°F (71°C)

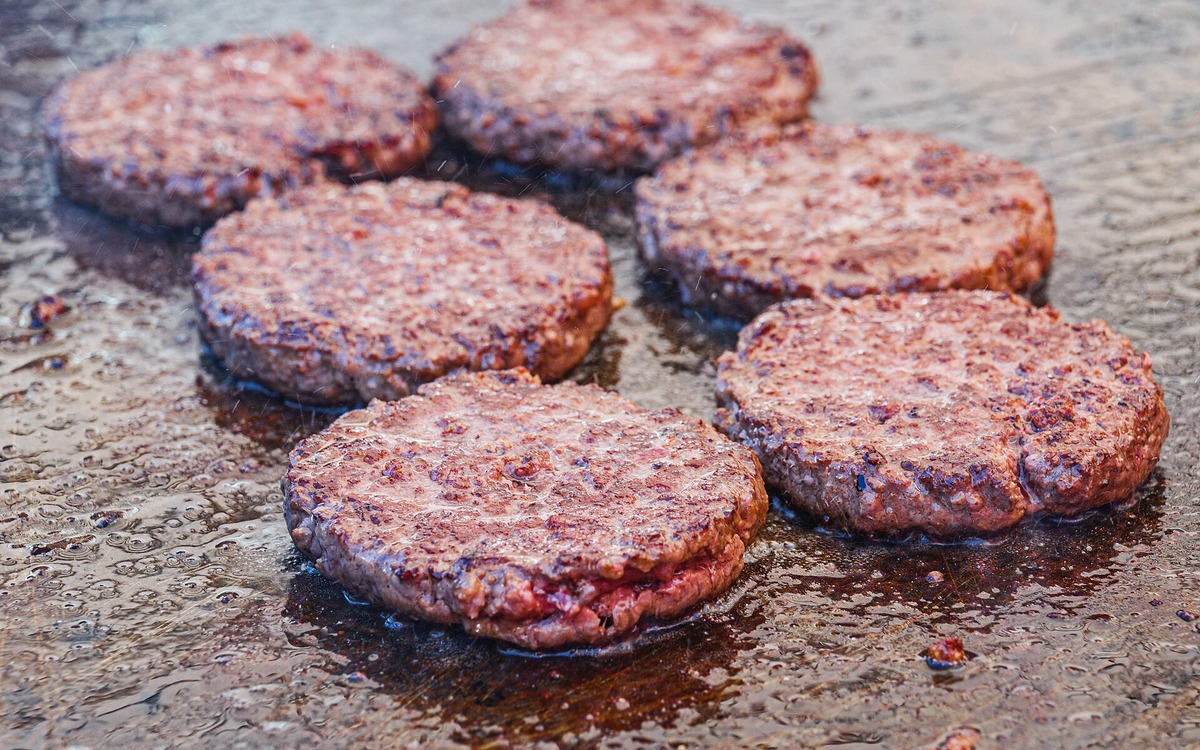
USDA recommends cooking ground beef, including burgers, meatballs, and meat loaf, to a safe minimum internal temperature of 160°F (71°C). Use a food thermometer in the thickest part. For thin patties, insert the probe from the side so the sensing area reaches the center.

Do not judge doneness by color. A safely cooked burger can still look pink, and an undercooked burger can sometimes look brown. Temperature is the reliable check.

Cooked meat being checked with a digital food thermometer

Do not partially cook it for later

USDA advises against partially cooking ground beef, refrigerating it, and finishing it later. Partial cooking can allow harmful bacteria to survive and multiply. If you cook ground beef, cook it fully in one continuous process.

Handle leftovers promptly

Refrigerate cooked ground beef within two hours of cooking, or within one hour when temperatures are above 90°F (32°C). USDA says cooked ground-beef leftovers can generally be kept in the refrigerator for 3 to 4 days. When reheating cooked patties or casseroles containing ground beef, heat them to 165°F (74°C).

A simple ground-beef routine

Buy a cold, undamaged package. Get it into a refrigerator at 40°F (4°C) or below as soon as possible. Use or freeze raw ground beef within 1 to 2 days, thaw it in the refrigerator, cold water, or microwave rather than on the counter, keep raw meat away from ready-to-eat foods, and cook it to 160°F (71°C). Those habits cover most of what matters.

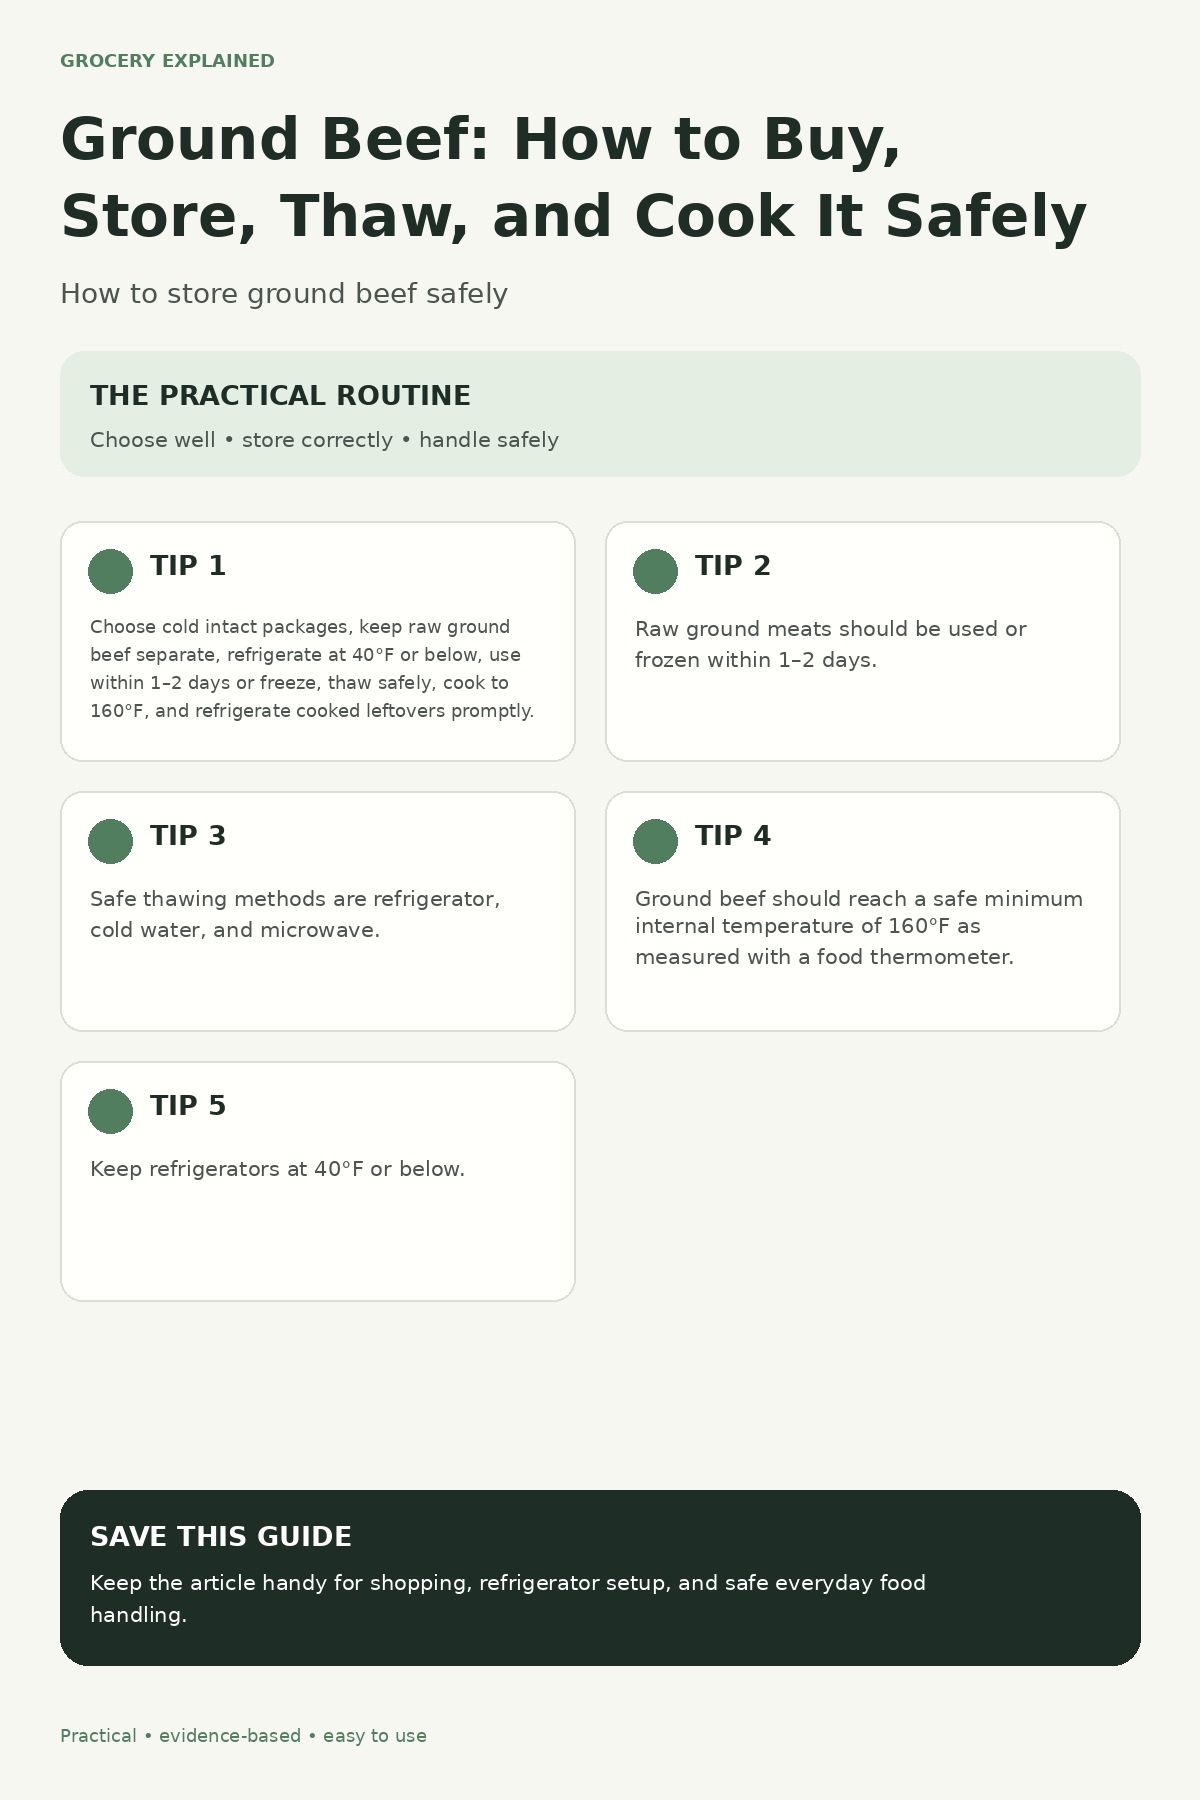
Ground beef safety guide summarizing shopping, refrigeration, thawing, and cooking temperatures

Sunday, August 23, 2026

Shrimp: How to Buy, Store, Thaw, and Cook It Safely

Shrimp is quick to cook, easy to portion, and sold in enough forms to make the seafood case confusing: fresh, previously frozen, frozen raw, frozen cooked, peeled, shell-on, deveined, and breaded. The good news is that choosing and handling it safely does not require complicated rules. What matters most is keeping it cold, avoiding cross-contamination, thawing it safely, and cooking it until the flesh is firm, pearly, and opaque.

How to buy shrimp with fewer surprises

Start with temperature. The FDA recommends buying fresh fish and shrimp only when they are refrigerated or displayed on a thick bed of fresh ice. If the package has a time-and-temperature indicator, check it before buying.

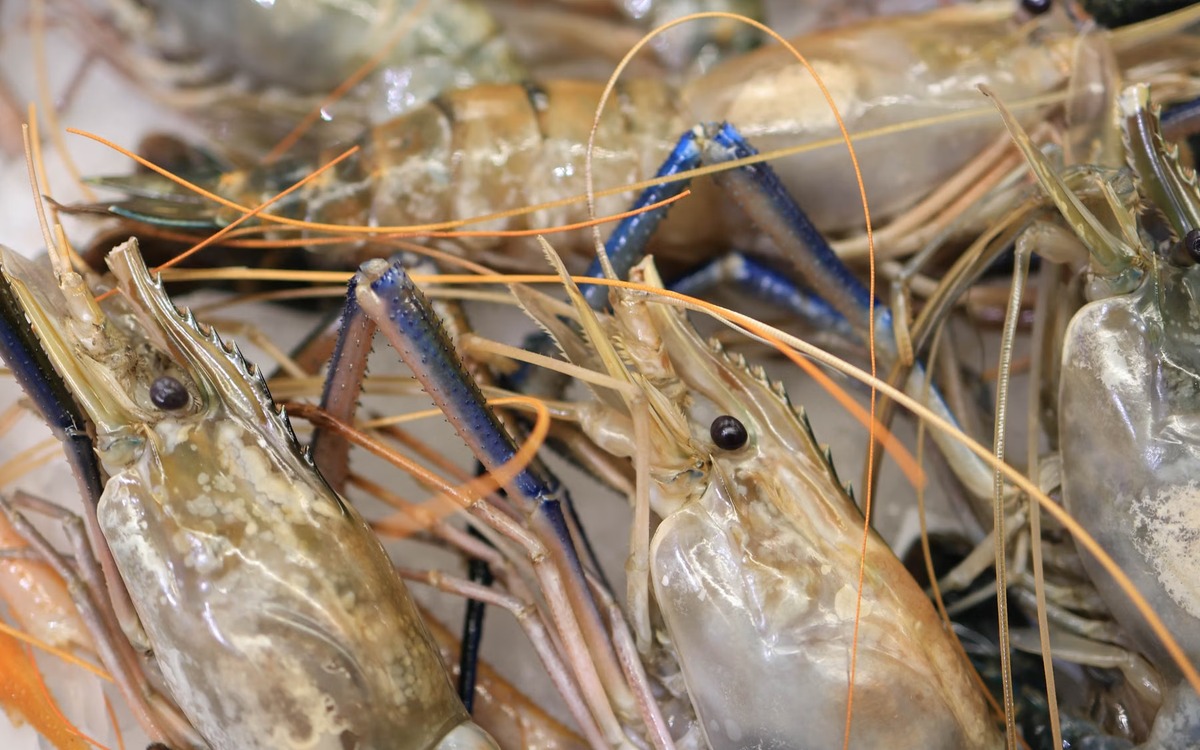
For fresh shrimp, look for clear, pearl-like flesh with little or no odor. A strong fishy, sour, rancid, or ammonia-like smell is a warning sign. Color by itself is not a dependable freshness test because processing and species differences can affect appearance.

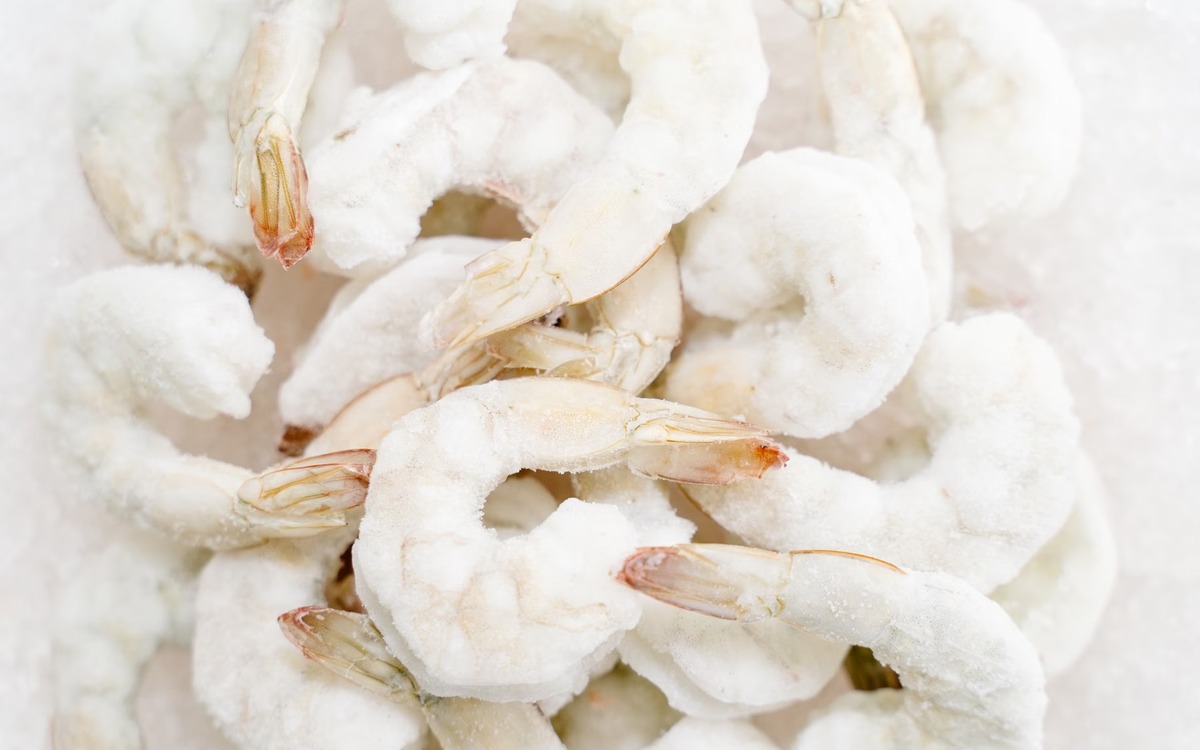
Frozen shrimp should feel solidly frozen rather than soft or partly thawed. Avoid packages that are torn, leaking, badly crushed, or covered with a large amount of loose frost and ice crystals. Heavy ice buildup can be a clue that the package has warmed and refrozen, although packaging style also matters.

If you are choosing between raw and cooked shrimp, decide based on how you plan to use it. Raw shrimp gives you more control over texture during cooking. Fully cooked frozen shrimp is convenient for chilled dishes and very quick meals, but it still needs safe thawing and cold storage.

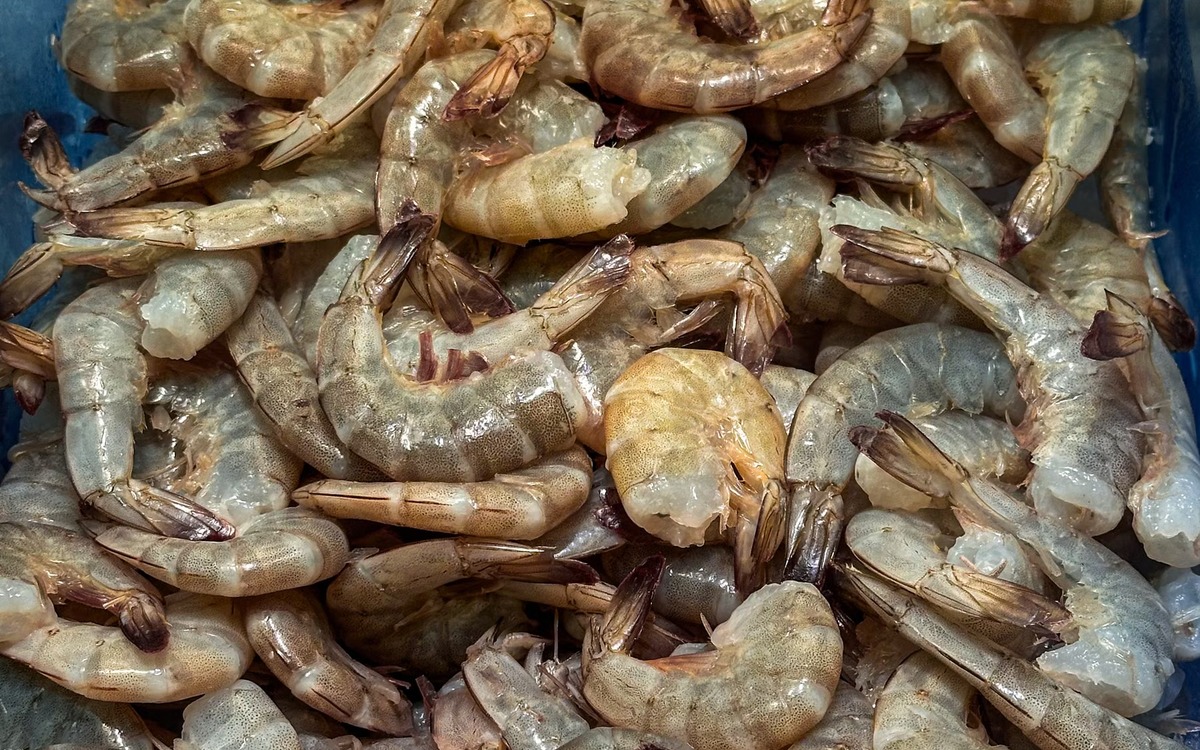
Raw shrimp illustrating what to inspect when buying shrimp

Get shrimp cold quickly after shopping

Seafood is highly perishable, so make it one of the last things you put in your cart and get it home promptly. FDA guidance says seafood that will be used within two days should be kept in a clean refrigerator at 40°F (4°C) or below. If you will not use it within that window, freeze it instead.

The general two-hour rule also applies: refrigerate or freeze perishable food within two hours of buying or cooking it, and within one hour when the surrounding temperature is above 90°F (32°C). On hot days, that means an insulated bag or cooler can make a real difference between a routine grocery trip and an unsafe warm-up period.

Store raw shrimp in a leak-resistant container or sealed package and keep it separated from ready-to-eat foods. That prevents raw seafood juices from reaching produce, cooked food, or anything else that will not be cooked again.

Frozen shrimp representing safe cold storage for seafood

Thaw shrimp safely, not on the counter

The easiest method is overnight refrigerator thawing. Put the shrimp in a covered container or bowl so any liquid stays contained. Slow refrigerator thawing keeps the shrimp cold throughout the process and is usually best for texture.

If you need shrimp faster, seal it in a leak-proof plastic bag and place the bag in cold water. The FDA also allows microwave defrosting when the shrimp will be cooked immediately afterward. What you should not do is leave frozen shrimp on the counter to thaw at room temperature.

After thawing, handle raw shrimp as you would any other raw seafood. Wash your hands with soap and water after touching it, and wash cutting boards, utensils, plates, and counters with hot, soapy water before they touch cooked or ready-to-eat food.

Raw shrimp representing safe refrigerator or cold-water thawing

How to tell when shrimp is cooked

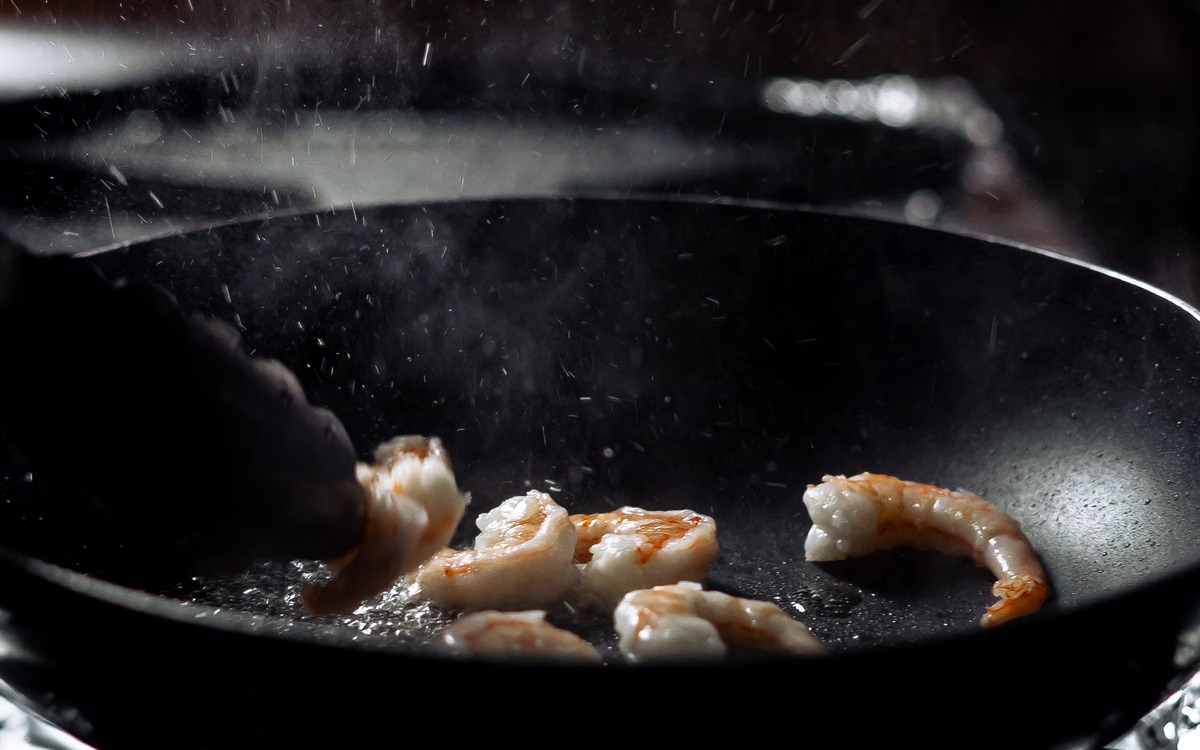
FDA guidance says most seafood should be cooked to 145°F (63°C). For shrimp specifically, a useful visual cue is that the flesh becomes firm, pearly, and opaque. Raw shrimp is usually translucent; cooked shrimp should no longer look glassy through the thickest part.

Do not rely on exterior color alone. Shrimp can turn pink before the center is fully cooked, especially in larger pieces or crowded pans. Cook in a single layer when possible, turn or stir so heat reaches the shrimp evenly, and avoid packing a skillet so tightly that the shrimp steam unevenly.

If cooked shrimp develops a strong sour, rancid, fishy, or ammonia-like odor, do not eat it. Cooking does not make spoiled seafood safe again.

Cooked shrimp with firm opaque flesh showing a safe doneness cue

Keep raw and cooked shrimp separate

Cross-contamination is one of the easiest mistakes to make with seafood. Do not put cooked shrimp back on the plate that held it raw unless the plate has been washed. The same goes for tongs, knives, bowls, and cutting boards.

This matters even when the shrimp will only be in the pan for a few minutes. A clean plate waiting beside the stove is a simple habit that removes the temptation to reuse a contaminated one.

What about shrimp cocktail and other chilled dishes?

Cooked shrimp served cold should stay cold. For a party or buffet, FDA guidance specifically recommends serving shrimp cocktail chilled on a bed of ice. Do not leave it sitting at room temperature for more than two hours, or more than one hour in temperatures above 90°F (32°C).

If you are using pre-cooked frozen shrimp, thaw only what you need and keep the rest frozen. Once thawed, treat it as a refrigerated perishable food rather than something shelf-stable.

A simple shrimp-safety routine

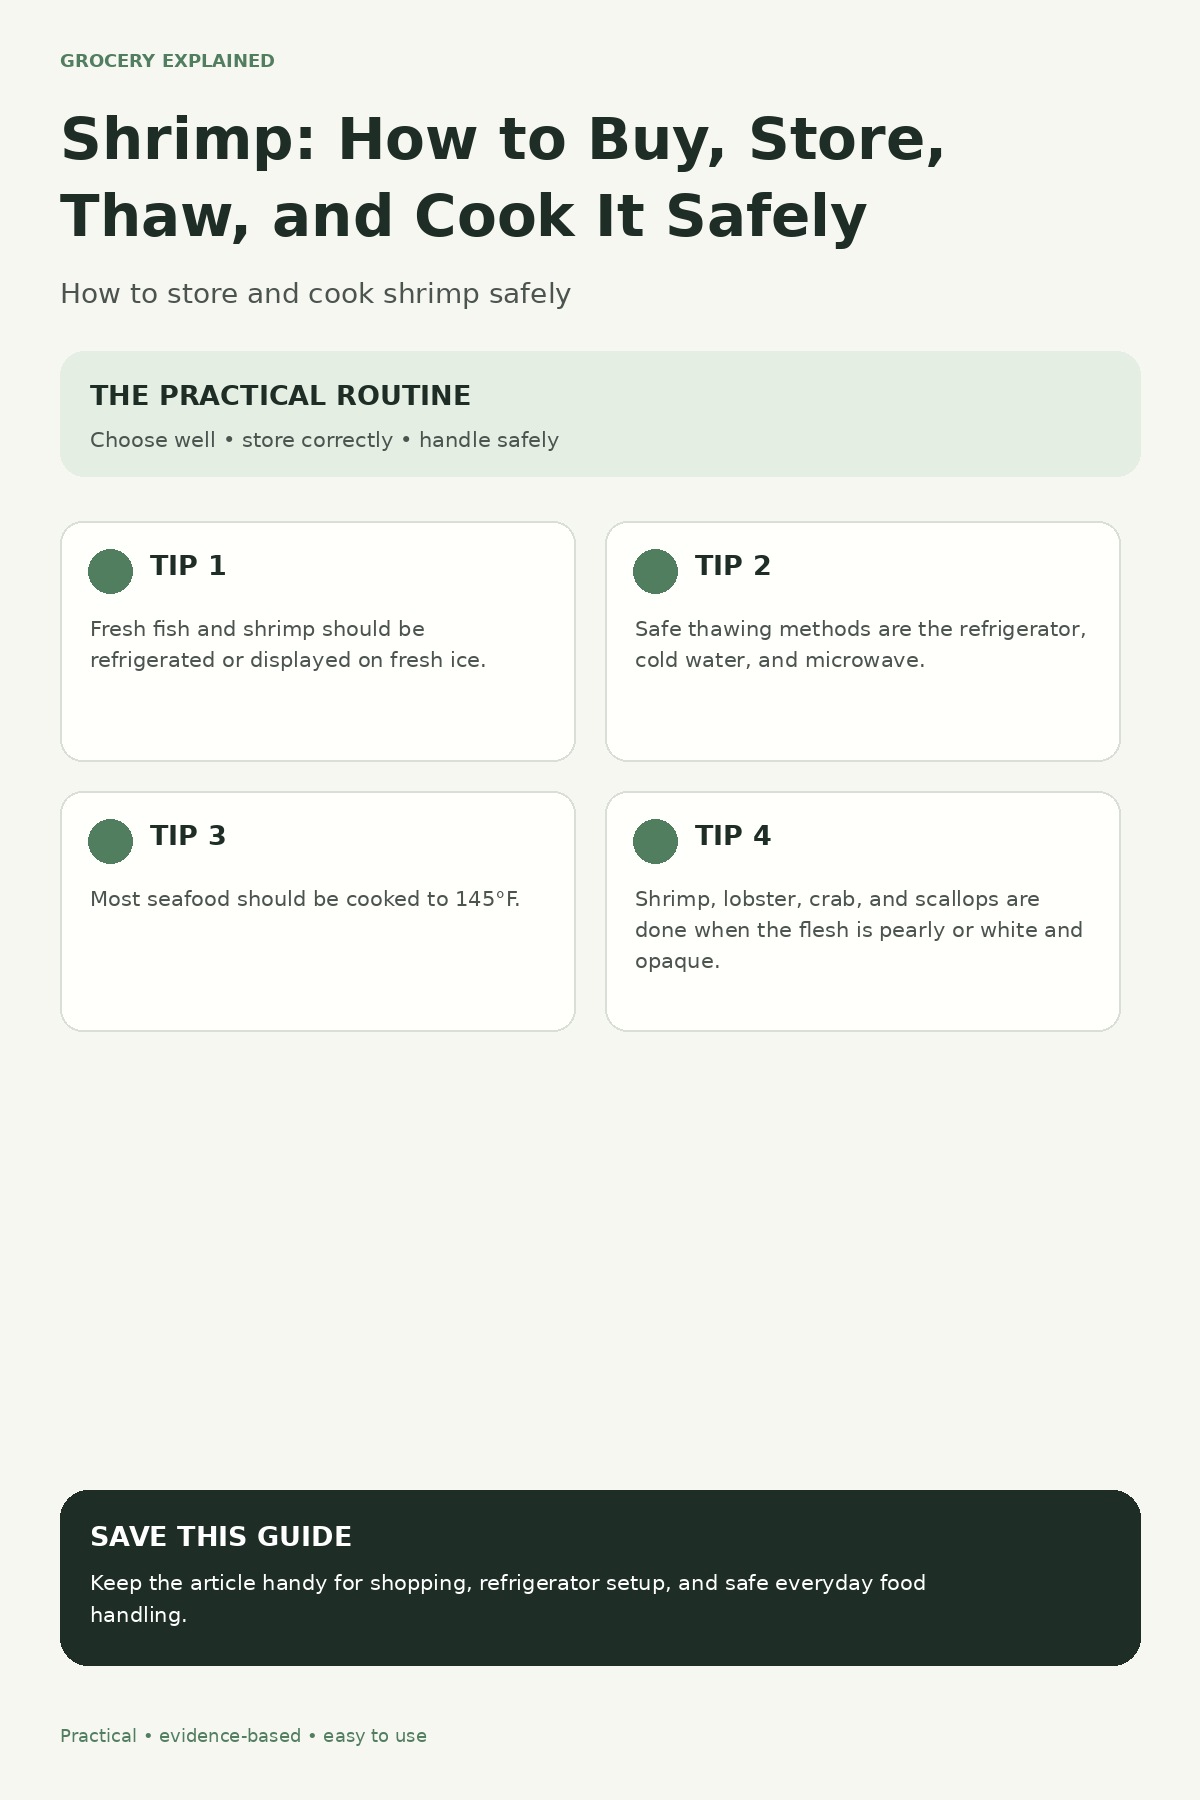
At the store, choose shrimp that is properly chilled, intact, and mild-smelling. At home, keep it at 40°F (4°C) or below and use refrigerated seafood within two days or freeze it. Thaw in the refrigerator, cold water, or microwave—not on the counter. Keep raw shrimp and its utensils away from cooked food, and cook until the flesh is firm, pearly, and opaque.

Those habits cover most of the practical risk without turning dinner into a science project. The goal is simply to control time, temperature, and cross-contamination from the grocery case to the plate.

Shrimp safety summary covering buying, cold storage, thawing, cooking, and cross-contamination prevention

Milk: How to Buy, Store, and Handle It Safely

Milk is one of those groceries that seems simple until you are standing in front of a crowded dairy case. The useful questions are practical: Is it pasteurized? Does it need refrigeration before opening? Where should it go when you get home? And how long can it safely sit on the counter?

Start with pasteurized milk

For everyday shopping, choose milk labeled pasteurized. Pasteurization uses heat to kill harmful germs. Raw, or unpasteurized, milk can carry pathogens including Salmonella, E. coli, Listeria, and Campylobacter. FDA notes that pasteurization does not make milk shelf-stable by itself: ordinary pasteurized milk still needs proper refrigeration.

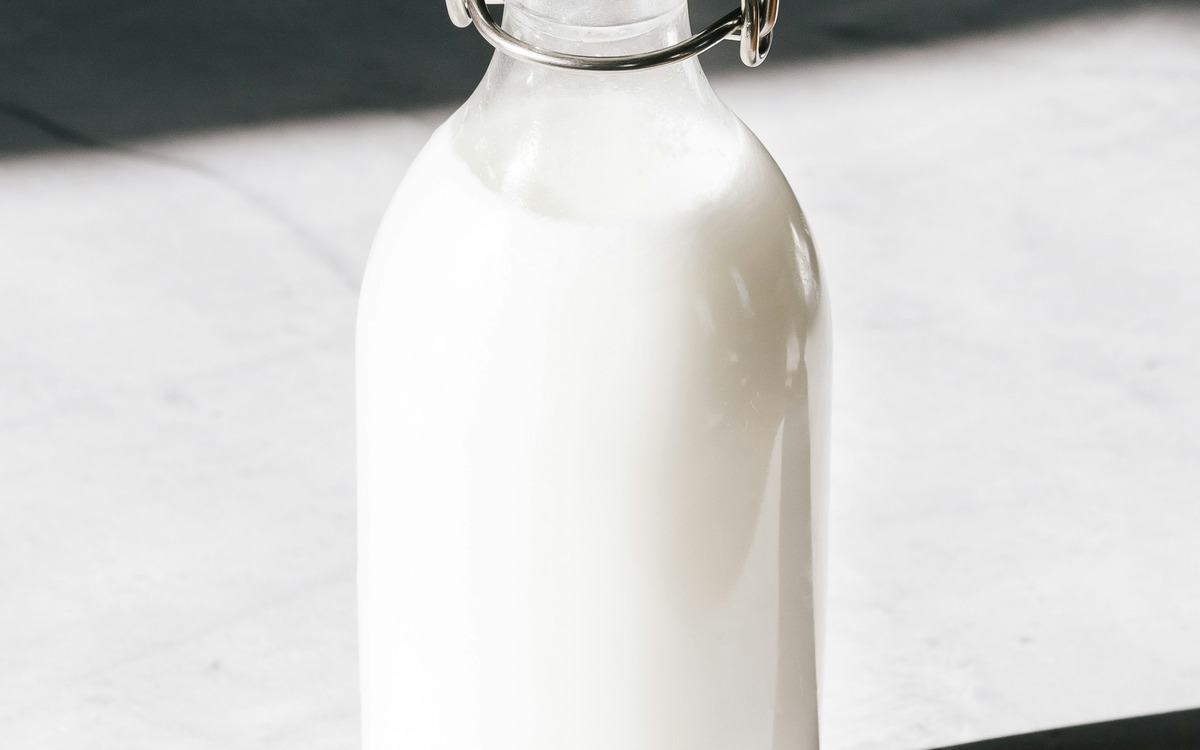
Glass of pasteurized milk on a table

Know which package you are buying

Most milk in the refrigerated dairy case must stay cold. Shelf-stable UHT milk is different: an unopened aseptic package can be stored according to its label without refrigeration, but after opening it must be refrigerated. Do not assume that every carton is shelf-stable just because it looks similar to a UHT carton; follow the storage directions printed on that specific package.

At the store, take refrigerated milk near the end of your trip. Check that the package is sealed and not leaking, swollen, or damaged. Compare dates, but remember that a printed date is not a substitute for temperature control and package instructions.

Different milk package types including refrigerated and shelf-stable milk

Get refrigerated milk cold quickly

FDA recommends keeping milk and milk products at 40°F (4°C) or below. Put refrigerated milk away promptly after shopping rather than leaving it in the car or on the kitchen counter while you do other tasks.

The general two-hour rule applies to dairy that requires refrigeration: do not leave it at room temperature for more than two hours. When the air temperature is above 90°F (32°C), that limit drops to one hour. If milk has spent too long warm, putting it back in the refrigerator does not undo the time it spent in conditions that favor bacterial growth.

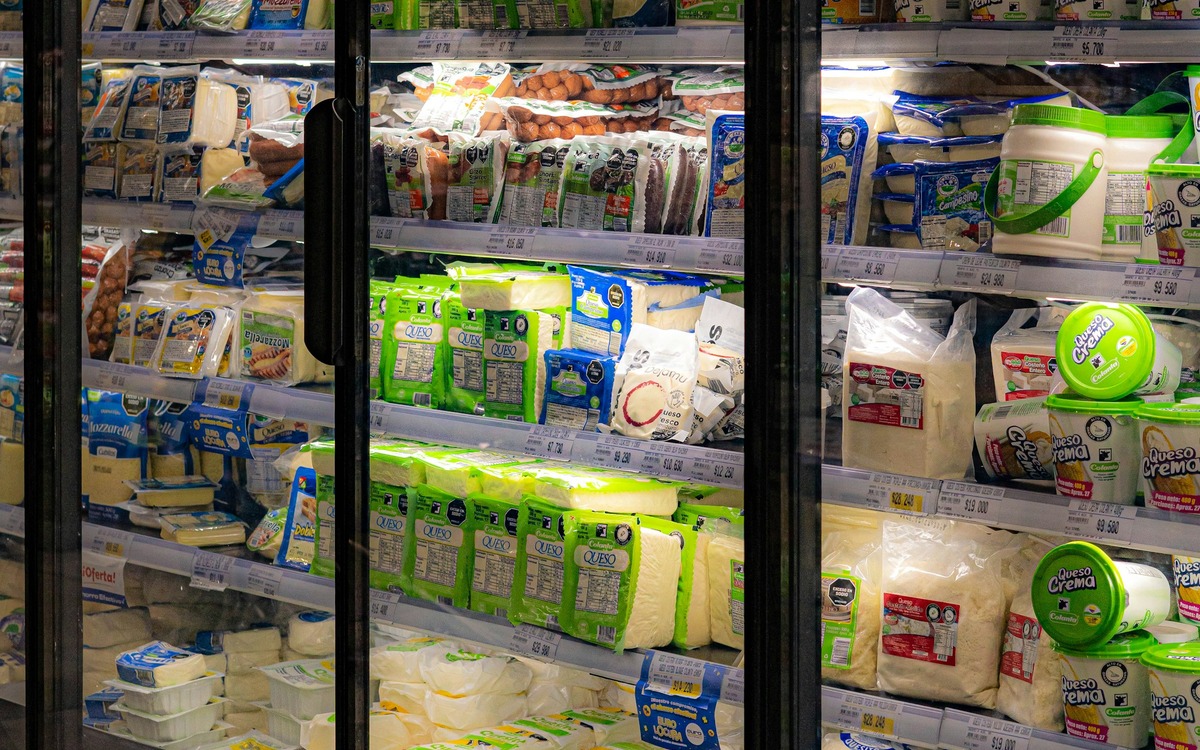
Milk and dairy products stored in a refrigerated grocery case

Use the refrigerator, not guesswork

A refrigerator thermometer is more reliable than judging temperature by touch. Keep the refrigerator at 40°F (4°C) or colder and avoid packing it so tightly that cold air cannot circulate. Keep milk covered and close the container promptly after pouring.

For quality, a consistently cold part of the refrigerator is a better choice than a location that repeatedly warms during normal use. Follow the package's date and storage directions, and use ready-to-eat perishable foods promptly. If milk develops an off odor, flavor, texture, or other clear signs of spoilage, discard it.

Pour what you need and keep the container clean

Use a clean glass or measuring cup and avoid drinking directly from a shared container. Pour the amount you need, close the package, and return it to the refrigerator. These small habits reduce unnecessary warming and help keep the rim and cap cleaner.

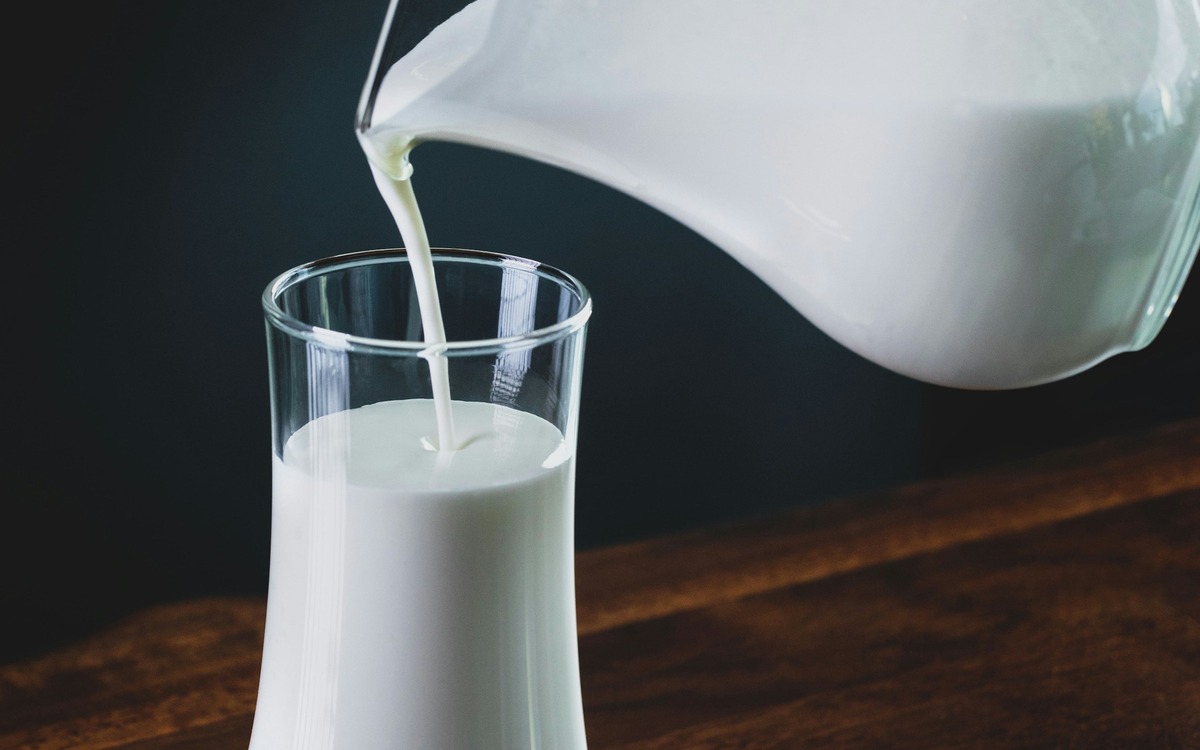
Milk being poured from a carton into a measuring cup

What about raw milk?

Raw milk is not simply a fresher version of pasteurized milk. FDA states that unpasteurized milk can contain disease-causing germs and that claimed health advantages of raw milk have not been scientifically established. Children, pregnant people, older adults, and people with weakened immune systems can face especially serious consequences from foodborne illness, but raw milk can make healthy people sick too.

A simple milk routine

Choose pasteurized milk, follow the package's storage instructions, keep refrigerated milk at 40°F (4°C) or below, and minimize the time it spends warm. Treat shelf-stable UHT milk according to its label before opening and refrigerate it after opening. Those few habits matter more than complicated storage tricks.

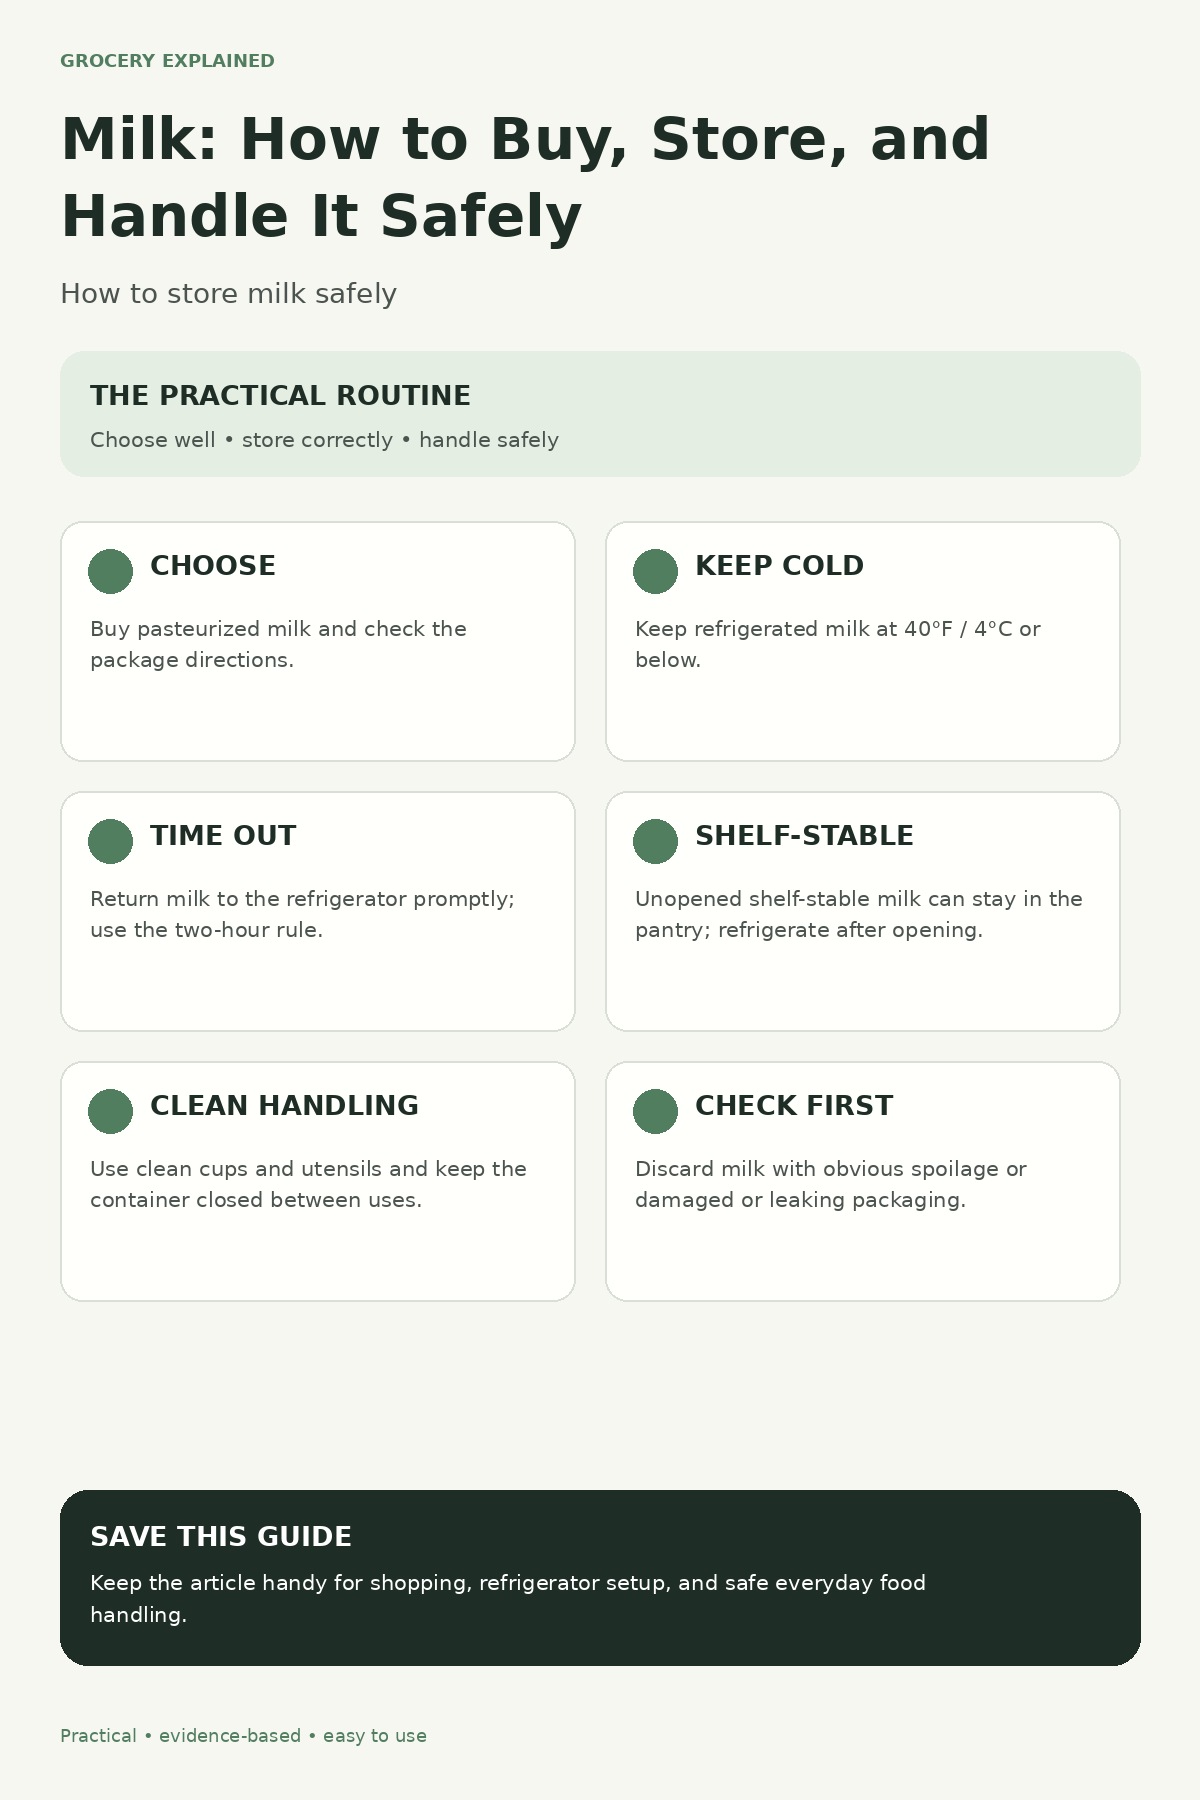
Milk shopping and storage guide summarizing pasteurization, refrigeration, and safe handling

Saturday, August 22, 2026

Canned Tuna: How to Choose It, Compare Labels, and Use It Safely

Canned tuna is one of the easiest shelf-stable proteins to keep around, but the tuna aisle can be surprisingly confusing. Light or albacore? Water or oil? Regular or lower sodium? The best choice depends on how often you eat tuna, what you are making, and what the Nutrition Facts label actually says.

Cans of tuna and other canned fish displayed in a shop

Start with the type of tuna

The most useful distinction is not the color of the can or the marketing language on the front. It is the species or style of tuna inside. FDA and EPA place canned light tuna, which commonly includes skipjack, in their Best Choices category for people who are pregnant or breastfeeding and for children. Albacore, or white tuna, is a Good Choice and typically contains about three times as much mercury as canned light tuna. Bigeye tuna is in the Choices to Avoid category for those groups.

For adults who are not in those higher-sensitivity groups, variety is still a sensible habit. Tuna can be convenient, but it does not need to be your only fish. Salmon, sardines, trout, shrimp, and other seafood can add different flavors and nutrients to the week.

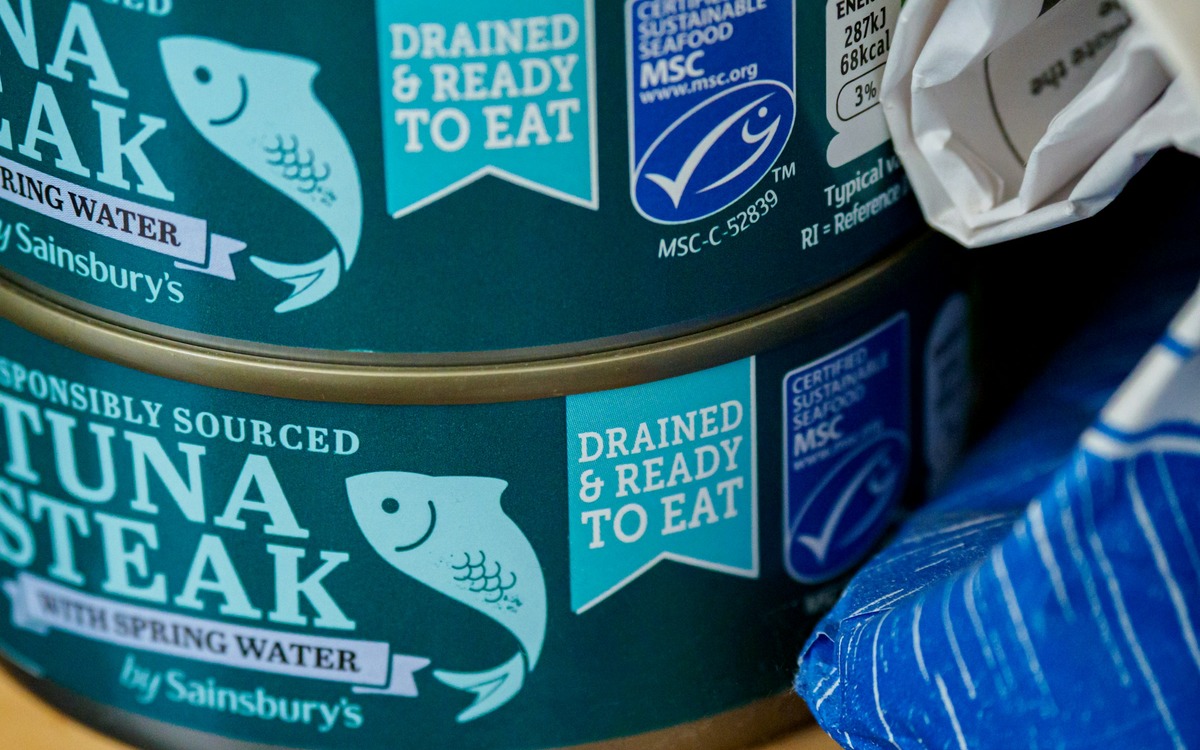
Close-up of canned tuna packaging on a kitchen surface

Water-packed versus oil-packed

Neither version is automatically the “healthy” one. Water-packed tuna is usually easier to use when you want a neutral flavor or plan to add your own dressing. Oil-packed tuna can taste richer and may work especially well in toast, pasta, bean salads, and grain bowls.

Instead of assuming, compare the labels. Check the serving size, calories, total fat, and sodium on two products you would realistically buy. If you drain the tuna, remember that the label is still the best standardized comparison available at the store.

Use sodium as a comparison tool

Canned foods can vary substantially in sodium. FDA lists the Daily Value for sodium as less than 2,300 mg per day and uses a simple label-reading guide: 5% Daily Value or less per serving is considered low, while 20% or more is considered high. You do not need to chase the lowest number on the shelf, but comparing similar cans can be useful if tuna is something you eat often.
“Reduced sodium” and “low sodium” are useful clues, but still read the Nutrition Facts panel. Serving sizes and formulations differ between products.

Turn one can into a balanced meal

Tuna is more useful when you treat it as one component rather than the whole meal. Mix it with chopped celery, cucumber, peppers, beans, corn, herbs, lemon, yogurt, mayonnaise, olive oil, or mustard depending on the texture and flavor you want.

For a quick lunch, pair tuna with whole-grain toast and vegetables. For dinner, add it to a potato-and-green-bean salad, pasta with tomatoes and capers, or a rice bowl with crunchy vegetables. The goal is not a perfect recipe; it is a meal you can assemble from ingredients you already use.

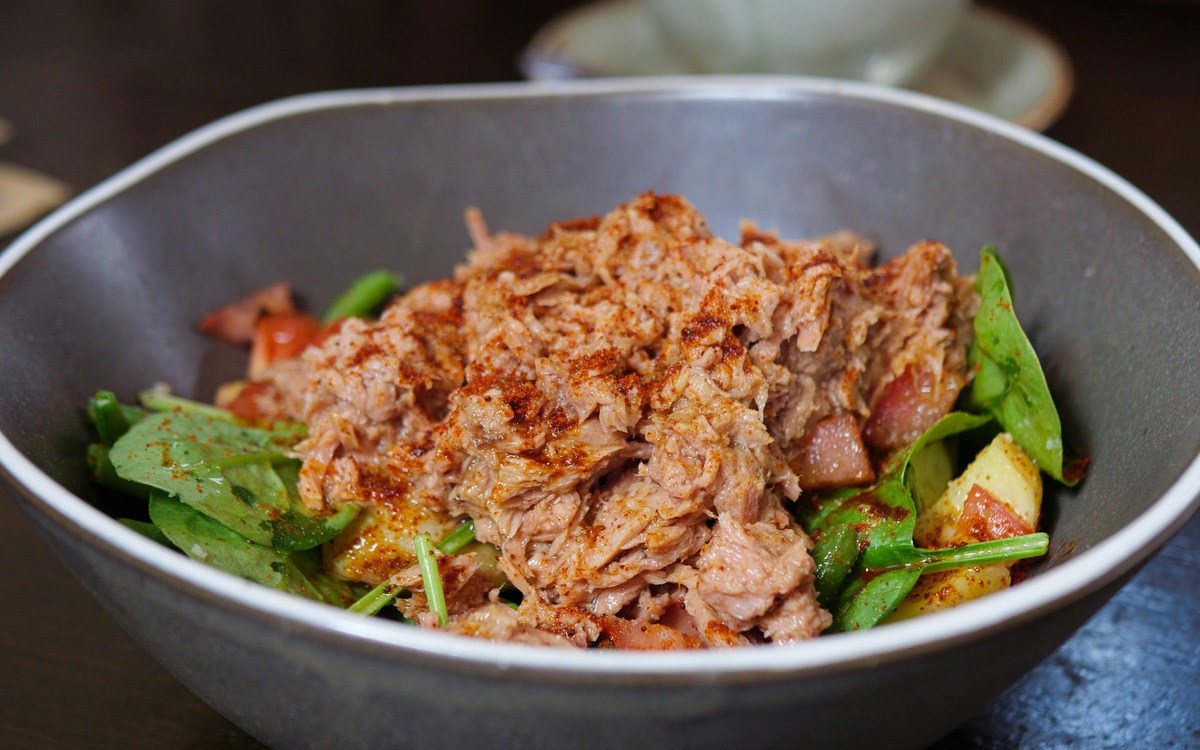
Tuna salad with potatoes, tomatoes, spinach, and green beans

What about mercury?

Mercury advice matters most for people who might become or are pregnant, people who are breastfeeding, and young children. FDA/EPA advice says canned light tuna is a Best Choice and can fit within 2 to 3 servings of Best Choice fish per week for adults in those groups. Albacore is a Good Choice; when choosing fish from that category, the advice is one serving that week and no other fish that week. Portion guidance for children is smaller and age-dependent.
If this advice applies to you or your family, use the current FDA/EPA fish chart rather than relying on a generic “tuna is good” or “tuna is bad” rule.

Store unopened and opened tuna differently

Commercially canned tuna is shelf-stable, so keep unopened cans in a cool, dry pantry and avoid cans that are bulging, leaking, heavily rusted, or deeply dented. USDA says commercially canned fish such as tuna can keep for years in the pantry, although quality is best when you rotate what you buy instead of stockpiling indefinitely.

Once opened, tuna becomes refrigerated food. USDA guidance for low-acid canned foods, including fish, is generally 3 to 4 days in the refrigerator. It is safe to refrigerate leftovers in the opened can, but transferring them to a glass or plastic container can preserve flavor and quality better.

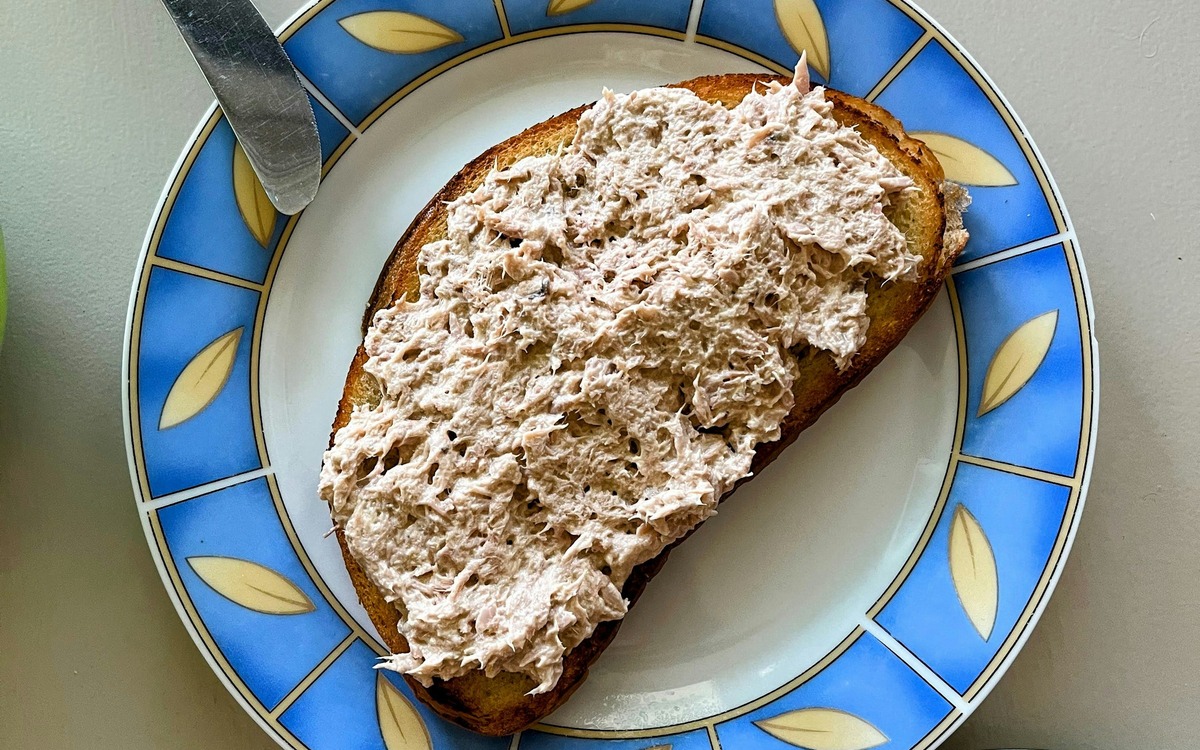
Tuna salad served on toast with fresh vegetables

A 60-second canned tuna checklist

  • Check the tuna type: canned light and albacore are not interchangeable in mercury guidance.
  • Compare like with like: look at serving size, sodium, calories, and fat across products you would actually use.
  • Choose water or oil for the meal: water is neutral; oil can add richness.
  • Build around it: add vegetables, grains, beans, potatoes, or bread instead of eating tuna as a stand-alone meal.
  • Refrigerate leftovers promptly: use opened tuna within about 3 to 4 days.

Bottom line

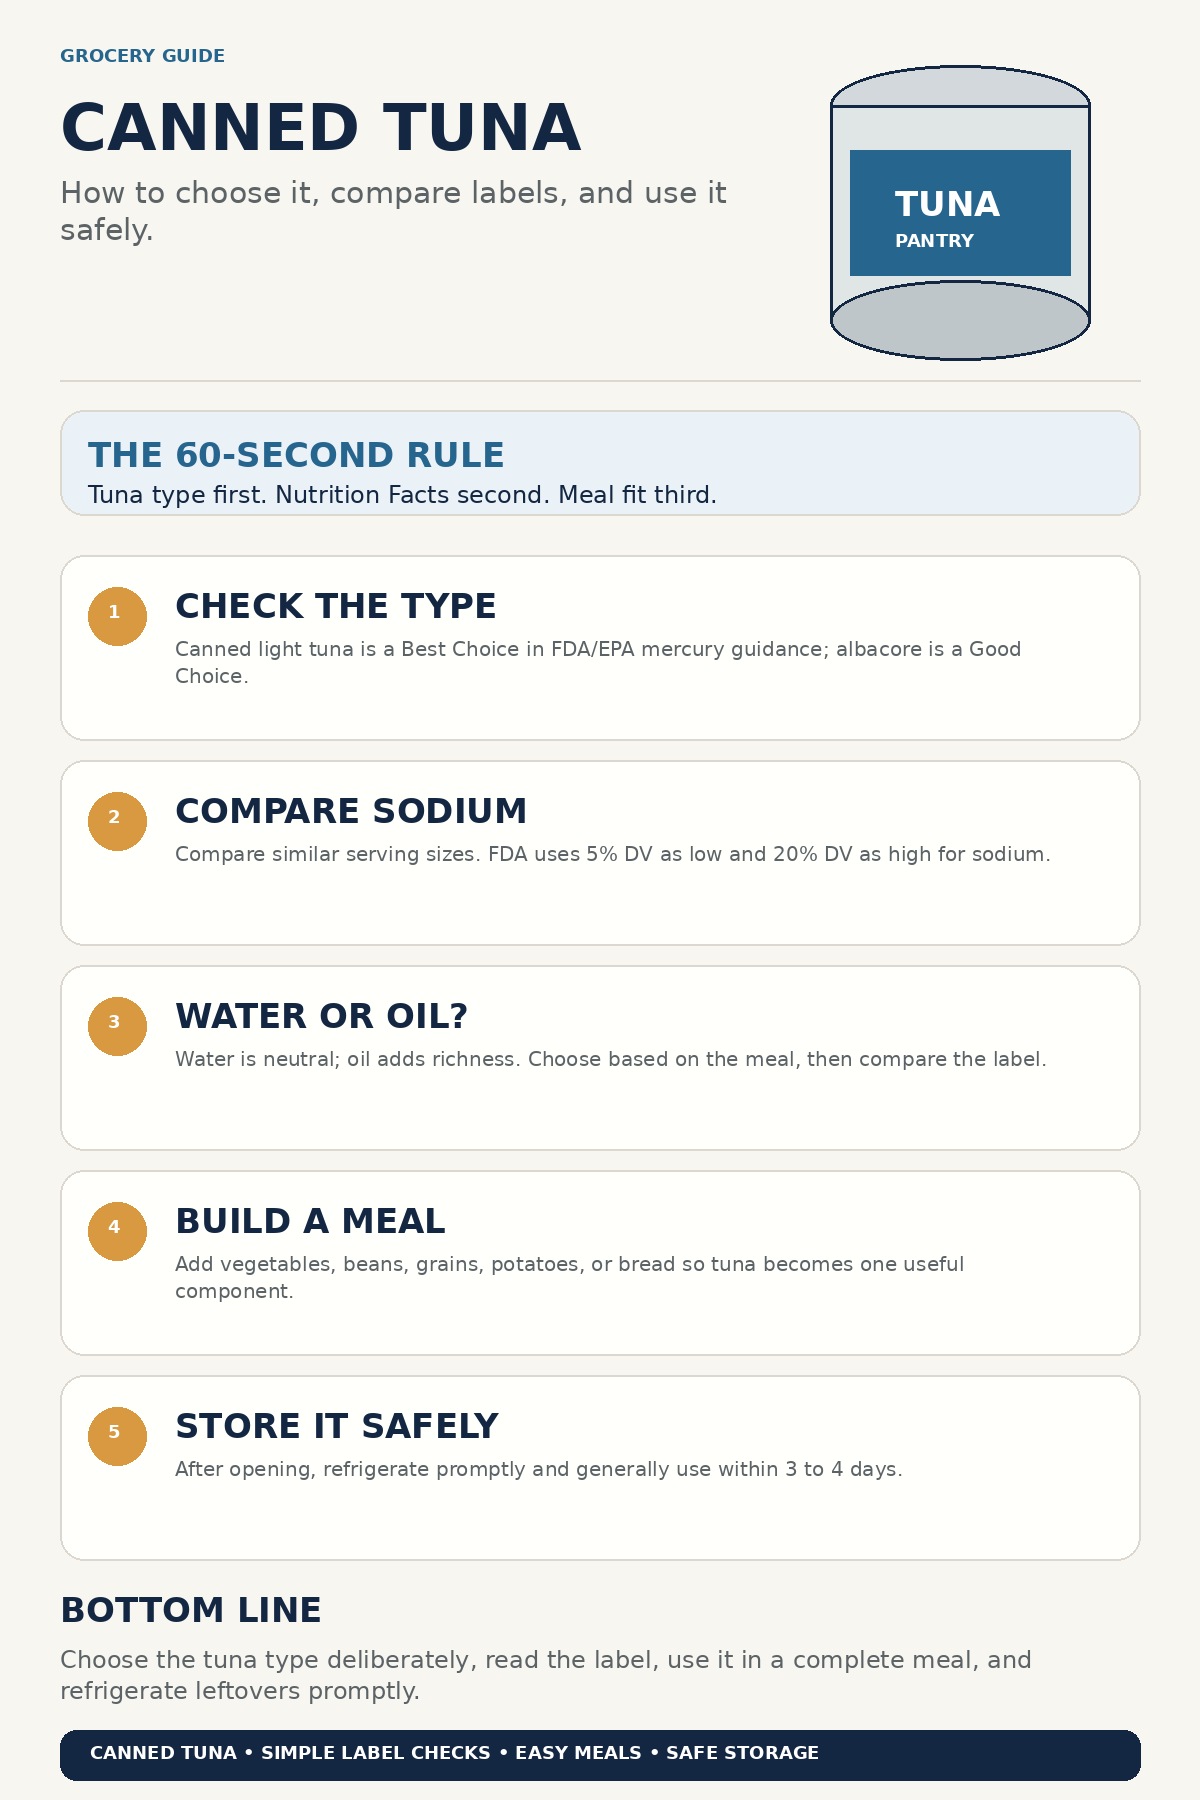
The best canned tuna is not one universal product. Choose the type that fits your mercury considerations, compare sodium and serving sizes on the label, pick water or oil based on how you cook, and use the can as a shortcut to a more complete meal. A few seconds of label reading makes the tuna aisle much simpler.

Canned tuna shopping guide summarizing tuna type, label comparison, meal ideas, mercury guidance, and storage

Sunday, August 16, 2026

Whole Grain Bread: How to Choose a Better Loaf Without Falling for Front-Label Claims

The bread aisle can make a simple purchase feel unnecessarily complicated. One loaf says “multigrain,” another says “wheat,” another has seeds all over the crust, and a fourth promises a specific number of grams of whole grain. None of those front-of-package details tells the whole story by itself.
A better way to shop is to use a short sequence: check the grain ingredients first, compare the Nutrition Facts panel on similar serving sizes, think about how you actually use bread, and buy an amount you can finish or freeze. This guide shows you how to do that without turning bread shopping into a nutrition exam.

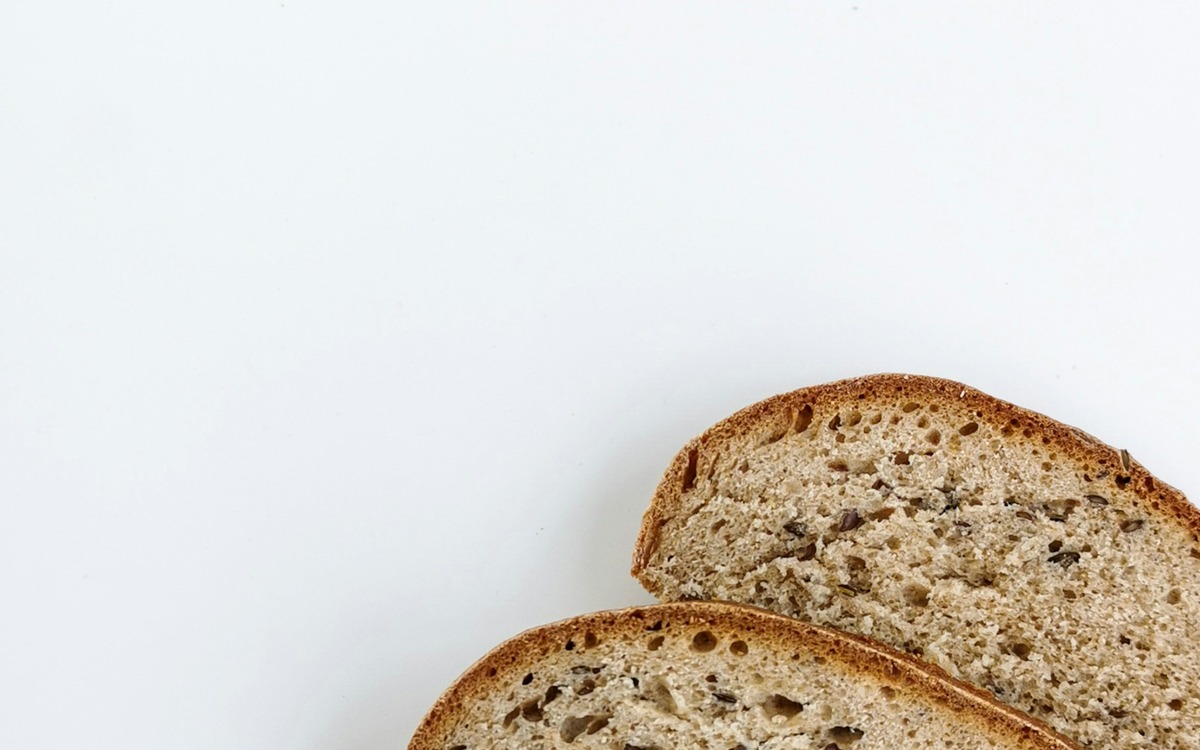
Sliced whole grain bread loaf on a light surface

Start with the ingredient list, not the color of the loaf

If your goal is whole grain bread, the ingredient list is the most useful place to start. FDA guidance explains that consumers should be able to look at the ingredient statement to see whether the predominant or first grain ingredient is a whole grain. Examples include terms such as whole wheat flour, whole rye flour, or another grain clearly identified as whole.

That distinction matters because wheat flour is not the same thing as whole wheat flour. FDA guidance notes that ordinary wheat flour is refined, while whole wheat flour contains the bran, germ, and endosperm in the proportions expected for a whole grain.

You do not need to memorize every grain name in the store. The practical habit is simple: look for the word whole attached to the main grain ingredient, then read the rest of the ingredient list for context.

“Multigrain,” “wheat,” and a dark brown color are not guarantees

Some labels sound more specific than they are. “Multigrain” tells you that more than one grain may be present; it does not automatically tell you that those grains are whole. A loaf can also look brown because of ingredients such as molasses, caramelized components, seeds, or darker flours.

The same principle applies to rustic-looking bread. Seeds, cracked grains, and a dense crust can be useful ingredients and may taste great, but appearance is not a reliable substitute for reading the ingredient list.

FDA allows factual whole-grain statements when they are truthful and not misleading, but the agency’s whole-grain guidance also emphasizes the role of the ingredient statement. In other words, treat the front label as a clue, not the final answer.

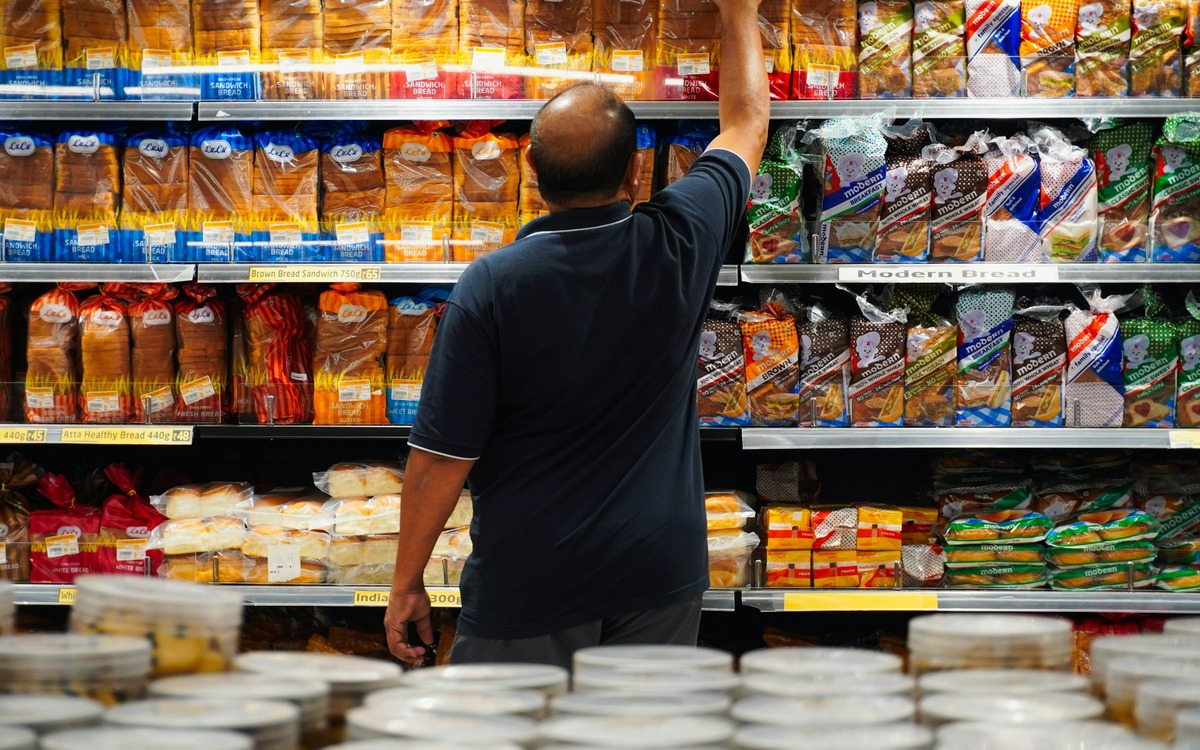
Shopper reaching for packaged bread on a grocery store shelf

Compare breads on similar serving sizes

Once two loaves have a grain profile you are comfortable with, the Nutrition Facts panel can help you choose between them. The important word is compare. One brand may list one slice as a serving while another lists two, so comparing numbers without checking serving size can be misleading.

For most shoppers, three lines are especially useful:

  • Dietary fiber: FDA’s Daily Value for fiber is 28 grams on a 2,000-calorie reference diet. You do not need every slice of bread to be extremely high in fiber, but the label lets you see whether one loaf contributes meaningfully more than another.
  • Sodium: the Daily Value is 2,300 milligrams. FDA specifically points out that breads can contribute sodium across the day because people may eat them multiple times, even when one serving does not taste especially salty.
  • Added sugars: this is useful context when comparing similar breads. A small amount does not automatically make a loaf a bad choice, but the label lets you decide whether you want it there.

FDA uses a general % Daily Value rule of thumb: 5% DV or less per serving is considered low, while 20% DV or more is considered high. That can help you scan fiber or sodium quickly, but it is still only one part of the decision.

Do not chase a perfect number

A practical grocery guide should not turn one nutrient into a pass-or-fail test. Bread varies by style: a thin sandwich loaf, dense rye, sprouted loaf, seeded sourdough, and bakery-style whole wheat bread can all have different serving sizes, moisture levels, and textures.

Instead of searching for one “perfect” fiber or sodium number, compare products you would realistically substitute for each other. If two sandwich breads cost about the same and you like both, the ingredient list and Nutrition Facts panel can help break the tie.

Taste still matters. A loaf that looks ideal on paper but sits untouched in the pantry is not a useful purchase.

What about “100% whole grain” or “100% whole wheat”?

These phrases are more specific than a vague “made with whole grains” message. FDA guidance recommends that products labeled “100% whole grain” not contain grain ingredients other than whole grains. For whole wheat bread, federal standards also define whole wheat bread in terms of whole wheat flour.

That does not mean you must only buy bread with a 100% claim. A mixed-grain loaf may still fit your preferences and meals. The useful point is that percentage wording tells you something different from a broad marketing phrase, so read it literally and confirm it against the ingredient list.

Choose a loaf for the job you need it to do

Nutrition labels matter, but so does function. A loaf that works for toast may not be the one you want for a packed sandwich. Before buying, think about the next three or four times you expect to use it.

For example:

  • Everyday sandwiches: choose slices that hold together when filled and are not so thick that the bread overwhelms the filling.
  • Breakfast toast: a denser whole grain loaf can work well with eggs, yogurt on the side, nut butter, avocado, or fruit.
  • Soup or salad: sturdier slices can become toast points or croutons.
  • Small households: a smaller loaf or a bread that freezes well may reduce waste.
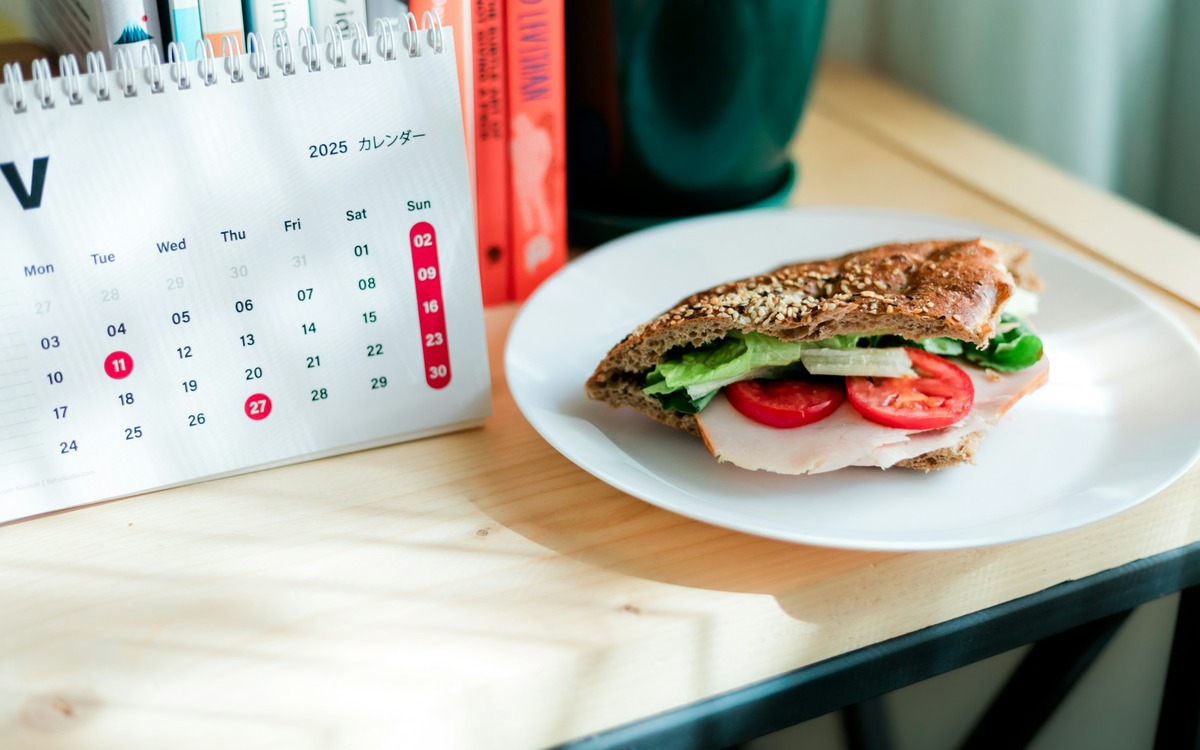
Whole grain sandwich with vegetables on a table

A simple way to make bread part of a more complete meal

Bread does not have to carry the entire meal nutritionally. It works best as one component. Build around it with ingredients that add protein, vegetables, fruit, or another food you enjoy.

A few easy combinations:

  1. Whole grain toast + eggs + tomatoes.
  2. Turkey or tofu sandwich + lettuce + cucumber + fruit.
  3. Hummus toast + roasted vegetables.
  4. Peanut or almond butter toast + banana or berries.
  5. Open-faced tuna or bean salad toast + crunchy vegetables.
  6. Grilled vegetable sandwich + yogurt or a simple soup.

These are combinations, not rules. Use the foods that fit your budget, dietary needs, and preferences.

How to store bread without wasting half the loaf

For bread you expect to use soon, follow the package directions and keep it sealed so it does not dry out. If you bought more than you are likely to finish, freezing part of the loaf early is often more practical than waiting until it is already stale.

USDA explains that freezing keeps food safe by preventing microbial growth while frozen, although quality can decline over time. For bread, quality is usually the practical issue: protect slices from air and moisture, freeze portions you can use easily, and thaw or toast only what you need.

A simple method is to freeze several slices together in a well-sealed freezer bag, separating layers if your bread tends to stick. That makes it easier to take out a few slices without thawing the whole loaf.

Bread loaf on a warm kitchen counter with natural light

Do not throw out bread just because it is no longer sandwich-soft

If bread is dry but otherwise normal, it may still be useful. Turn it into toast, breadcrumbs, croutons, or a baked dish rather than automatically discarding it.

Mold is different. Do not simply cut visible mold off a loaf and keep eating the rest. If bread is moldy, discard it rather than trying to rescue adjacent slices.

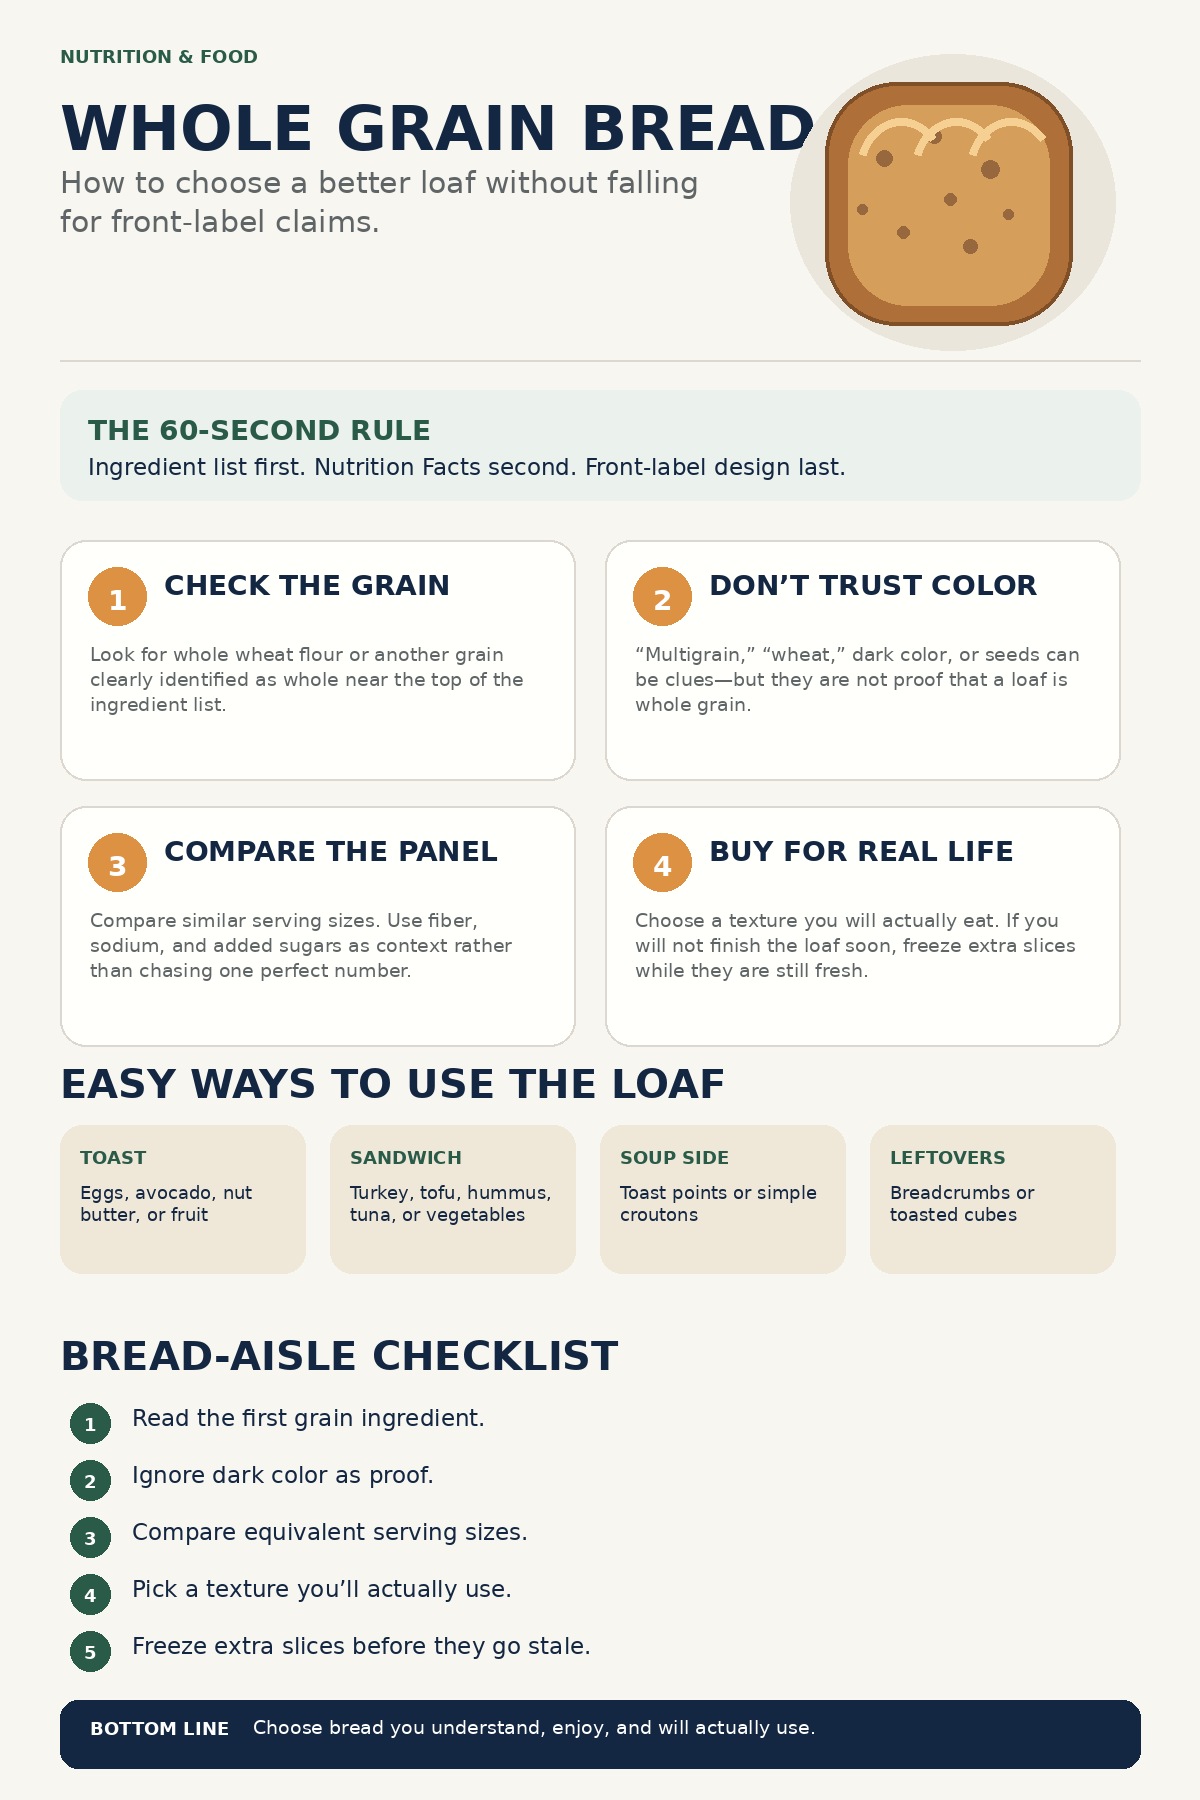
The 60-second bread-aisle checklist

If you want the shortest possible version of this guide, use this order:

  1. Read the first grain ingredient. Look for a grain clearly identified as whole when whole grain bread is your goal.
  2. Ignore color as proof. Brown, seeded, or rustic-looking bread is not automatically whole grain.
  3. Compare equivalent servings. Check fiber, sodium, and added sugars on similar products.
  4. Choose a texture you will actually eat. Practical value matters more than an impressive package.
  5. Plan for storage. If you will not finish it soon, freeze part of the loaf while it is still fresh.

Bottom line

You do not need a complicated scoring system to choose whole grain bread. Start with the ingredient list, use the Nutrition Facts panel to compare similar loaves, and ignore visual shortcuts such as dark color or a pile of seeds. Then choose the bread that fits your meals, tastes good to you, and will actually get used.

The goal is not to find a magical loaf. It is to make a repeatable grocery decision that takes about a minute and gives you bread you are happy to eat.

Whole grain bread shopping guide summarizing ingredient checks, label comparison, meal uses, and storage tips

Frozen Vegetables: How to Choose, Cook, and Keep Them Tasting Good

Frozen vegetables are one of the easiest ways to keep useful ingredients on hand without worrying about a drawer full of produce going soft before you get to it. They can move straight from the freezer into soups, pasta, rice bowls, stir-fries, omelets, and simple side dishes, which makes them especially helpful on busy nights.

The challenge is not whether frozen vegetables “count.” They do. The real challenge is choosing bags that fit the way you cook and using methods that protect texture instead of turning everything watery or mushy. This guide gives you a simple grocery-store system, better cooking habits, and practical meal ideas that make frozen vegetables easier to use well.

Colorful vegetables arranged in a bowl and around a kitchen table

Frozen vegetables are still vegetables

USDA MyPlate includes frozen vegetables in the Vegetable Group alongside fresh, canned, and dried options. That makes frozen vegetables a practical way to add variety when fresh produce is expensive, out of season, or likely to go unused.

They are also convenient because much of the washing, trimming, and chopping has already been done. For a weeknight cook, that can turn “I should make a vegetable” into something that takes only a few minutes.

It is still worth checking the package, though. A plain bag of broccoli florets is different from a frozen vegetable blend packed with cheese sauce, butter, or a salty seasoning mix.

How to choose a good bag at the store

You do not need a premium brand. Start with the vegetables you actually use. Broccoli, peas, corn, spinach, green beans, cauliflower, edamame, and mixed vegetables are all useful, but the best purchase is the one that fits meals you already know how to make.

Then check four things:

  • Ingredients: for maximum flexibility, look for a short list that is mostly or entirely vegetables.
  • Added sauces or seasonings: these can be convenient, but they reduce your control over flavor and sodium. FDA guidance specifically suggests frozen vegetables without sauce or seasoning for people trying to reduce sodium.
  • Cut size: smaller pieces cook faster; larger florets or chunks usually hold their texture better in roasting or high-heat cooking.
  • Bag condition: choose a package that is sealed and fully frozen, and avoid bags that are badly torn or damaged.
A grocery store aisle with fresh produce and packaged foods

Do not assume every frozen vegetable is ready to eat

One useful food-safety habit is simply reading the cooking directions. FoodSafety.gov notes that some frozen foods are not fully cooked during processing and may be labeled as raw or not ready to eat. Frozen vegetable packages can also include specific cooking instructions.

That means the safest approach is not to guess based on appearance. Follow the package directions, especially when a product says it must be cooked before eating.

If the package says to cook from frozen, there is usually no reason to thaw it first. Thawing can also release extra water, which may make some vegetables softer by the time they reach the pan.

The biggest texture mistake: too much water

Frozen vegetables naturally release moisture as they heat. If you crowd a cool pan or cook them slowly in a large amount of water, they are more likely to steam until soft.

For vegetables where you want browning or firmer edges, use a wide pan, let it get properly hot, and avoid piling the vegetables into a thick layer. Cook in batches if necessary.

For soups, stews, curries, and casseroles, that moisture is much less of a problem because the vegetable is joining an already moist dish.

Four cooking methods that work well

1. High-heat skillet

A hot skillet is useful for peppers, onions, corn, green beans, broccoli, and mixed vegetable blends. Add the vegetables to a hot pan with a small amount of oil, spread them out, and let some moisture cook away before adding wetter sauces.

2. Roasting

Roasting works especially well for broccoli, cauliflower, Brussels sprouts, carrots, squash, and sturdy mixed vegetables. A hot oven and enough space on the sheet pan help the surface dry and brown instead of simply steaming.

3. Microwave or steaming

These methods are fast and useful when you care more about convenience than browning. They work well for peas, corn, green beans, spinach, or a quick vegetable side. Follow package directions rather than guessing at cooking times.

4. Add directly to a larger dish

Frozen peas, spinach, corn, mixed vegetables, and broccoli can often go directly into soups, pasta sauces, rice dishes, curries, and casseroles. Add delicate vegetables later in the cooking process so they do not spend unnecessary time over heat.

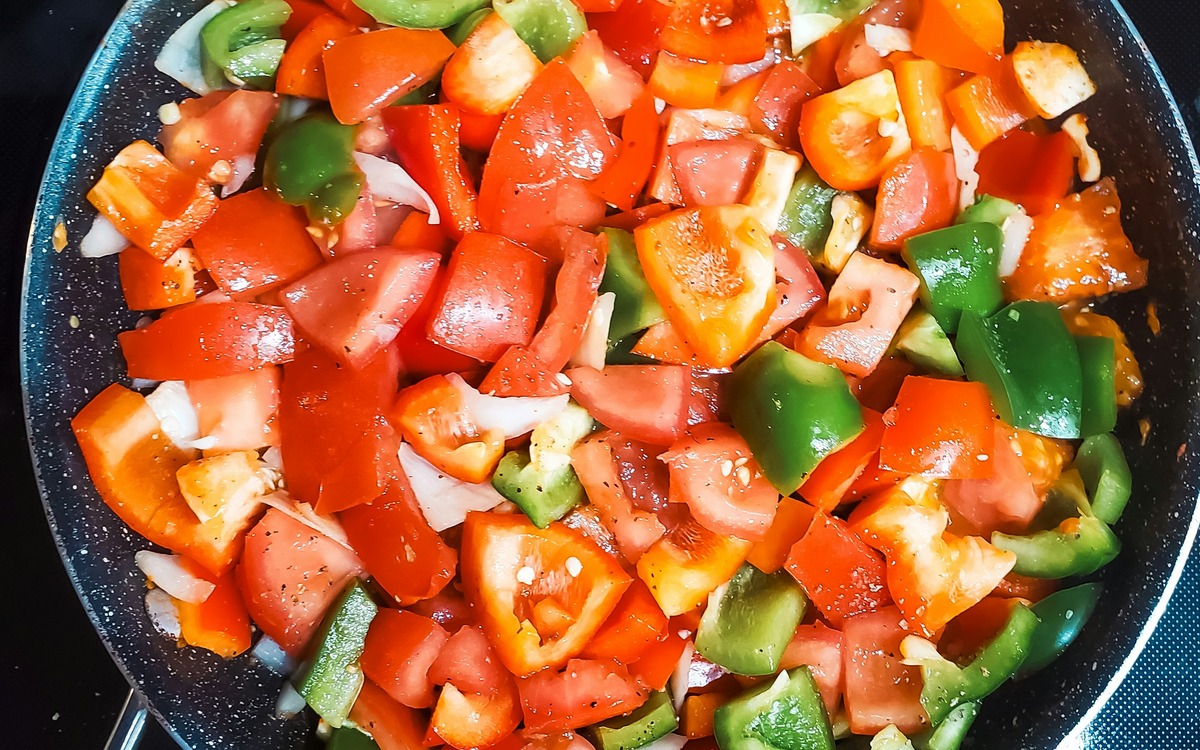
Vegetables cooking in a frying pan on a home stove

Which frozen vegetables are easiest for beginners?

If you are just starting to use the freezer section more often, these are dependable choices:

  • Peas: easy to add to pasta, rice, soup, eggs, and grain bowls.
  • Corn: useful in tacos, soups, salads, rice, and skillet meals.
  • Broccoli: works in pasta, stir-fries, casseroles, and simple sides.
  • Spinach: easy to stir into eggs, soups, pasta sauces, curries, and dips.
  • Mixed vegetables: a useful shortcut for fried rice, soup, pot pie filling, and quick skillet dinners.

You do not need to keep ten different bags in the freezer. Two or three vegetables you use repeatedly are usually more useful than a freezer full of “healthy” ingredients with no plan.

Seven easy ways to use one bag

  1. Fried rice: add a frozen vegetable mix to leftover rice, egg, and a simple soy-based seasoning.
  2. Pasta: stir peas, broccoli, or spinach into pasta during the last part of cooking, then finish with olive oil, tomato sauce, or a little cheese.
  3. Soup: add mixed vegetables, peas, corn, or spinach near the end of a quick soup.
  4. Eggs: cook spinach, peppers, or broccoli first, then add eggs for a fast breakfast or dinner.
  5. Tacos: use corn, peppers, or a mixed vegetable blend with beans and salsa.
  6. Grain bowl: combine cooked rice or quinoa with vegetables, beans, eggs, chicken, tofu, or another protein you already have.
  7. Sheet-pan dinner: roast sturdy frozen vegetables alongside a separate protein and season everything after excess moisture has had time to cook off.
A simple bowl of green peas ready to add to a quick meal

How to keep opened bags in better shape

After opening a bag, push out excess air, seal it tightly, and return it to the freezer promptly. If the original bag does not reseal well, move the vegetables to a freezer-safe container or bag and label it.

FoodSafety.gov notes that foods held continuously at 0°F (-18°C) or below remain safe indefinitely from a storage-time standpoint, while freezer storage limits are generally about quality. In real life, that means the bigger issue with an old bag of vegetables is often texture, flavor, frost, or freezer burn rather than a magic date when the vegetable suddenly becomes unsafe.

Still, use package dates and manufacturer guidance as practical quality cues, and discard food if the package is damaged or you have reason to think it was improperly stored.

A simple freezer strategy for busy weeks

If you want frozen vegetables to actually save time, give each bag a job before you buy it.

A simple three-bag setup might be:

  • broccoli for pasta, bowls, and sheet-pan meals;
  • peas or corn for rice, eggs, and soups;
  • a mixed vegetable blend for emergency dinners.

That is enough to create variety without turning the freezer into a collection of half-used bags.

Bottom line

Frozen vegetables are not a compromise you need to apologize for. They are simply another practical form of vegetables. Choose mostly plain bags when you want more control, read the cooking directions, use higher heat when texture matters, and keep a few varieties that fit meals you already make.

The best freezer strategy is not buying the most vegetables. It is buying the ones that make it easier to cook dinner on the days when fresh produce and extra prep time are in short supply.

Saturday, August 15, 2026

Canned Beans: How to Choose, Rinse, and Use Them in Easy Meals

Canned beans are one of the easiest pantry shortcuts to turn into a real meal. They are already cooked, inexpensive in many stores, easy to portion, and useful in everything from salads and tacos to soups and grain bowls. The main shopping questions are usually simpler than they look: which can should you buy, should you rinse the beans, and what can you do with them besides chili?

This guide gives you a practical system for choosing canned beans, managing sodium, storing leftovers, and using one can in several everyday meals.

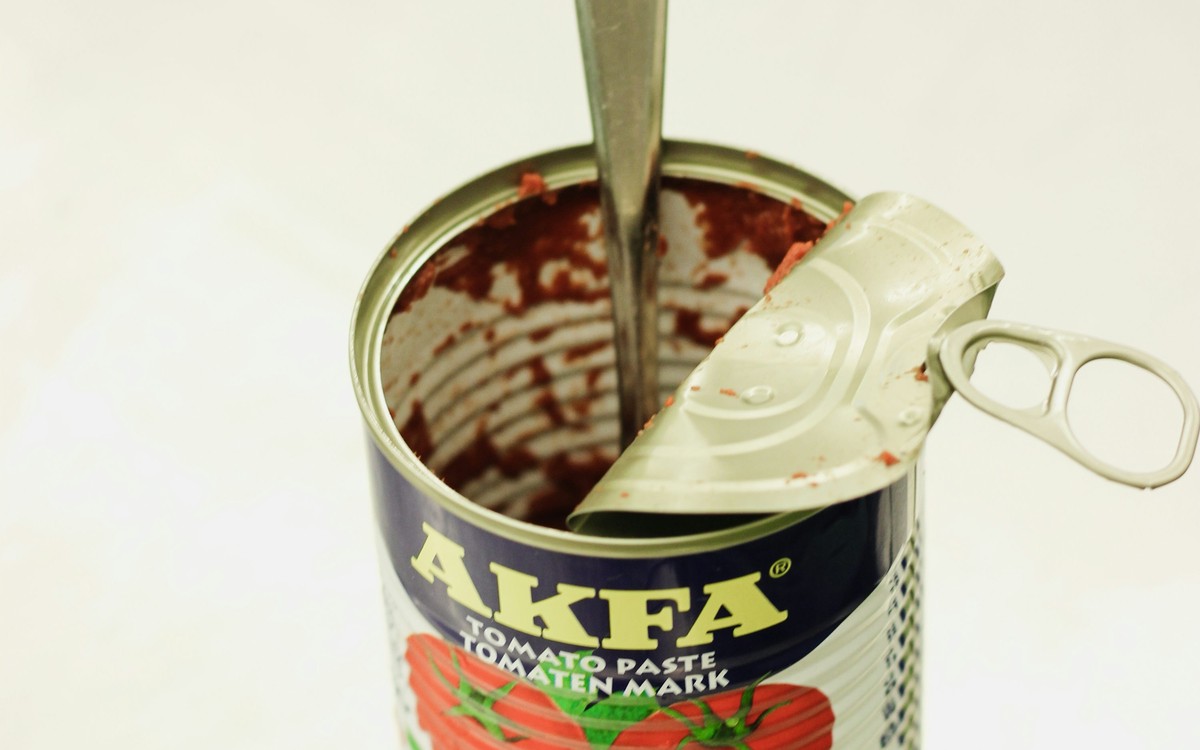
Open canned food on a kitchen surface, representing convenient pantry staples

Why canned beans are worth keeping around

Beans, peas, and lentils are unusually flexible foods. USDA MyPlate includes them in both the Vegetable Group and the Protein Foods Group, which reflects the mix of nutrients they provide and the different ways they can fit into a meal.

The practical advantage of canned beans is time. Dried beans are often cheaper per serving and give you more control over seasoning, but they need soaking or cooking time depending on the variety and method. Canned beans are already cooked, so they can go from pantry to plate in minutes.

That makes them especially useful for busy evenings, packed lunches, and backup meals when the refrigerator is nearly empty.

How to choose a can in the grocery store

You do not need a premium brand. Start with the type of bean your recipe actually needs: black beans for tacos and bowls, chickpeas for salads and hummus-style spreads, kidney beans for chili, cannellini or great northern beans for soups, and pinto beans for burritos or quick refried-style dishes.

Then look at three parts of the label:

  • Sodium: compare similar cans and choose a lower-sodium or no-salt-added version when that fits your needs.
  • Ingredients: plain beans usually need only beans, water, and sometimes salt or a firming ingredient. Flavored varieties may contain sauces, added sugar, or substantially more sodium.
  • Serving size: compare products using the Nutrition Facts serving size rather than assuming two similar-looking cans contain the same amount.

FDA guidance specifically recommends low-sodium or no-salt-added canned vegetables for people trying to reduce sodium, and it also recommends rinsing sodium-containing canned foods such as beans before eating.

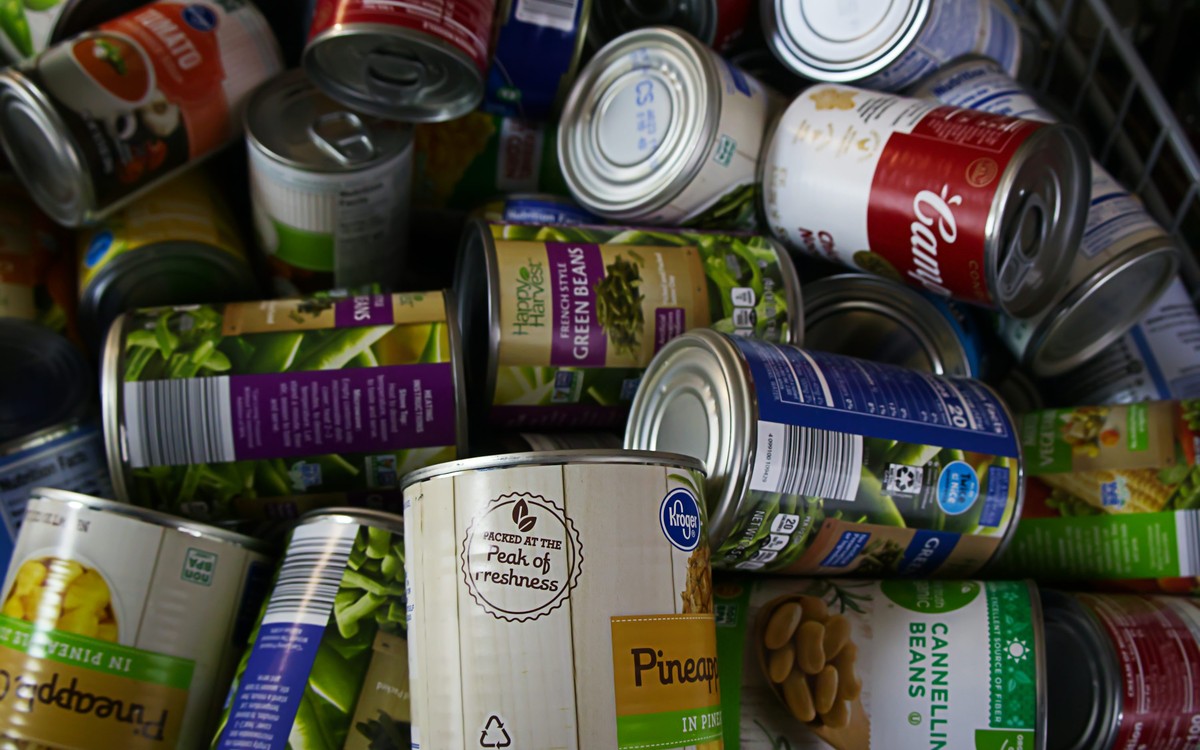
A group of canned foods arranged together as pantry staples

Should you rinse canned beans?

For most salads, tacos, bowls, and quick skillet meals, draining and rinsing is a useful default. It removes the thick canning liquid, gives the beans a cleaner flavor, and removes some sodium. FDA guidance says rinsing sodium-containing canned foods can reduce some of the sodium, although the exact amount depends on the product and how it is drained and rinsed.

There are times when you may want to keep some of the liquid. In a soup, stew, or creamy bean dish, a little canning liquid can add body. Chickpea liquid can also be useful in specific recipes. In those cases, check the sodium on the label first and season the rest of the dish accordingly.

A simple routine works well:

  1. Open the can and drain it into the sink or a bowl.
  2. Transfer the beans to a fine-mesh strainer.
  3. Rinse under cool running water until the surface liquid is mostly gone.
  4. Shake off excess water before adding the beans to a salad, pan, or storage container.

What about protein and fiber?

Beans are useful because they contribute both plant protein and dietary fiber. Exact amounts vary by bean type, brand, serving size, and whether you are looking at canned, drained, or home-cooked beans, so it is better to use the Nutrition Facts panel on the product you actually buy than to memorize a single number.

If you are building a meal around beans, think beyond protein alone. Pair them with vegetables, a grain or starchy food, and a flavorful fat or sauce when that suits the meal. That usually produces a more complete and enjoyable plate than treating beans as an isolated “health food.”

7 easy meals from canned beans

1. Black bean taco bowls

Warm black beans with cumin, smoked paprika, and a splash of water. Serve over rice with shredded lettuce, tomato, salsa, corn, and avocado. Keep the toppings simple and use whatever is already in the refrigerator.

2. Chickpea crunch salad

Mix rinsed chickpeas with cucumber, tomato, bell pepper, herbs, lemon juice, and olive oil. Add feta if you like it, or keep the salad dairy-free. It works as a side dish or as a lunch with bread, pita, or a cooked grain.

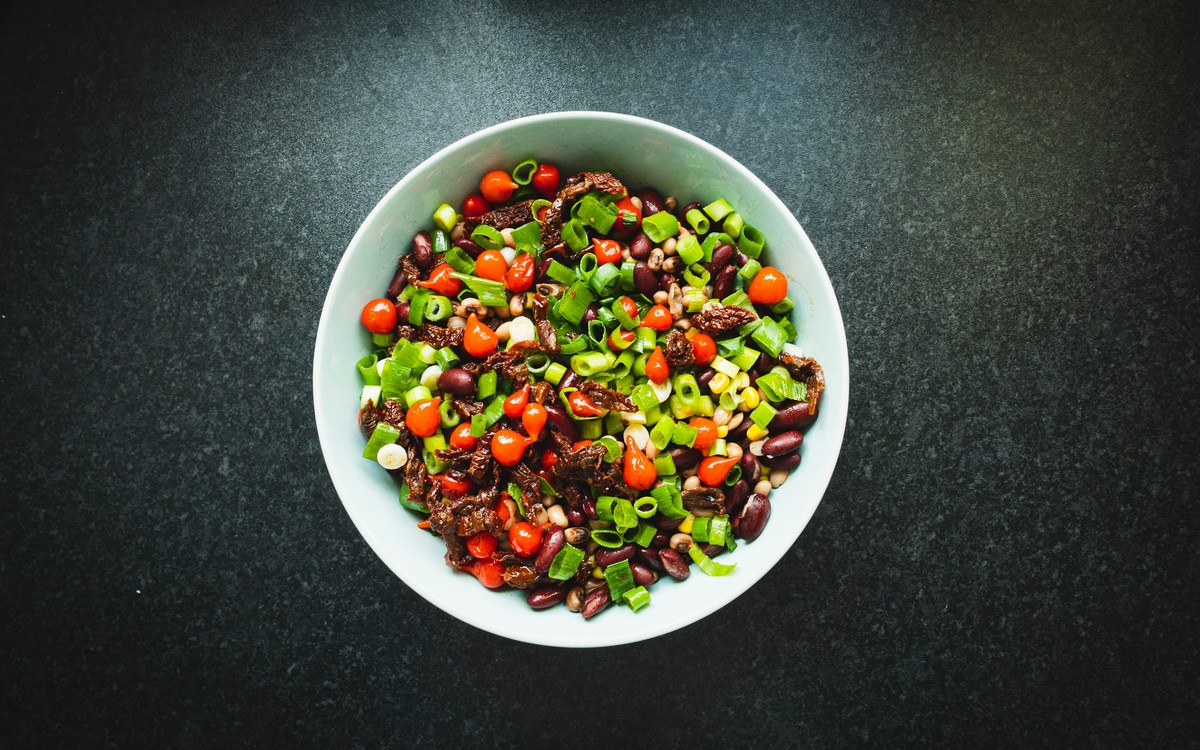
Colorful mixed bean salad in a bowl with fresh vegetables

3. White bean tomato toast

Mash cannellini beans lightly with olive oil, lemon, black pepper, and herbs. Spoon them onto toast and add chopped tomato or roasted vegetables. This is a useful way to turn one slice of bread into a more substantial lunch.

4. Fast bean-and-vegetable soup

Simmer canned beans with broth, frozen vegetables, canned tomatoes, and herbs. Add leftover rice, pasta, or greens near the end. This is one of the easiest ways to use small amounts of ingredients that are not enough for a separate meal.

5. Chickpea skillet

Sauté onion or garlic in a little oil, add drained chickpeas, then add spinach, broccoli, zucchini, or another quick-cooking vegetable. Finish with lemon, herbs, or a spoonful of yogurt or tahini sauce.

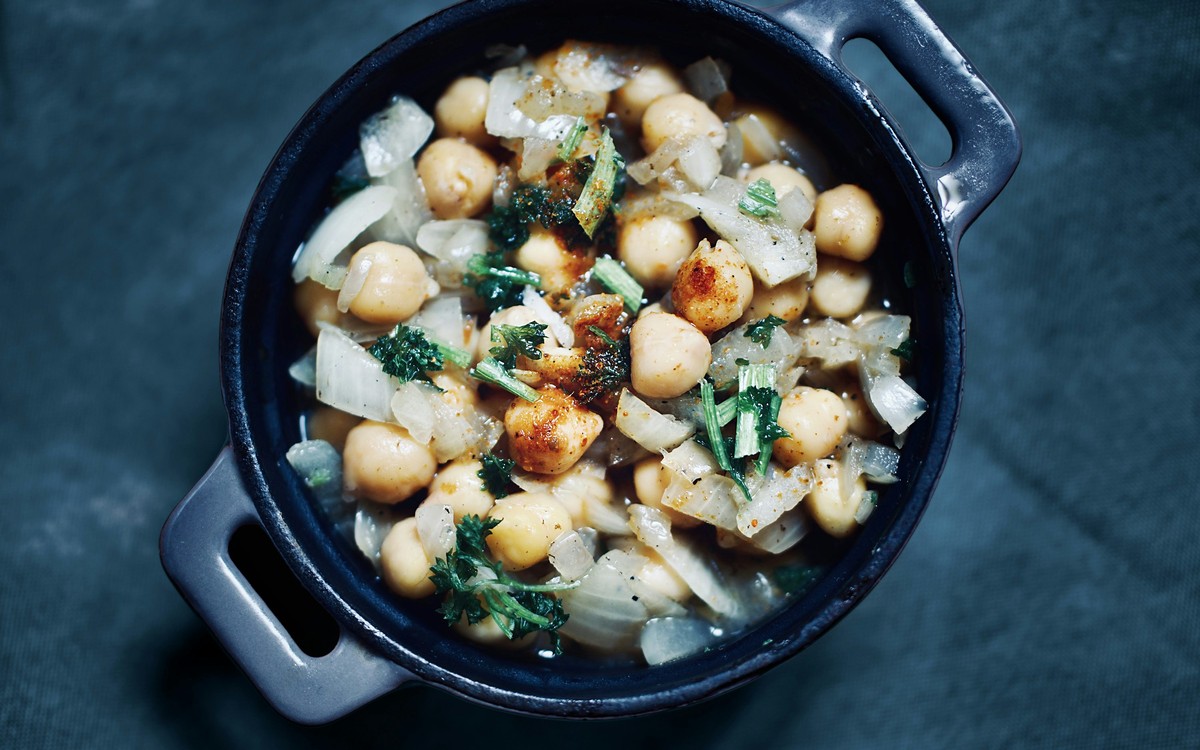
Cooked chickpeas with vegetables in a small dark serving pan

6. Quick smashed bean wrap

Mash pinto or black beans with salsa, lime, or a little plain yogurt. Spread onto a tortilla and add shredded cabbage, lettuce, peppers, or cheese. It is faster than cooking a separate filling and travels well if wet ingredients are kept under control.

7. Pasta with white beans and greens

Add drained white beans to pasta with spinach or kale, garlic, olive oil, and a little pasta water. The beans make the meal more substantial without requiring a separate meat-based sauce.

A simple formula for improvising

When you do not want a recipe, use this four-part formula:

  • 1 bean: black beans, chickpeas, kidney beans, pinto beans, or white beans.
  • 1 produce component: fresh vegetables, frozen vegetables, greens, salsa, or leftover roasted vegetables.
  • 1 base: rice, potatoes, pasta, bread, tortillas, quinoa, or another grain.
  • 1 strong flavor: salsa, pesto, lemon and olive oil, tahini, curry paste, herbs, spices, or yogurt sauce.

That structure is flexible enough to make a bowl, wrap, soup, salad, toast, or skillet without buying a long list of special ingredients.

Budget tips that actually help

Compare unit prices rather than assuming canned or dried is always cheaper. Dried beans often win on cost per cooked serving, but canned beans can still be a good value when the time savings prevents unused groceries or takeout.

Store-brand canned beans are usually worth checking first. Buy flavored varieties only when the flavor is something you genuinely want; otherwise, plain beans are more versatile because you can season them differently from meal to meal.

If you use beans frequently, a practical pantry might include two neutral cans such as chickpeas or white beans plus one darker bean such as black or kidney beans. That gives you enough variety without turning the pantry into a collection of cans you forget to use.

How to store beans after opening the can

Once a can is opened, refrigerate the unused beans. USDA FSIS classifies beans as low-acid canned food and recommends using opened low-acid canned foods within about 3 to 4 days in the refrigerator. It is safe to refrigerate leftovers in the opened can, but transferring them to a clean glass or food-grade plastic container generally preserves flavor and quality better.

If you know you will not use the remainder within that window, freeze it in a freezer-safe container in a portion that will be easy to use later.

Common mistakes to avoid

  • Assuming every canned bean is very salty: sodium varies widely, so compare labels.
  • Assuming rinsing removes all sodium: it removes some, not necessarily all.
  • Buying only flavored beans: they are convenient but less flexible and may contain more sodium or added sugar.
  • Forgetting opened cans in the refrigerator: move leftovers into a visible container and use them within the recommended storage window.
  • Treating beans as a complete meal by themselves: they are more useful when combined with vegetables, grains or starches, and flavor.

The takeaway

Canned beans are not a compromise food. They are simply a convenient form of a useful staple. Choose the bean that fits the meal, compare sodium when it matters to you, rinse when that improves the dish, and keep a few simple combinations in mind.

One can can become tacos tonight, a salad tomorrow, or the base of a quick soup later in the week. That kind of flexibility is what makes canned beans worth keeping in the pantry.

Sources

  • USDA MyPlate — Vegetable Group and Protein Foods Group
  • U.S. Food and Drug Administration — Sodium in Your Diet
  • USDA WIC Works — What Do I Do With Beans?
  • USDA Food Safety and Inspection Service — storage guidance for opened canned foods

Yogurt: How to Choose, Store, and Use It Safely

Yogurt can be a quick breakfast, a snack, or a useful ingredient in sauces and dressings, but the dairy case can make a simple purchase fe...