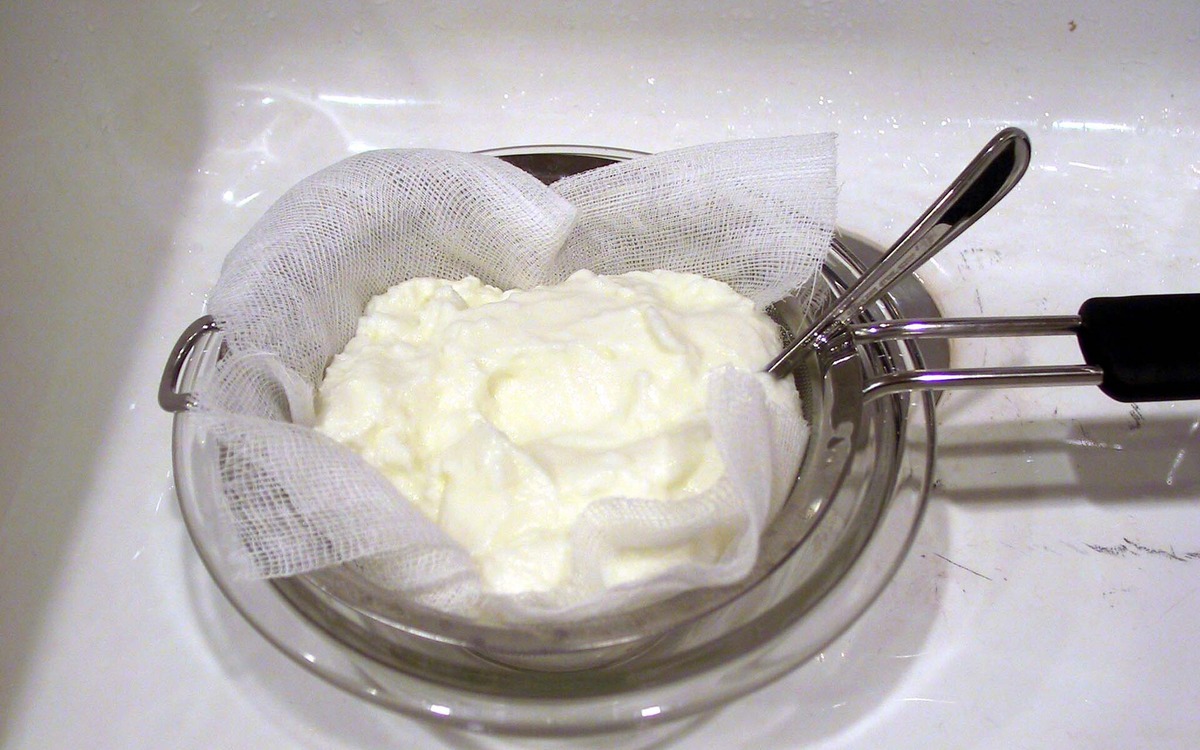
Sunday, September 13, 2026

Berries: How to Buy, Wash, Store, Freeze, and Know When to Toss Them

Berries are one of the easiest foods to waste. They can look perfect at the store and turn soft or moldy only a few days later, especially if they are bruised, wet, or packed too tightly. The good news is that a few simple habits can make a noticeable difference.

The practical goal is to buy berries that are dry and sound, keep them cold without trapping extra moisture, wash them only when you are ready to use them, and freeze extras before they start to decline. When mold appears, treat berries as a soft fruit rather than trying to salvage the visibly clean part of the same berry.

Choose dry, plump berries with as little damage as possible

Start by looking through the container rather than judging only the top layer. The FDA recommends choosing produce that is not bruised or damaged when possible. Utah State University Extension also recommends choosing ripe berries that are firm or plump for their type and free of mold. For everyday shopping, look for bright color, sound fruit, and no leaking juice.

Check the bottom and corners of the package for crushed fruit, wet spots, fuzzy growth, or juice pooling. Extra moisture and damaged fruit are warning signs that the package may decline quickly. Fragile berries such as raspberries and blackberries will never feel as firm as blueberries, so judge each type by what fresh examples of that berry normally look like.

If you know you will not eat the berries within the next few days, buying a smaller amount or planning to freeze part of the package can prevent waste.
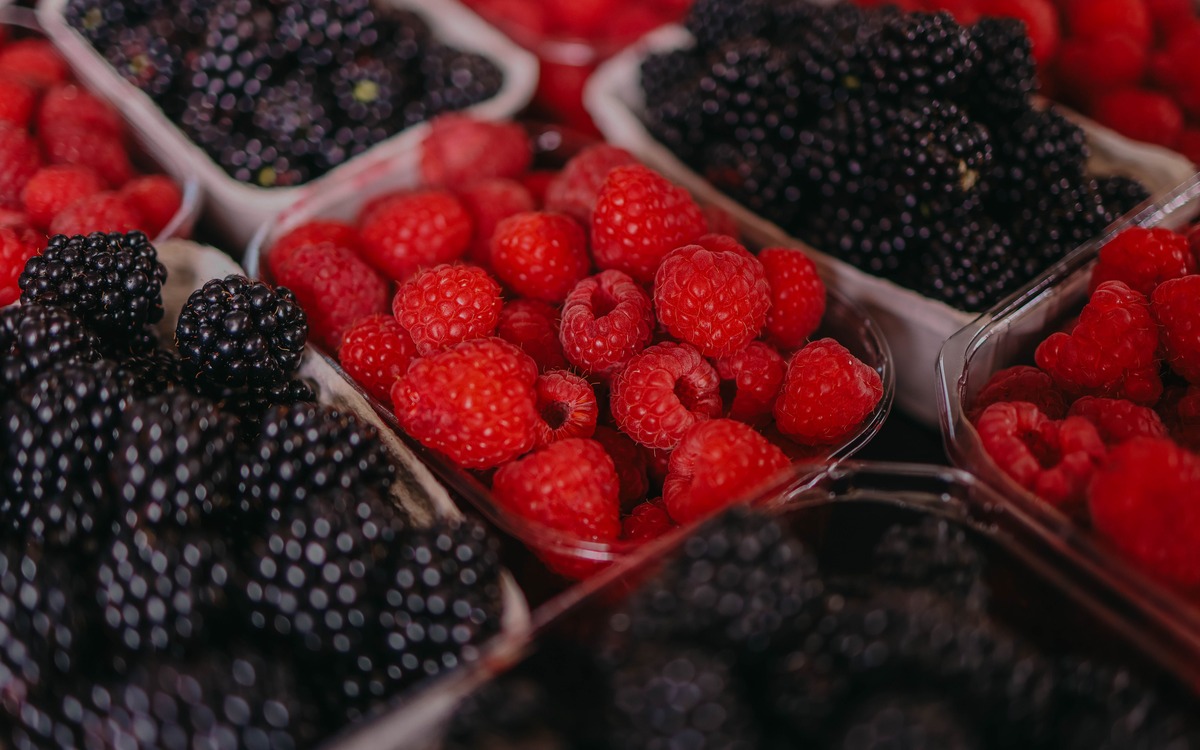
Fresh raspberries and blackberries displayed in small containers at a market

Keep berries cold, but do not trap extra moisture

Perishable produce belongs in the refrigerator. FDA consumer guidance recommends keeping the refrigerator at 40°F (4°C) or below. Berries also benefit from airflow and from staying as dry as practical during storage.

If the original package is ventilated and the berries are dry and undamaged, it is usually fine to keep using it. A breathable container can also work. Avoid deep, tightly packed containers that crush the lower fruit, and keep berries dry until you are ready to wash them.

Fresh-berry storage time varies by type and starting condition. Utah State University Extension gives very short refrigerator windows for fragile berries such as blackberries, raspberries, and strawberries, while blueberries may last longer. A practical household target is to use most berries within roughly 3–7 days and freeze extras sooner if quality is starting to slip; blueberries can sometimes keep longer when they start in excellent condition.

Before refrigerating them, remove any berries that are already leaking, badly crushed, or visibly moldy. USDA guidance notes that mold spreads quickly in fruits and vegetables, so catching a problem early can help protect the rest of the container.
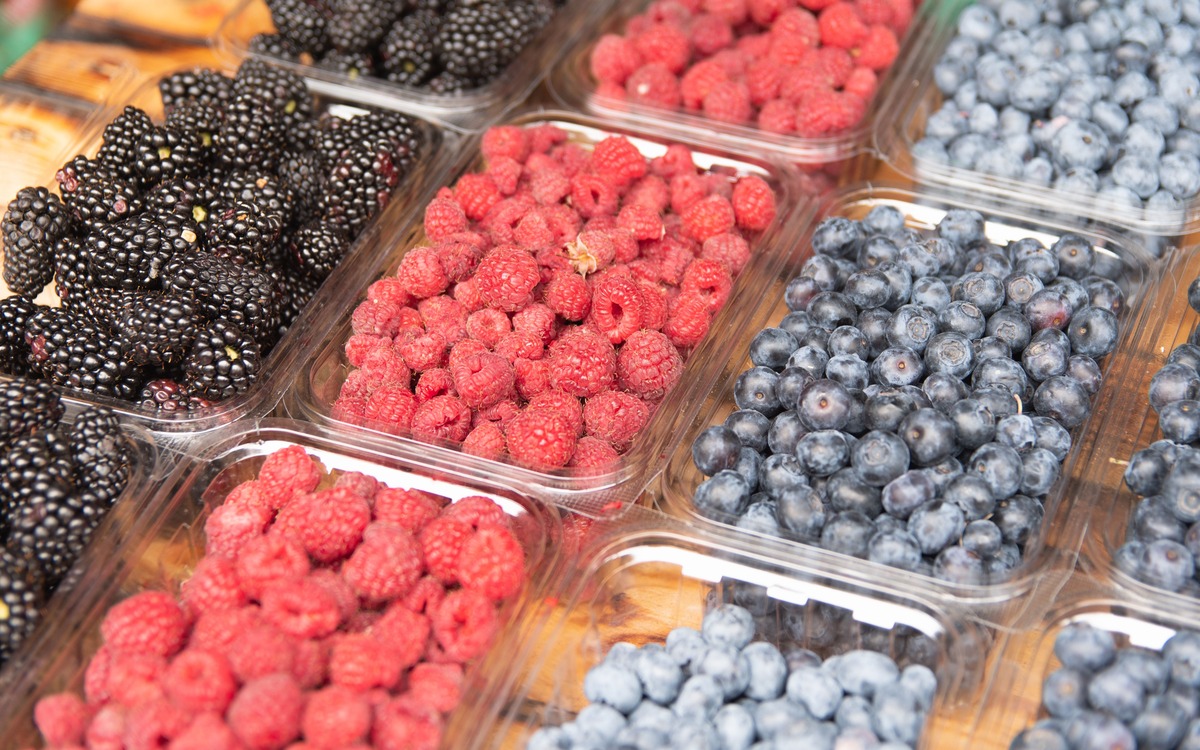
Assorted fresh berries stored in clear containers

Wait to wash berries until you are ready to eat or use them

Washing produce is important, but timing matters for berry quality. University of Minnesota Extension advises waiting to wash delicate produce such as berries until you are ready to prepare or eat it because washing can shorten shelf life.

When you are ready, rinse berries under cool running water. FDA guidance says plain running water is enough; soap, detergent, bleach, and commercial produce washes are not recommended. Handle the fruit gently, because bruising creates more damaged tissue and can speed quality loss.

A colander or strainer works well for strawberries, blueberries, raspberries, and blackberries. Avoid leaving delicate berries soaking in a bowl for a long time. After rinsing, let excess water drain and use a clean towel or paper towel if you need to dry them before serving or freezing.
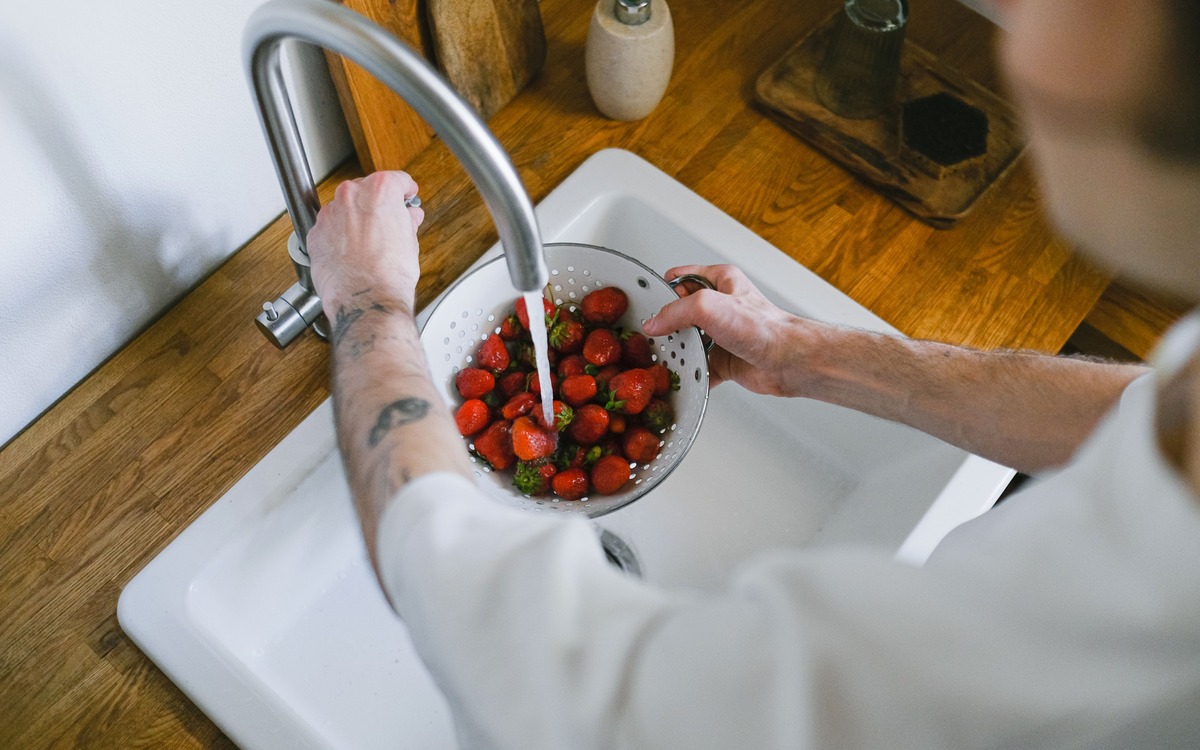
Fresh strawberries being rinsed under running water in a kitchen strainer

What to do when one berry is moldy or badly deteriorated

Berries are soft, high-moisture fruit. USDA Food Safety and Inspection Service guidance says mold can penetrate soft fruit below the surface where you cannot see it. A moldy berry should therefore be discarded rather than trimmed and eaten.

If you find a few moldy berries in a container, USDA advises throwing away the moldy pieces and any fruit directly touching them. Then inspect the remaining berries carefully. If the rest show no mold and are not overly mushy, wash them thoroughly before eating.

A few soft or bruised berries do not automatically mean the entire package must be discarded: remove the damaged berries and inspect what remains. But fruit that is moldy, slimy, leaking badly, overly mushy, or has an obvious off or yeasty smell should be thrown away. FoodSafety.gov also lists mold, yeasty odor, and sliminess as signs that fruit should be discarded.

Do not sniff moldy berries closely. Mold spores can irritate the respiratory system. Also check the container and nearby produce, because mold can spread from one piece of fruit to another.

Freeze berries before they become overripe

Freezing is one of the best ways to save berries you will not use in time. The National Center for Home Food Preservation recommends selecting ripe, sound fruit, washing it, draining or drying it as needed, and freezing it promptly.

For loose berries that are easy to portion later, spread clean, dry berries in a single layer on a tray and freeze until firm. Then transfer them to a freezer bag or freezer-safe container. This tray-freezing step helps prevent one large frozen block and makes it easier to take out only what you need.

University of Minnesota Extension notes that properly frozen foods retain high nutritional value. Texture will soften after thawing, which is normal, so frozen berries are especially useful for smoothies, oatmeal, sauces, baking, yogurt, and cooked dishes.
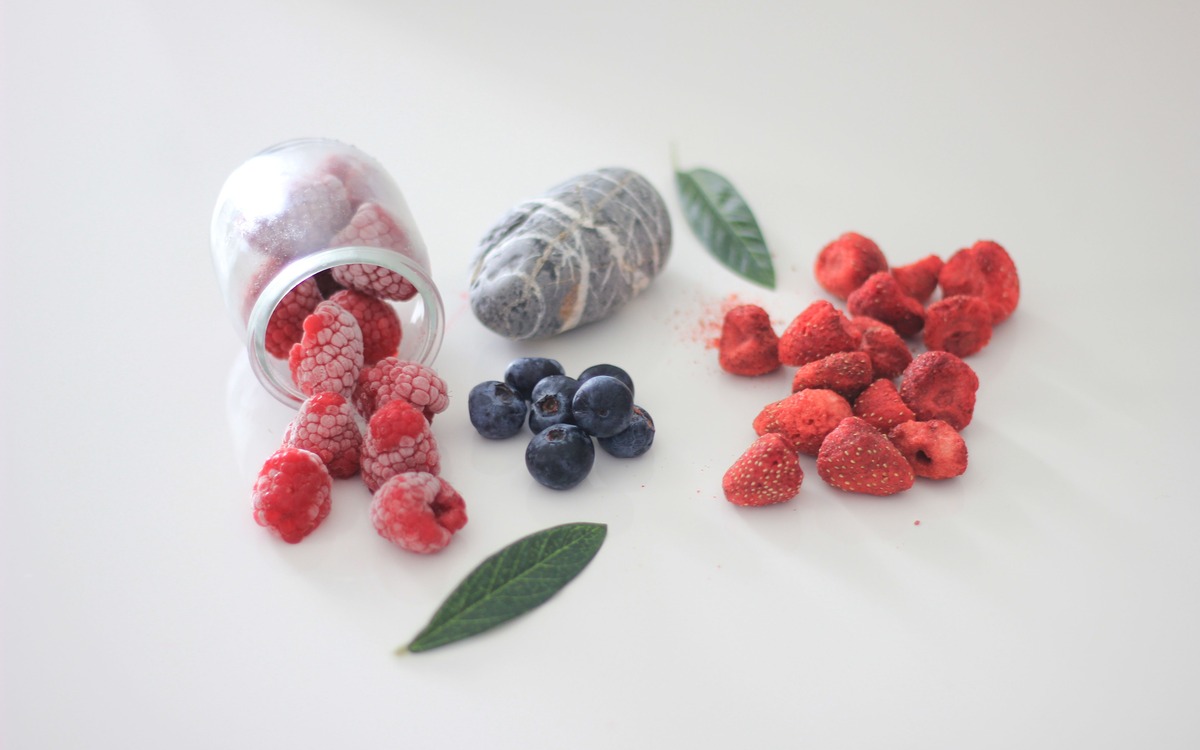
Assorted frozen strawberries, blueberries, raspberries, and blackberries

Do not wash with soap, vinegar is not required, and more treatment is not always better

There is no need to turn berry washing into a complicated chemical routine. FDA advice is straightforward: rinse produce thoroughly under running water and do not use soap, detergent, bleach, or commercial produce wash.

Some households use vinegar-water mixtures as a quality-management habit, but this is not required by FDA food-safety guidance and should not replace normal refrigeration, clean hands, clean utensils, and discarding moldy soft fruit. If your goal is simply safe everyday preparation, cool running water is the standard approach.

A simple routine that reduces berry waste

  1. At the store, check the bottom of the container for leaks, crushed berries, and mold.
  2. Refrigerate promptly at 40°F (4°C) or below and keep the berries dry.
  3. Remove leaking, badly crushed, overly mushy, or moldy fruit as soon as you notice it.
  4. Wait to wash berries until you are ready to use them.
  5. Rinse gently under cool running water without soap or special cleaners.
  6. Freeze extras while they are still in good condition rather than waiting until they are overripe.

Bottom line

Fresh berries last best when they start out dry and undamaged, stay cold, and are handled gently. Washing right before use helps preserve quality, while freezing is the easiest rescue plan for berries you cannot finish in time.

And when mold appears, remember that berries are soft fruit: discard the moldy pieces and any berries directly touching them instead of trying to cut around the problem.
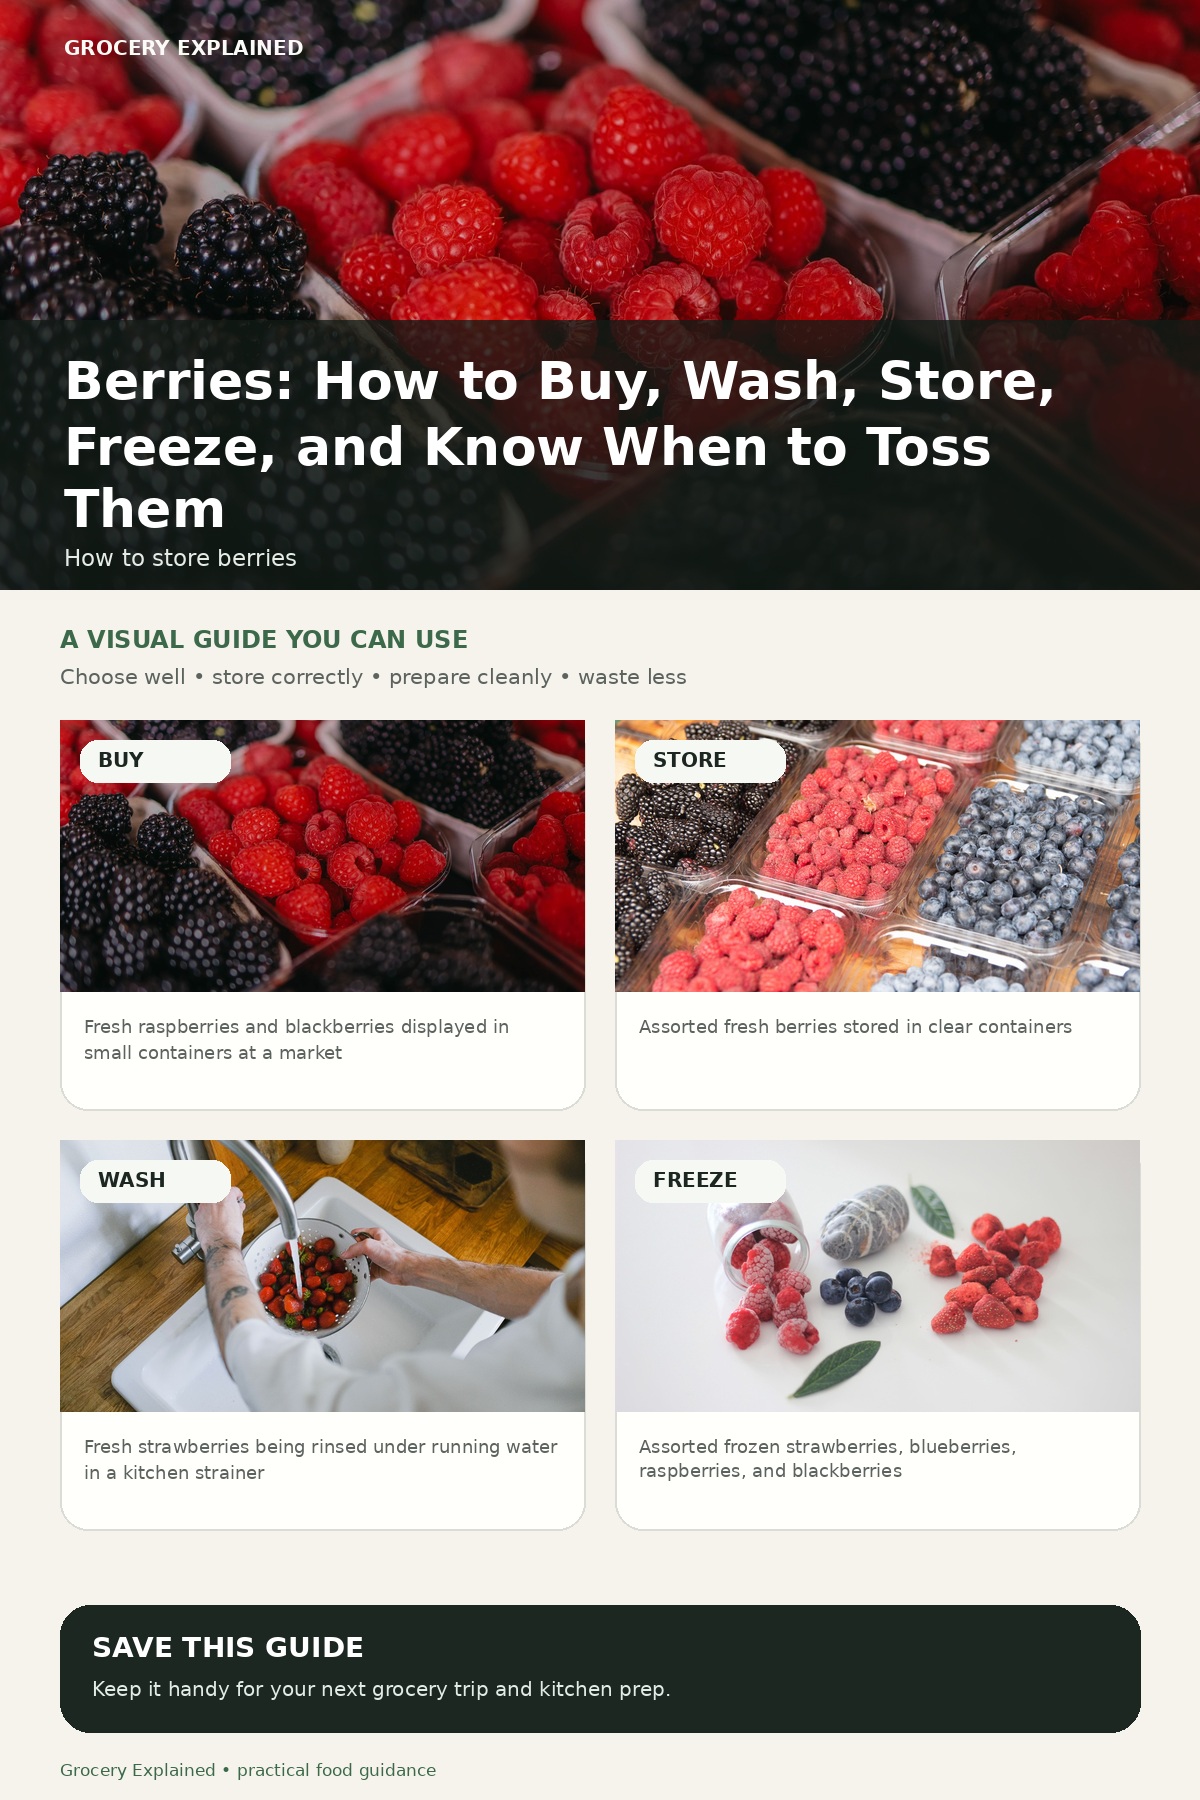
Photographic Grocery Explained guide to buying, washing, storing, freezing, and discarding moldy berries

Potatoes: How to Buy, Store, Handle Sprouts and Green Spots, and Cook Them Smarter

Potatoes look sturdy, but they are surprisingly sensitive to light, heat, moisture, and very cold storage. A bag that seems fine at the store can turn green, sprout, soften, or develop an odd sweet flavor if it sits in the wrong place at home.

The useful routine is simple: buy firm potatoes without large green areas or heavy sprouting, keep them dark and ventilated, wash them only when you are ready to cook, and be more cautious when a potato is extensively green, bitter, soft, or rotten. If you fry or roast potatoes, a few preparation choices can also reduce how much acrylamide forms during high-heat cooking.

Start with firm potatoes at the store

Choose potatoes that feel firm for their size and do not have wet, soft, or badly damaged areas. Utah State University Extension recommends smooth, firm potatoes without soft or green spots. A few harmless-looking surface marks are normal on a crop that grows in soil, but deep cuts, wet decay, extensive bruising, and obvious greening are reasons to choose another potato.

Look at the entire bag, not just the potatoes visible through the front. Light exposure encourages greening, so a clear bag that has spent a long time under bright store lighting can hide greener potatoes on one side. If a potato is already heavily sprouted at the store, leave it behind rather than planning to rescue it later.

Variety matters more for texture than for basic safety. Russets tend to cook up fluffy, while waxier red or yellow potatoes hold their shape better. For storage, however, condition matters first: a firm, intact potato will generally keep better than one that is bruised, cut, wet, or already soft.

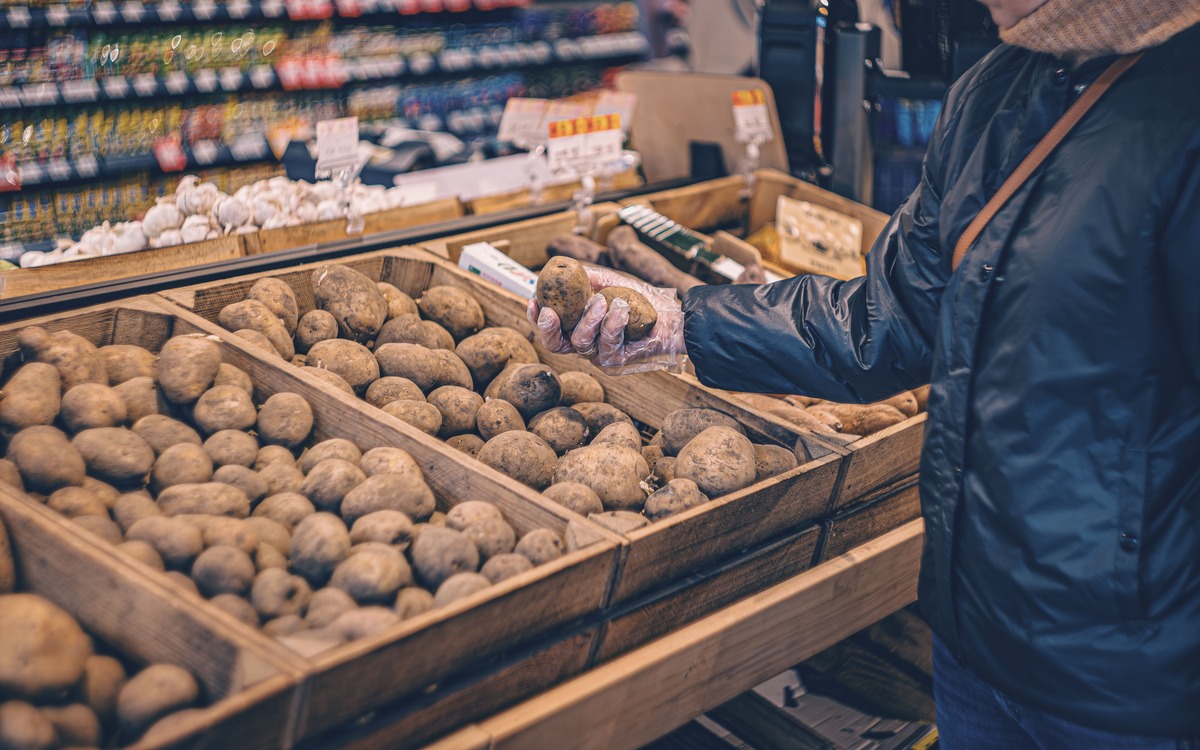
Shopper selecting firm potatoes from wooden produce bins in a grocery store

Store whole potatoes in a cool, dark, ventilated place

For most homes, the best storage spot is a dark pantry, cabinet, cellar shelf, or other cool place with some airflow. Utah State University Extension recommends a dark, cool location with air circulation and notes that paper bags or perforated plastic bags can help. Colorado State University Extension similarly recommends a well-ventilated, dry, dark, cool place.

Avoid sealing potatoes in an airtight container while they are raw and unpeeled. Trapped moisture makes spoilage more likely. A paper bag, open basket in a dark cupboard, or ventilated produce bag is usually more practical.

Do not wash potatoes before storage. Soil can be brushed off if needed, but added moisture shortens storage life. Wash and scrub them under running water shortly before you cook them.

Check stored potatoes every week or so. Remove any potato that becomes wet, moldy, badly softened, or rotten so it does not sit against the rest of the batch.

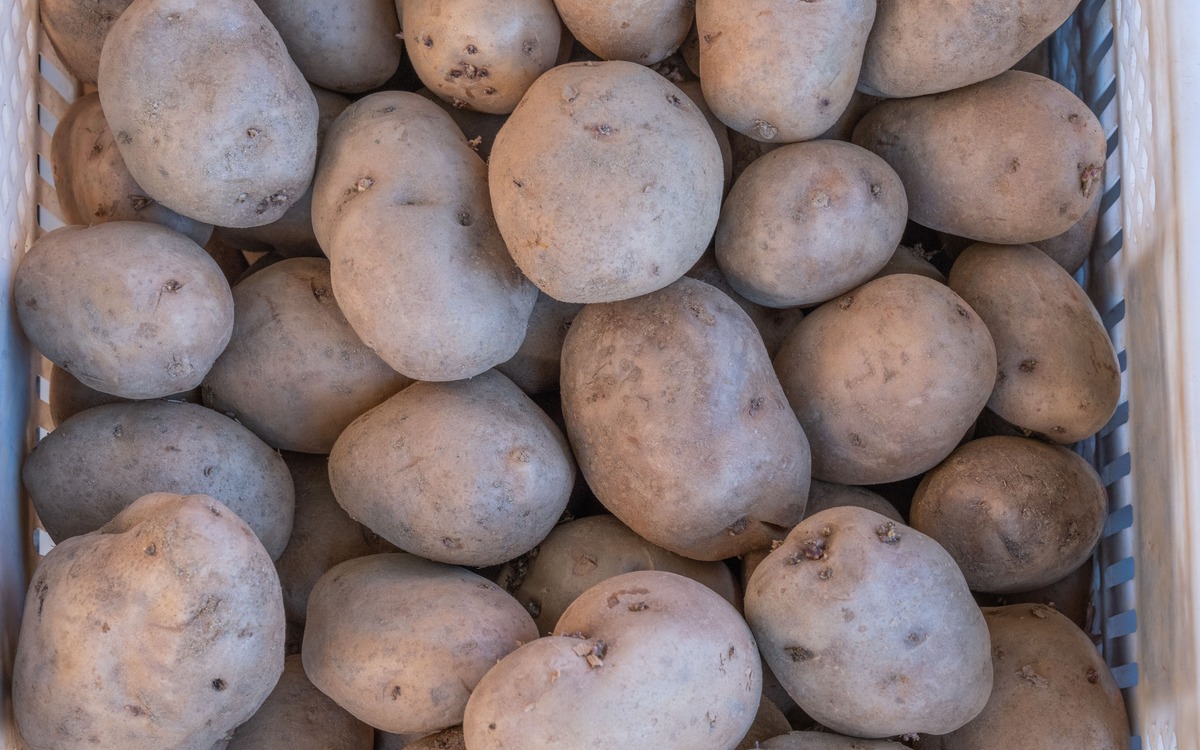
Whole raw potatoes arranged in a ventilated basket for cool dark storage

Why the refrigerator is not the first choice for raw potatoes

The U.S. Food and Drug Administration advises storing potatoes outside the refrigerator, preferably in a dark, cool place. Very cold storage can increase reducing sugars in potatoes. When those potatoes are later fried, roasted, or baked at high heat, the extra sugars can contribute to more acrylamide formation and stronger browning.

This matters most for high-temperature dry cooking. The FDA notes that frying produces more acrylamide than roasting potato pieces, while boiling and microwaving whole potatoes with the skin on do not produce acrylamide in its studies. The practical takeaway is not that potatoes are dangerous to eat; it is that a cool pantry is a better default than the refrigerator, especially when the potatoes are destined for fries or roasted potatoes.

If your kitchen is very warm and you have no genuinely cool storage area, buy smaller quantities more often instead of trying to keep a large bag for weeks.

Sprouts are a warning to inspect the potato, not an automatic verdict

Sprouting happens as stored potatoes age. The sprouts themselves should not be eaten. University of Minnesota Extension advises removing sprouts before using the potato, and Penn State notes that sprouting indicates the tuber is trying to grow.

If a potato is still firm and has only small sprouts, remove the sprouts completely and cut away any nearby green tissue before cooking. If it is heavily sprouted, very shriveled, soft, wet, moldy, or smells rotten, discard it. A potato that has clearly deteriorated is not worth trying to salvage.

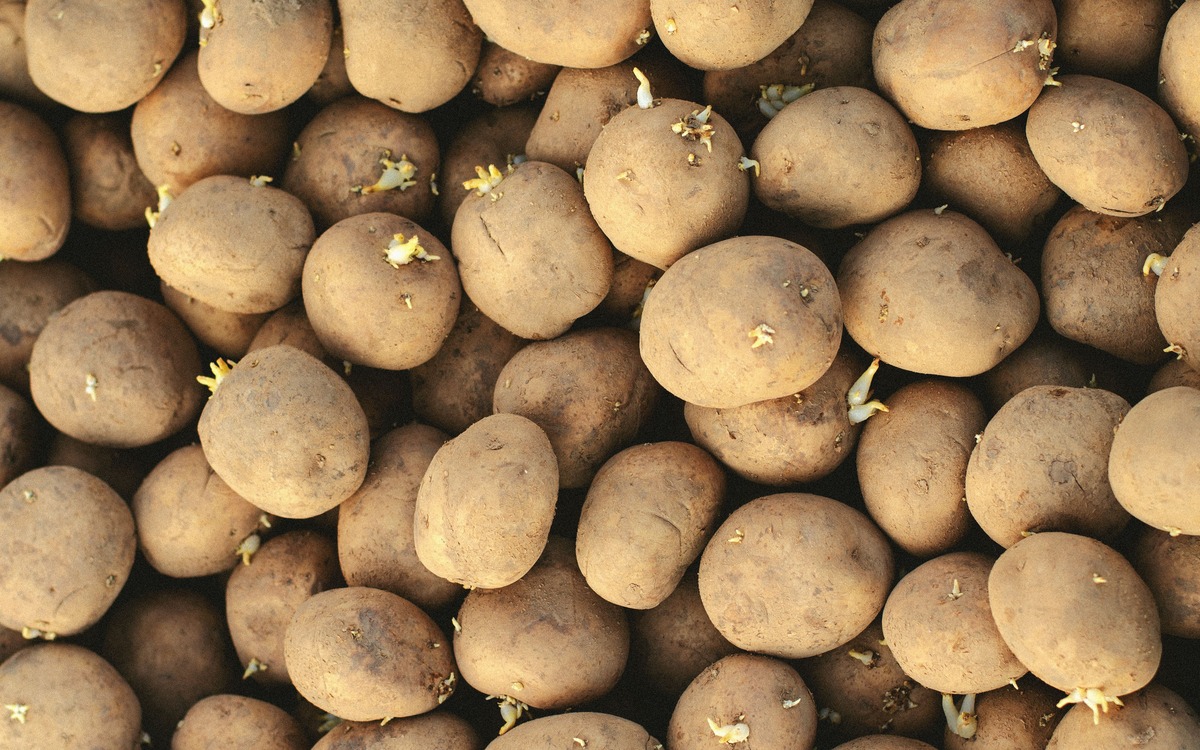
Close-up of raw potatoes with small visible sprouts that should be removed before cooking

Green skin deserves more caution

The green color itself comes from chlorophyll after the potato has been exposed to light, but that same light exposure can also increase naturally occurring glycoalkaloids such as solanine. These compounds are concentrated more heavily in the skin, sprouts, and green areas and can cause illness when enough is consumed.

Penn State Extension advises trimming small green spots but discarding potatoes with more extensive greening. That is a practical household rule: a tiny superficial green area on an otherwise firm potato can be cut away generously, but a potato that is green over a large area, tastes unusually bitter, or has multiple signs of deterioration should go in the trash.

Do not rely on cooking to “fix” a badly green potato. The better strategy is to prevent greening in the first place by storing potatoes away from light.

Wash just before cooking

When you are ready to use the potatoes, scrub them under running water with a clean vegetable brush. There is no need to wash them with soap or detergent. Cut away damaged tissue, sprouts, and any green areas you intend to remove.

If you cut potatoes ahead of cooking, they can darken when exposed to air. Keeping the pieces temporarily submerged in water can slow that discoloration. Drain them well before roasting or frying so excess surface water does not interfere with browning or create splatter in hot oil.

For fries and roasted potatoes, aim for golden rather than very dark brown

Acrylamide forms naturally in some starchy plant foods during high-temperature cooking. The FDA says that longer cooking times and higher temperatures generally produce more acrylamide, and darker brown areas tend to contain more than lighter golden areas.

If you are making fries or roasted potato pieces, the FDA recommends soaking raw slices in water for 15 to 30 minutes before cooking. Drain and blot them dry afterward. Cooking to a golden yellow color rather than a deep brown is another practical way to reduce acrylamide formation.

Boiling and steaming are different because they use lower-temperature moist heat and generally produce little or no acrylamide. You do not need to avoid roasted or fried potatoes completely; simply avoid treating very dark browning as the goal.

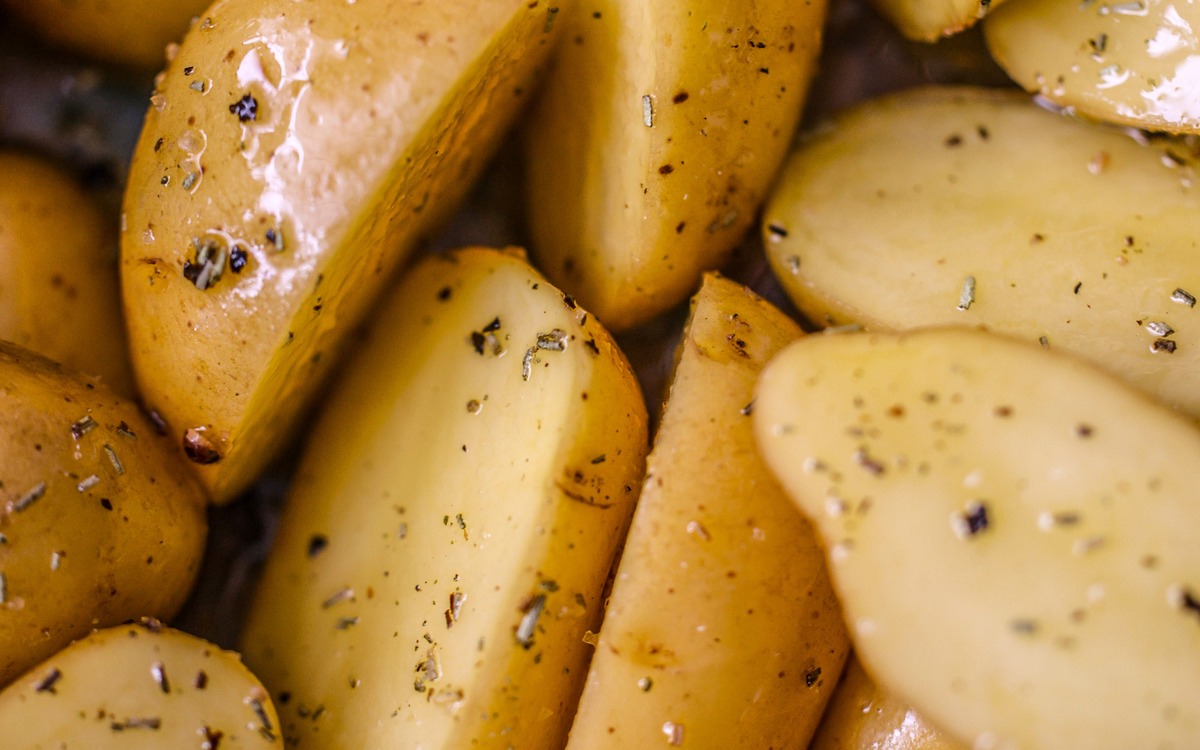
Seasoned potato wedges prepared for roasting to a golden rather than very dark brown color

Six common potato-storage mistakes

  • Leaving the bag in bright light. Light encourages greening and can increase glycoalkaloids.
  • Keeping raw potatoes in a sealed, damp container. Poor airflow and moisture encourage spoilage.
  • Washing the whole bag before storage. Extra moisture shortens keeping quality.
  • Ignoring one rotten potato. Check the batch and remove deteriorating potatoes promptly.
  • Keeping frying potatoes very cold. Cold storage can increase sugars and promote extra browning and acrylamide during high-heat cooking.
  • Trying to rescue a potato that is extensively green, bitter, soft, or rotten. When several warning signs are present, discard it.

A simple potato routine that works

  1. At the store, choose firm potatoes without large green patches, wet damage, or heavy sprouting.
  2. At home, move them to a dark, cool, ventilated place.
  3. Keep them dry and wash only what you are about to cook.
  4. Check the batch regularly and remove spoiled potatoes.
  5. Remove small sprouts and minor green areas from an otherwise firm potato; discard extensively green or badly deteriorated potatoes.
  6. For frying or roasting, soak cut pieces for 15–30 minutes if practical, dry them, and cook to golden rather than very dark brown.

Bottom line

Potatoes last best when they are treated more like living produce than like a shelf-stable pantry staple. Keep them cool, dark, dry, and ventilated; do not wash them until you are ready to cook; and pay attention to sprouts, greening, softness, and rot.

Most potato problems are easier to prevent than to fix. A smaller bag stored well usually gives you better quality and less waste than a large bag forgotten in a bright or warm corner.

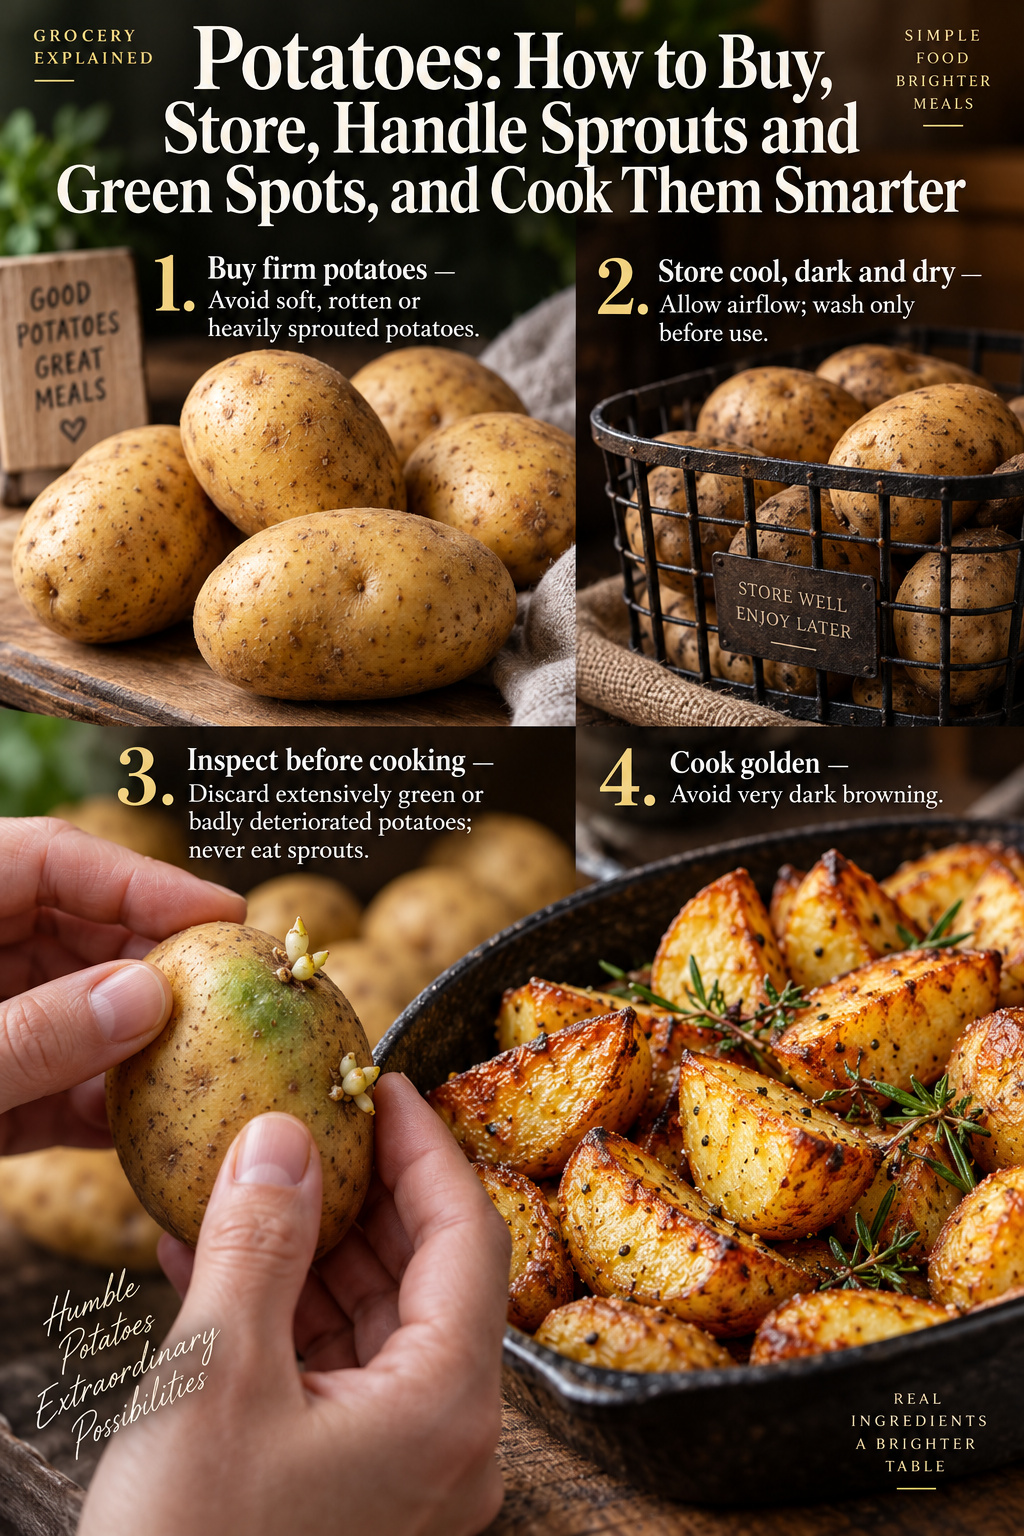
Photographic guide to buying and storing potatoes, handling sprouts and green spots, and cooking potatoes to a golden color

Saturday, September 12, 2026

Olive Oil: How to Choose a Fresher Bottle, Store It Properly, and Spot Rancidity

Olive oil is easy to buy badly and surprisingly easy to store badly. A beautiful bottle can sit under bright supermarket lights for months, then spend the rest of its life beside a hot stove. By the time you use it, the oil may still be perfectly pourable but noticeably less fresh than it was when bottled.

The practical goal is simple: buy oil with useful freshness clues, choose packaging that protects it from light and air, store it away from heat, and use a bottle size you can finish at a reasonable pace. You do not need a complicated authenticity test or a refrigerator experiment.

First, know what “extra virgin” actually means

Extra virgin olive oil is not just a marketing phrase. The International Olive Council classifies extra virgin olive oil as virgin olive oil that meets defined chemical and sensory standards and is fit for consumption as-is. Virgin olive oils are produced from olives by mechanical or other physical means rather than by solvent extraction or refining.

For a shopper, the useful takeaway is that “extra virgin” is a quality grade. It does not mean that every bottle with those words will taste equally fresh, because freshness also depends on the olives, processing, storage, packaging, and how much time has passed.

How to choose a fresher bottle at the store

When a harvest date is available, it is one of the most useful pieces of information on the bottle. UC Davis advises shoppers to pay attention to the harvest date because olive oil does not improve with age. A “best by” date can still be useful, but it does not tell you as directly when the olives were harvested.

Choose the most recent harvest you can reasonably find, especially if you are paying a premium for extra virgin olive oil. Then look at how the bottle has been displayed. Oil that has spent a long time in strong light or next to a warm display is at a disadvantage before you even bring it home.

Do not assume that a larger container is automatically the better value. UC Davis notes that once a bottle is opened, more oxygen enters and oxidation speeds up. If you use olive oil slowly, a smaller bottle that you finish while it still tastes fresh can be a better buy than a large bottle that sits open for many months.

Bottle of olive oil with olives arranged on a dark surface

Packaging matters because light and oxygen matter

Olive oil gradually oxidizes, and light can accelerate quality loss. Research summarized by the UC Davis Olive Center shows that dark or opaque packaging protects oil better than clear packaging. Dark glass, metal containers, and bag-in-box formats are all designed to reduce light exposure, while bag-in-box packaging also limits the amount of air that replaces the oil as you use it.

A clear glass bottle is not automatically bad oil, and a dark bottle is not proof of excellent oil. Packaging is one part of the freshness equation. If you buy oil in a clear bottle, keep it in a dark cupboard at home rather than leaving it on a bright counter.

Decorative glass cruets are convenient for the table, but they can expose a larger surface of oil to light and air. If you like using one, fill it with only a small amount and keep the main supply closed and protected.

Olive oil in a glass carafe beside olives and olive branches

The best place to store olive oil is cool, dark, and convenient

UC Davis quality guidance emphasizes cool storage and protection from light and oxygen. In a home kitchen, that usually means a cupboard or pantry away from the stove, oven, dishwasher vent, radiator, or sunny window. A cabinet directly above a hot range is convenient, but it is not an ideal storage spot.

For commercial storage, UC Davis cites roughly 59–64°F (15–18°C) as a favorable temperature range for maintaining quality. Most homes will not hold that exact temperature year-round, so the practical rule is simply to choose the coolest dark spot that is still easy enough to use regularly.

Close the cap promptly after pouring. A bottle that sits open while you cook is exposed to more oxygen than it needs to be. You do not need to transfer oil to a smaller container after every use, but keeping the original container tightly closed is worthwhile.

Refrigeration is optional—and the “fridge test” is not an authenticity test

Olive oil can turn cloudy or partially solidify when chilled because naturally occurring waxes and fatty components behave differently at low temperatures. UC Davis specifically warns that this does not make refrigeration a reliable test of whether an oil is genuine or high quality.

Cold storage itself is not inherently harmful to olive oil quality, but it can make the oil inconvenient to pour until it warms. For most people, a cool dark cupboard is the simpler everyday option. If your kitchen is unusually hot for long periods, colder storage may be useful, but cloudiness in the refrigerator should not be treated as a spoilage signal.

Use olive oil where you enjoy its flavor

Fresh extra virgin olive oil can taste fruity, bitter, peppery, mild, grassy, or a combination of those qualities depending on the olives and style. There is no single flavor profile that is “correct” for every meal. A robust oil may work well with beans, vegetables, bread, or grilled foods, while a milder oil can be easier to use in baking, sauces, or delicate dishes.

If you own more than one bottle, open the one you actually plan to use. Keeping several large bottles open at the same time gives each one more time to oxidize before you finish it.

Olive oil being poured from a dark bottle over a grain and vegetable bowl

How to tell when olive oil has lost its freshness

Olive oil is a low-moisture product, so the most common household problem is quality deterioration from oxidation rather than the kind of rapid microbial spoilage associated with milk or raw meat. Over time, fresh aromas fade and rancid or otherwise unpleasant off-flavors can develop.

If the oil smells obviously stale, rancid, or otherwise unpleasant—or tastes distinctly off compared with when it was fresh—it is reasonable to replace it. Rancid oil is not going to make a good salad dressing or finishing oil, even if it still looks visually normal.

Do not use cloudiness alone as your test. UC Davis notes that cloudy oil or sediment does not automatically mean an oil has gone bad. Some oils are intentionally unfiltered. At the same time, excessive water and sediment can shorten shelf life, so the bottle still needs normal storage and sensory checks.

Home cook smelling olive oil from a small glass bottle in a kitchen

Five mistakes that shorten olive oil freshness

  • Leaving the bottle beside the stove. Heat speeds quality loss.
  • Buying far more than you use. A large open bottle has more time to oxidize before you finish it.
  • Displaying it in direct sunlight. Light is one of the main things good packaging is designed to block.
  • Leaving the cap loose. More oxygen exposure means faster oxidation.
  • Using the refrigerator as a purity test. Solidification behavior is not a dependable authenticity test.

A simple shopping and storage routine

  1. Choose extra virgin olive oil when you want the extra virgin quality grade and flavor profile.
  2. Look for a recent harvest date when the producer provides one.
  3. Prefer packaging that limits light exposure, especially if the bottle will be stored for a while.
  4. Buy a size you can realistically use within weeks or a few months after opening.
  5. Store it tightly closed in a cool, dark cupboard away from heat.
  6. Judge freshness by aroma and flavor, not by whether the oil clouds in the refrigerator.

Bottom line

Good olive oil shopping is less about finding a magical bottle and more about protecting freshness. Favor a recent harvest date when available, use packaging as one quality clue, keep the bottle away from heat and light, and buy an amount that matches how quickly you cook with it.

Most importantly, remember that olive oil is not a product that improves in the pantry. The best bottle is one you enjoy while it still tastes fresh.

Olive oil guide with six practical tips for choosing fresher oil, protecting it from light, storing it cool and dark, and spotting rancidity

Flour: How to Store It, Handle Raw Dough Safely, and Know When to Toss It

Flour looks dry, simple, and shelf-stable, so it is easy to treat it as if it were ready to eat straight from the bag. It is not. Most flour is a raw food, and the grain used to make it can pick up harmful bacteria before or during processing.

The practical routine is straightforward: buy the type of flour you will actually use, keep it dry and well sealed, treat raw flour and dough as uncooked food, clean up after baking, and cook or bake flour-containing foods according to the recipe or package directions.

Choose flour for the job you actually do

For most home kitchens, all-purpose flour is the most flexible choice. Bread flour has more protein and is designed for stronger gluten development in yeast breads. Cake and pastry flours are softer and better suited to tender baked goods. Whole-wheat flour includes the bran and germ, which adds flavor and texture but also means it generally loses quality faster than refined white flour because the germ contains oils that can turn rancid.

Before buying a large bag, think about how quickly you bake. A smaller bag that stays fresh and pest-free can be better value than a bulk package that sits open for months. Check that the package is dry, intact, and free from tears, damp spots, or signs of insects.

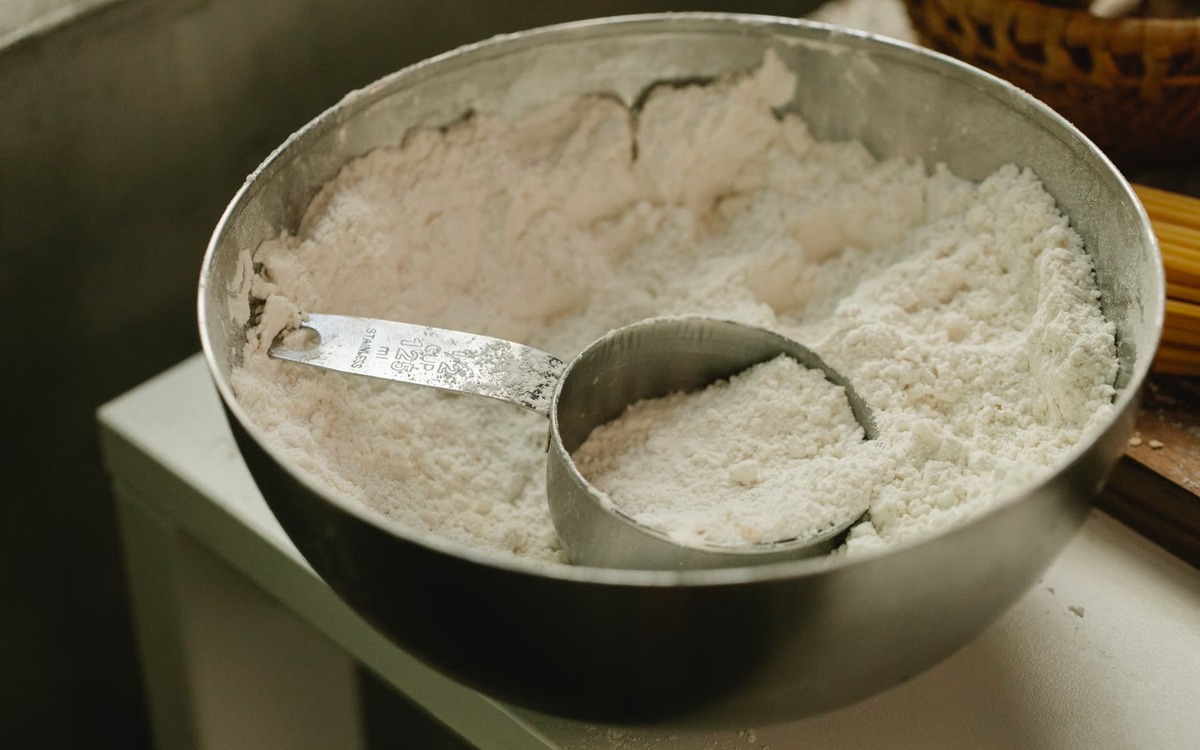
White flour in a metal bowl with a measuring cup ready for baking

Store opened flour in a tightly closed container

Flour keeps best when it is protected from moisture, heat, strong odors, and pantry pests. Illinois Extension recommends keeping pantry foods in a dry storage area and placing opened flour in a storage bag or lidded container. An airtight food-safe container also makes it easier to keep the pantry clean if an insect problem ever appears.

For everyday all-purpose flour, a cool, dry pantry is usually convenient. Keep the container away from the stove, dishwasher, sunny windows, or other places where temperature and humidity swing. Labeling the container with the flour type and the date you opened it makes rotation easier.

If you buy more flour than you will use soon, the refrigerator or freezer can help preserve quality. Colorado State University Extension lists longer refrigerated and frozen storage for flour and recommends an airtight container. Whole-wheat flour especially benefits from colder storage because its natural oils can develop stale or rancid flavors sooner.

If flour has been chilled or frozen, keep it sealed while it comes closer to room temperature before opening. That simple step helps reduce condensation from forming on cold flour. Freezing preserves quality; it does not make raw flour safe to eat uncooked.

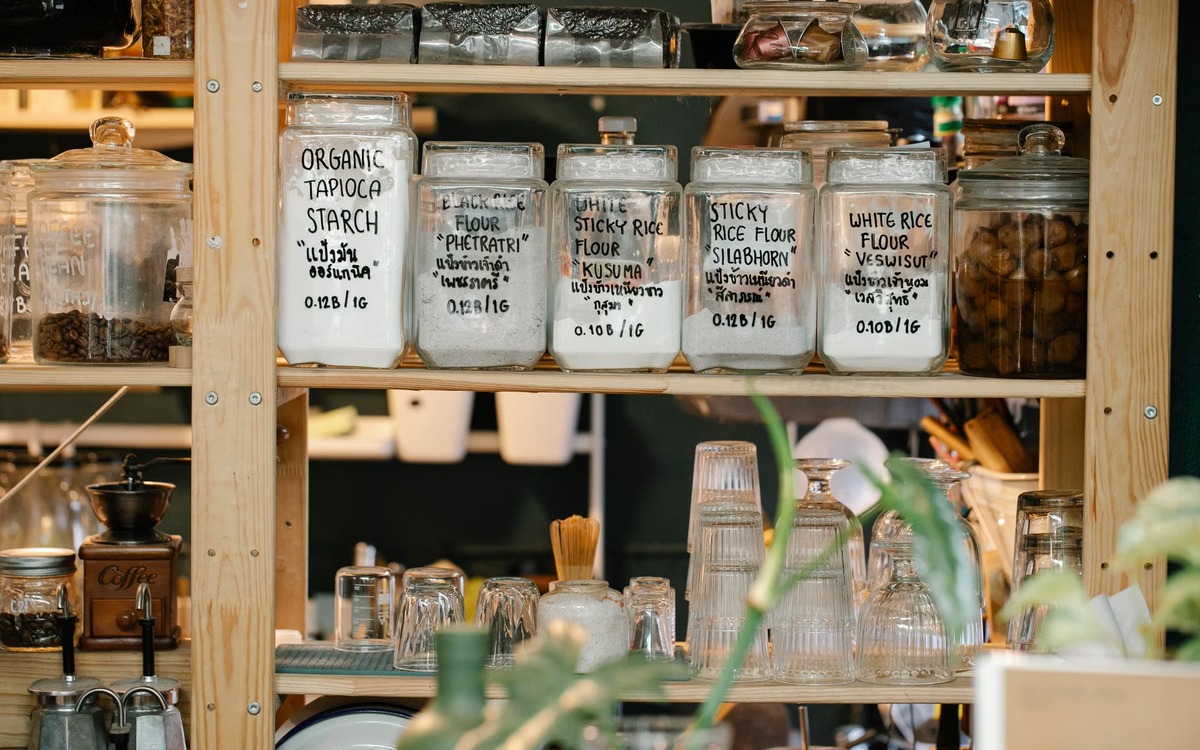
Dry baking ingredients including flour stored in lidded glass jars on pantry shelves

Most flour is raw food

The FDA and CDC both emphasize a point many home bakers miss: most flour has not been treated to kill germs. Wheat and other grains grow outdoors, where they can be exposed to bacteria such as E. coli and Salmonella. Grinding or bleaching flour does not reliably eliminate those germs.

That is why tasting raw cookie dough, cake batter, pizza dough, pancake batter, tortilla dough, or even a spoonful of plain flour is not recommended. Raw eggs can add another risk in recipes that contain them, but an egg-free dough made with untreated raw flour is still not automatically safe to taste.

CDC advises choosing products specifically labeled edible or safe to eat raw when you want a ready-to-eat dough or batter. Those products are made with ingredients such as heat-treated flour and pasteurized eggs, or are formulated without raw eggs.

Hands working with uncooked dough and loose flour on a kitchen work surface

Do not try to heat-treat flour at home for raw recipes

Internet recipes sometimes suggest microwaving or baking flour by itself so it can be used in no-bake cookie dough. The FDA specifically advises consumers not to rely on home heat treatment. Home methods may not heat every part of the flour evenly enough to kill harmful bacteria.

If a recipe will not be cooked, use flour that the manufacturer identifies as heat-treated or use a product that is clearly labeled as safe to eat raw. Do not assume that warming ordinary flour in a microwave or oven makes it equivalent to commercially treated flour.

Keep loose flour away from ready-to-eat food

Flour is a fine powder, so it can spread farther than it seems. The FDA recommends keeping raw foods such as flour and eggs separate from ready-to-eat foods. When you measure or mix flour, avoid placing fruit, finished sandwiches, cooked food, or clean serving utensils in the same dusty workspace.

After handling flour, raw dough, or raw eggs, wash your hands with soap and running water. Wash bowls, utensils, baking pans, cutting boards, and countertops with warm, soapy water. Wiping visible flour away is useful, but the important step is actually cleaning the surfaces that contacted raw ingredients.

Cook or bake according to the recipe or package directions

Cooking is the step that makes ordinary raw flour-containing foods ready to eat. The FDA and CDC recommend following the stated cooking or baking time and temperature for the recipe, mix, or packaged dough. Avoid judging doneness only by how the outside looks if the center may still be raw.

For refrigerated commercial dough, keep it refrigerated as the label directs until you are ready to bake it. Once baked, store the finished food according to the recipe and the ingredients it contains; a loaf of bread, a cream-filled pastry, and a meat pie do not have the same storage needs simply because all three contain flour.

Freshly baked loaves of bread cooling on a wooden board

How long does flour keep?

Storage times are best treated as quality guidelines rather than guarantees. Illinois Extension, citing USDA FoodKeeper guidance, lists roughly 6 to 8 months in the pantry for all-purpose flour and about 3 to 6 months for whole-wheat flour; colder storage can extend quality. Package dates, storage temperature, humidity, and how often the container is opened all matter.

The most useful habit is first-in, first-out rotation: finish the older flour before opening another bag. If you rarely bake, write the purchase or opening date on the container and buy smaller amounts.

When to throw flour away

Discard flour if you see insects, webbing, obvious mold, or signs that water has entered the package. A distinctly rancid, paint-like, musty, or otherwise unpleasant odor is also a reason to replace it, especially with whole-grain flour. Normal flour should smell mild rather than strongly oily or sour.

Clumping does not always mean contamination, but damp or hardened flour suggests moisture exposure and is not worth rescuing. Do not mix questionable flour into a fresh bag.

Also check recalls. Flour and baking mixes can remain in pantries for a long time, so CDC recommends checking older packages against FDA recall information. If flour is recalled, follow the recall instructions and throw it away rather than trying to cook around the problem.

Do not use oven “dry canning” as a storage shortcut

Putting flour into jars and heating the sealed jars in an oven is sometimes promoted as a way to extend shelf life. Illinois Extension advises against this practice. Home canning jars are not designed for dry oven heating, and dry-canning methods are not a validated substitute for ordinary dry storage.

A simpler system is safer and easier: keep flour dry, use a clean airtight container, rotate your supply, refrigerate or freeze extra flour if needed, and discard any package affected by pests, water, unusual odors, or recalls.

A simple flour routine

  1. Buy the flour type and bag size you are likely to use.
  2. After opening, transfer it to a clean, tightly closed food-safe container.
  3. Store it in a cool, dry place; use the refrigerator or freezer when longer quality storage is useful.
  4. Treat ordinary flour, dough, and batter as raw food.
  5. Do not taste raw dough or batter unless the product is specifically labeled safe to eat raw.
  6. Keep flour dust away from ready-to-eat food and clean hands and surfaces after baking.
  7. Cook or bake according to the recipe or package directions.
  8. Discard recalled, pest-infested, wet, moldy, or rancid-smelling flour.

Bottom line

Flour is easy to store, but it deserves the same basic care as other raw ingredients. Keep it sealed and dry, use colder storage when you need more time, never assume raw dough is safe just because it contains no eggs, and let proper cooking or baking do the safety work.

That routine protects both quality and food safety without turning an ordinary pantry staple into a complicated project.

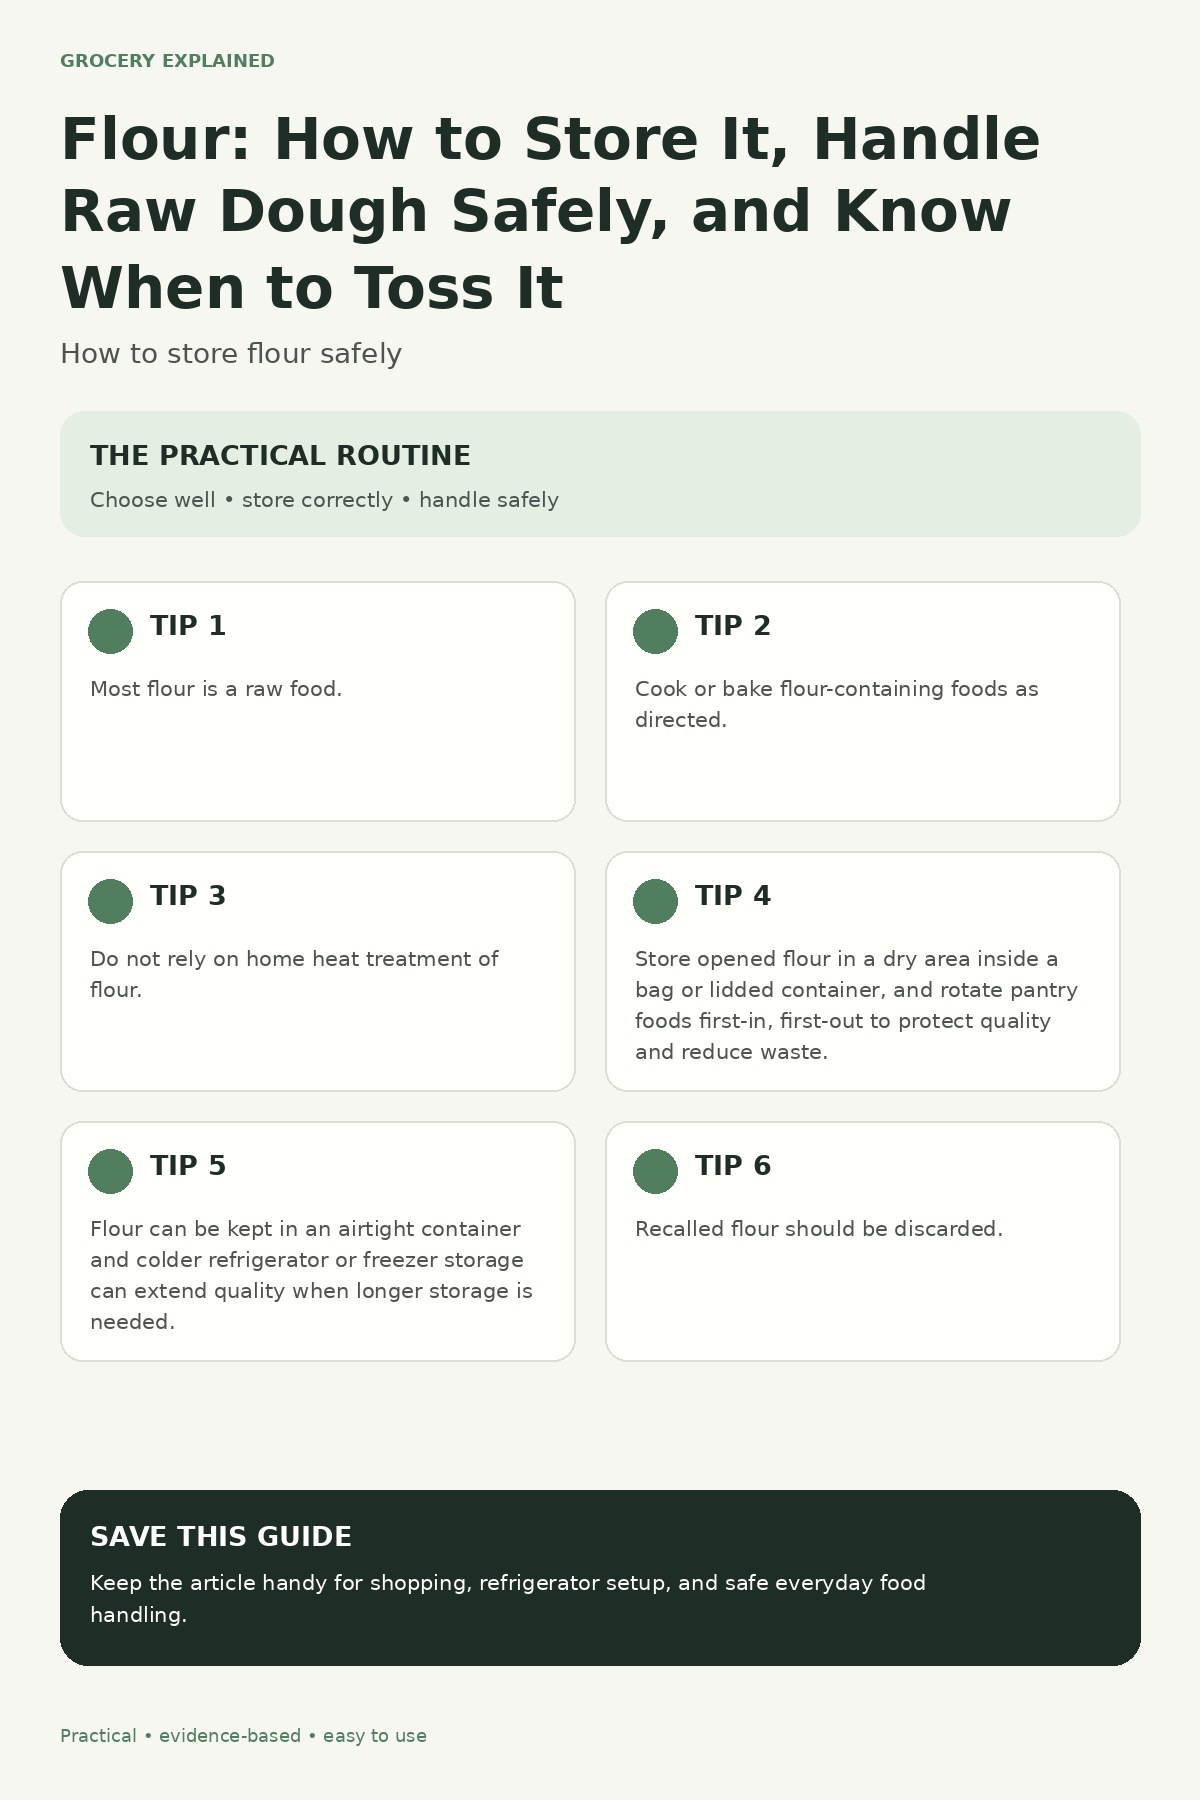
Flour safety and storage guide summarizing raw dough safety, airtight storage, cleanup, baking, and discard signs

Cheese: How to Buy, Store, Freeze, and Tell When It’s Gone Bad

Cheese can be confusing because the rules change with the type. A dry block of cheddar does not behave like ricotta, shredded mozzarella, Brie, or queso fresco. The practical answer is to sort cheese into a few useful groups, keep it cold, protect it from drying out, and treat unexpected mold very differently on hard and soft cheeses.

Start at the store: choose cheese that is cold, sealed, and suited to your plan

For refrigerated cheese, buy from a properly chilled case and avoid packages that are swollen, leaking, torn, or badly damaged. If you are buying fresh soft cheeses, look for a clear manufacturer label and date. FDA guidance for queso fresco-type cheeses specifically emphasizes sealed packaging, refrigeration, and clear labeling.

If food safety is especially important because someone is pregnant, age 65 or older, or has a weakened immune system, check the milk statement. FDA advises higher-risk people to avoid cheeses made with unpasteurized milk and to be cautious with queso fresco-type cheeses because of Listeria risk.

Assorted cheeses displayed for sale at a market counter

Keep cheese at 40°F (4°C) or below

Cheese that is sold refrigerated should go back into the refrigerator promptly after shopping. FDA recommends keeping the refrigerator at 40°F (4°C) or below. A refrigerator thermometer is useful because the dial setting does not always match the actual temperature.

Store cheese in the main refrigerator compartment rather than relying on the door, where temperatures fluctuate more. If you have a dedicated cheese or deli drawer, it can also help protect the package from warm air each time the door opens.

How to wrap opened cheese without drying it out

Once a package is open, the goal is to limit drying, odors, and unnecessary handling. Keep fresh or soft cheese in a clean airtight container or tightly closed original package. For a hard or semi-hard block, rewrap the cut surface closely and place the cheese in a resealable bag or container.

Do not leave cheese uncovered in the refrigerator. Exposed surfaces dry out, pick up refrigerator odors, and are more likely to be touched or contaminated. Date the package after opening if you tend to lose track of leftovers.

Close-up of firm cheese blocks ready for storage

Hard cheese and soft cheese need different handling

Hard and semi-hard cheeses such as cheddar, Swiss, Parmesan, and many goudas contain less moisture than cottage cheese, cream cheese, ricotta, chèvre, or other soft fresh cheeses. That difference matters when you are deciding what to do with mold or how well a cheese will freeze.

It also changes how fast quality declines after opening. Instead of using one storage-time rule for every cheese, follow the package date and manufacturer instructions, keep the cheese consistently cold, and use fresh high-moisture cheeses sooner than firm aged cheeses.

Fresh white cheese arranged on stainless-steel racks

What to do if you see mold on cheese

The key question is whether the cheese is hard or soft and whether the mold is supposed to be there. USDA says unexpected mold on soft cheeses such as cottage cheese, cream cheese, chèvre, and similar high-moisture cheeses is a reason to discard the cheese. The same applies to shredded, sliced, and crumbled cheeses because contamination can spread beyond the spot you can see.

For a solid hard cheese such as cheddar, USDA says you can cut off at least 1 inch (2.5 cm) around and below the mold spot. Keep the knife out of the mold itself so you do not drag contamination through the remaining cheese, then rewrap the trimmed cheese in fresh packaging.

Cheeses intentionally made with mold are different. The white rind on Brie or Camembert and the blue veins in blue cheese are part of normal production. But an unexpected mold color or growth that is not characteristic of that cheese should be handled according to USDA guidance for that cheese type.

Do not sniff suspicious moldy cheese

If mold is not supposed to be there, do not put the food close to your nose to inspect it. USDA specifically warns against sniffing moldy food because mold spores can irritate the respiratory tract. If the cheese should be discarded, wrap it or bag it before throwing it away and clean the refrigerator area where it was stored.

How to tell when cheese is past its best

Normal aging can change aroma, texture, and surface appearance, especially in artisan cheeses, so one clue rarely tells the whole story. Clear spoilage signals include unexpected mold on a soft cheese, a swollen or leaking package, sliminess that is not normal for the cheese, or a strong unpleasant odor that is clearly different from the cheese’s usual smell.

If you are unsure whether a change is normal for a specialty cheese, check the maker’s guidance rather than tasting it to test safety. For high-risk people, be more conservative with soft fresh cheeses and ready-to-eat refrigerated foods because Listeria can grow at refrigerator temperatures.

Can you freeze cheese?

Yes, but freezing is mainly a quality decision. The National Center for Home Food Preservation says hard and semi-hard cheeses can be frozen, although they may become crumbly or mealy after thawing. That makes previously frozen cheese a better choice for casseroles, sauces, soups, pizza, and other cooked dishes than for a cheese board.

Pack cheese in moisture-vapor-resistant freezer wrapping or a freezer-safe container, remove as much air as practical, label it, and freeze. Thaw in the refrigerator rather than on the counter.

High-moisture cheeses are less forgiving. NCHFP notes that cream cheese, cottage cheese, and ricotta do not freeze well because their texture can separate or become grainy.

A large wheel of hard cheese being prepared for serving

A simple cheese routine

  1. Buy refrigerated cheese cold and avoid damaged or swollen packages.
  2. Check for pasteurized milk when that matters for your risk level.
  3. Refrigerate promptly at 40°F (4°C) or below.
  4. After opening, rewrap or seal cheese so it does not dry out or pick up odors.
  5. Discard unexpected mold on soft, shredded, sliced, or crumbled cheese.
  6. On solid hard cheese, follow USDA’s 1-inch trimming rule for an isolated mold spot.
  7. Freeze hard or semi-hard cheese only when you are comfortable with a possible texture change.
  8. Thaw frozen cheese in the refrigerator.

Bottom line

The easiest way to manage cheese is to stop treating every variety the same. Keep all refrigerated cheese cold, protect opened cheese from air and handling, and remember that moisture level changes the rules. Unexpected mold on a soft cheese means discard; an isolated mold spot on a solid hard cheese can be trimmed according to USDA guidance. Freezing is useful for hard and semi-hard cheeses when you plan to cook with them later, but soft fresh cheeses usually lose too much texture.

Cheese storage guide covering shopping, refrigeration, mold, freezing, and spoilage checks

Sunday, September 6, 2026

Avocados: How to Choose, Ripen, Store, and Keep Them From Browning

Avocados are easy to buy at the wrong stage. One can be too firm for dinner tonight, perfect for only a few hours, or already soft enough to bruise on the trip home. Once you cut it, the bright green surface can also turn brown surprisingly fast.

The most useful approach is to match the avocado to your schedule: choose the right firmness, let firm fruit ripen at room temperature, move ripe avocados to the refrigerator, wash the skin before cutting, and protect cut surfaces from air when you are saving leftovers.

How to choose an avocado at the store

Start with firmness, not color alone. Different avocado varieties change color differently as they ripen. Hass avocados often darken as they soften, but skin color is still only one clue.

If you want to eat the avocado the same day, choose one that gives slightly to gentle pressure in your palm without feeling mushy. If you are shopping several days ahead, choose a firmer avocado and let it ripen at home. Avoid fruit with large sunken areas, broken skin, leaking spots, or extensive soft bruising.

Do not squeeze repeatedly with your fingertips. That can bruise the flesh. A gentle whole-hand check is enough.

Whole avocados displayed for sale at a produce market

How avocados ripen after you bring them home

Avocados do not ripen on the tree in the same way many people expect. After harvest, their ripening process accelerates and the fruit gradually softens. UC Davis notes that ethylene is closely involved in avocado ripening.

For normal home use, keep a firm avocado at room temperature away from direct sun and strong heat. Check it once a day. When it yields gently to pressure, it is ready to eat or refrigerate.

How to ripen an avocado faster

If dinner is approaching and your avocado is still hard, place it in a paper bag with an apple or tomato and leave the bag at room temperature. UC Davis recommends using ethylene-producing fruit to speed avocado ripening.

This method still takes time; it does not turn a hard avocado into a properly ripened one in a few minutes. Heating an avocado in the oven or microwave may soften the flesh, but it does not reproduce normal ripening and can give you a disappointing texture and flavor.

When should you refrigerate avocados?

Refrigeration is most useful once the avocado is ripe. Cold temperatures slow further softening, so moving a ready-to-eat avocado into the refrigerator gives you a larger window to use it. UC Davis lists ripe-avocado storage around 36–40°F (2–4°C), which fits normal refrigerator conditions.

For a very firm avocado that you want to ripen soon, room temperature is usually more practical because chilling slows the process. Once the fruit feels ready, refrigerate it and plan to use it within the next several days rather than treating refrigeration as indefinite storage.

Whole and halved ripe avocados arranged on a kitchen cutting board

Wash the avocado before you cut it

You do not eat the avocado peel, but you should still wash the outside before cutting. The FDA specifically recommends washing produce under running water before peeling or cutting so dirt and bacteria on the surface are less likely to be transferred inside by the knife.

Rinse the avocado under plain running water and gently rub the surface. Because avocado has a firm outer skin, a clean produce brush can also be used. Do not wash produce with soap, detergent, bleach, or commercial produce wash. Dry the avocado with a clean towel or paper towel before putting it on the cutting board.

Cut avocados with clean tools

Use a clean cutting board and knife, especially if the same kitchen area has recently been used for raw meat, poultry, or seafood. The FDA recommends keeping produce that may be eaten raw separate from those foods and cleaning utensils and surfaces between tasks.

Cut around the avocado lengthwise, rotate the halves apart, and remove the pit carefully. Spoon out the flesh or peel the skin away depending on how you plan to use it.

A cook slicing a ripe avocado on a kitchen cutting board

Why cut avocado turns brown

Once avocado flesh is exposed to air, enzymes in the fruit react with oxygen and the surface gradually darkens. This enzymatic browning is mainly a quality issue: it changes appearance and eventually flavor, but a little surface browning by itself is not the same thing as visible rot or mold.

The two most useful ways to slow browning are to reduce exposure to air and add a little acid. Lemon or lime juice can slow enzymatic browning, and a tightly covered container or wrap helps limit contact with oxygen.

How to store half an avocado

Brush or sprinkle the exposed flesh lightly with lemon or lime juice, then place the avocado in a small airtight container or cover the cut surface closely. Refrigerate it promptly at 40°F (4°C) or below.

Keeping the pit in the unused half does not protect the entire cut surface; it only covers the small area directly underneath it. Limiting air contact matters more. Check the avocado before using it and discard it if it develops mold, a strong off odor, extensive sliminess, or obvious rot.

Fresh avocado halves showing bright green flesh after cutting

Do not leave cut avocado out for hours

Once produce has been cut or peeled, refrigeration becomes more important. FDA guidance says pre-cut produce should be refrigerated, and Extension food-safety guidance uses a two-hour room-temperature limit for cut fruits and vegetables. If a cut avocado has been sitting out for an extended period, do not rely on color or smell alone to judge safety.

Can you freeze avocado?

Yes, but texture changes. Extension freezing guides recommend freezing avocado as mashed or pureed flesh rather than expecting whole or sliced avocado to thaw with the same creamy texture it had when fresh.

Mash ripe avocado, mix in a small amount of lemon juice or ascorbic acid to help control browning, pack it into a freezer-safe airtight container, and freeze. Thawed avocado works best in guacamole, spreads, sauces, smoothies, and other dishes where a soft texture is acceptable.

Easy ways to use a ripe avocado before it goes too far

  • Toast or sandwiches: mash with lemon or lime and a pinch of salt.
  • Grain bowls: add slices just before serving.
  • Tacos and beans: use diced avocado as a cool topping.
  • Eggs: serve alongside scrambled eggs, omelets, or breakfast bowls.
  • Salads: add avocado at the end so the pieces stay intact.
  • Quick sauce: blend ripe avocado with yogurt, herbs, citrus, and water to the consistency you want.
  • Freeze it: mash extras before they become overripe.

A simple avocado routine

  1. Buy firm fruit for later and gently yielding fruit for near-term use.
  2. Ripen firm avocados at room temperature.
  3. Use a paper bag with an apple or tomato when you want to speed ripening.
  4. Move ripe avocados to the refrigerator.
  5. Wash the skin under running water before cutting.
  6. Refrigerate cut avocado promptly in an airtight container.
  7. Use lemon or lime juice when you want to slow surface browning.
  8. Freeze extra ripe avocado as mash or puree rather than wasting it.

Bottom line

The easiest way to store avocados well is to stop treating every avocado the same. Firm fruit belongs at room temperature while it ripens; ripe fruit can move to the refrigerator; and cut avocado needs cold storage plus protection from air.

Choose by firmness, wash before cutting, use citrus and an airtight container for leftovers, and freeze ripe extras as puree. That routine gives you a much better chance of opening the avocado when it is actually ready instead of one day too early or one day too late.

Avocado guide summarizing how to choose, ripen, refrigerate, cut, and store avocados

Fresh Herbs: How to Buy, Wash, Store, and Use Them Before They Wilt

Fresh herbs can make a simple meal taste finished, but they are also easy to forget in the back of the refrigerator. A bunch of cilantro or parsley may look perfect at the store and then turn limp, slimy, or dry before you have used half of it.

The solution is not one complicated storage trick. It is a short routine: buy herbs that are genuinely fresh, keep excess moisture under control, give cut stems access to water when that makes sense, refrigerate perishable herbs properly, and freeze extras before they become waste.

How to choose fresh herbs at the store

Start by looking at the leaves and stems rather than the size of the bunch. Good herbs should look lively and aromatic, with leaves that are mostly green and intact. A few imperfect leaves are normal, but widespread yellowing, black spots, mushy stems, or a sour smell are signs to choose another bunch.

For cilantro, parsley, dill, and mint, look for stems that are still firm enough to stand rather than collapsing into a wet mass. For sturdier herbs such as rosemary and thyme, look for flexible sprigs with plenty of attached leaves rather than dry, brittle stems.

If you know you will only use a small amount, the cheapest bunch is not always the best value. A smaller package that you actually finish can cost less than throwing away half of a larger bunch.

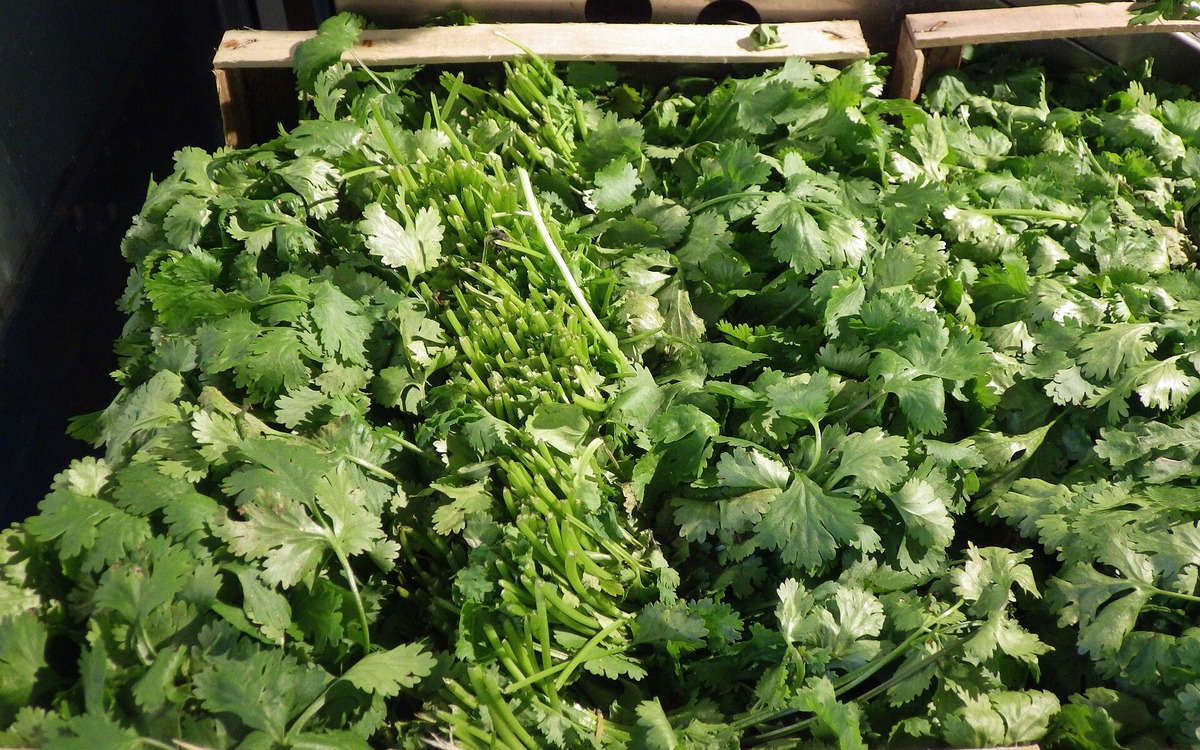
Fresh cilantro bunches displayed for sale at a produce market

Wash herbs with plain running water

Fresh herbs are produce, and they should be handled like other fresh fruits and vegetables. The FDA recommends washing produce thoroughly under running water before preparing or eating it. Soap, detergent, bleach, and commercial produce washes are not recommended for washing fruits and vegetables.

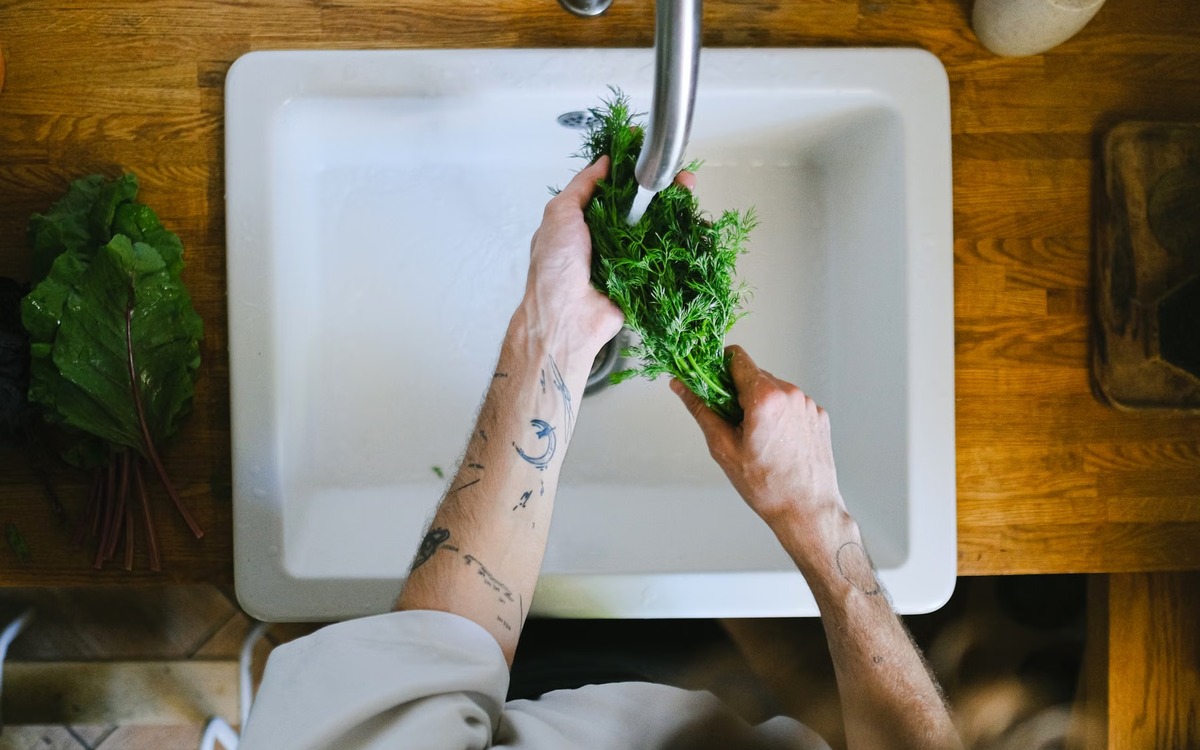
For a small bunch, hold the herbs under cool running water and gently move the leaves so water reaches between them. Remove any damaged or decaying leaves as you go. Then shake off the water and dry the herbs with a clean towel, paper towel, or salad spinner.

If you wash herbs before storing them, dry them especially well. Trapped surface water can leave the bunch soggy and makes storage less pleasant. Another simple option is to store the bunch as purchased and wash only the amount you need right before cooking.

Fresh herbs being rinsed under running water in a kitchen sink

The jar-of-water method works well for many tender herbs

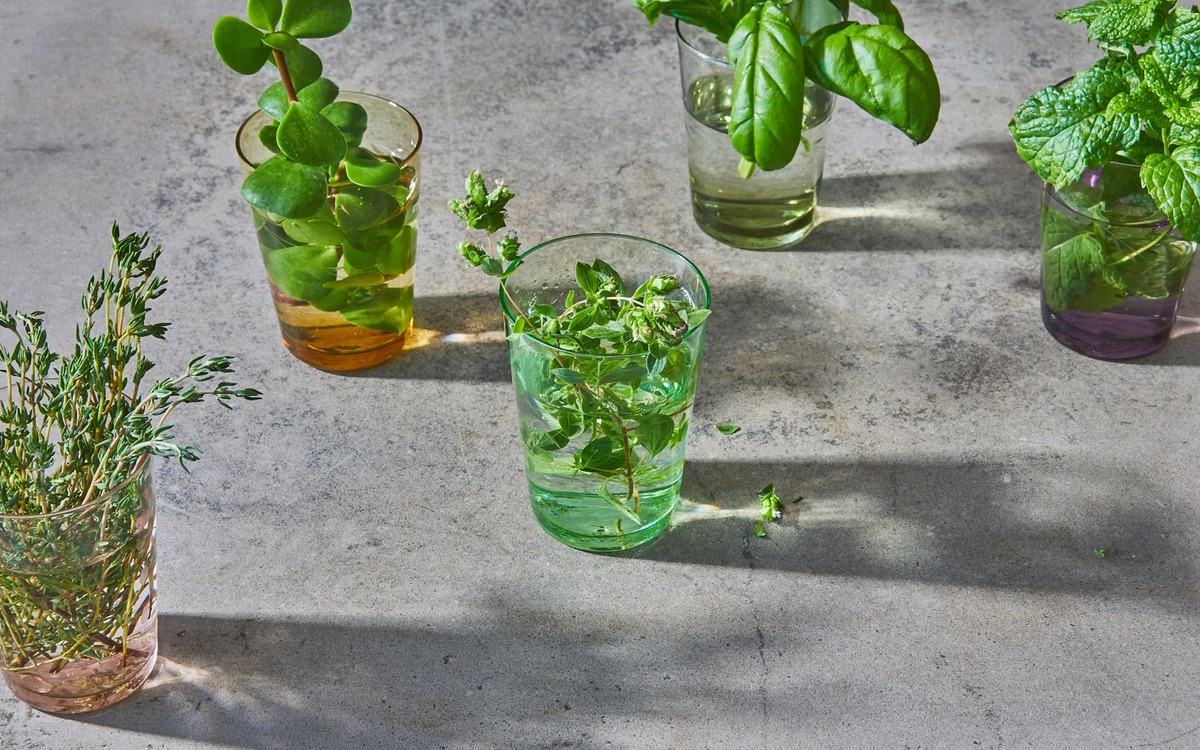
Cilantro, parsley, dill, and mint often store well when treated a little like cut flowers. Illinois Extension recommends trimming the stem ends, standing the herbs in a tall glass with about an inch of water, loosely covering them, refrigerating them, and changing the water when it becomes cloudy.

You do not need to submerge the leaves. Only the lower stems should sit in the water. If leaves are packed tightly against wet glass, remove a few or reposition the bunch so air can circulate.

For refrigerator space, a sturdy deli container or short jar can work just as well as a drinking glass. The goal is simply to keep the stems hydrated without soaking the leaves.

Assorted fresh culinary herbs standing in clear glasses for short-term storage

A damp paper towel is the easiest low-space method

If jars are inconvenient, another Extension-recommended approach is to wrap herbs in a slightly damp paper towel and place them in an open or loosely closed food-safe bag in the refrigerator. This is especially practical for flatter or sturdier herbs such as rosemary, thyme, chives, and oregano.

The towel should be damp, not dripping. If it becomes saturated or the herbs start to feel wet, replace it with a fresh one. If the towel becomes completely dry and the leaves begin to dehydrate, lightly dampen it again.

Basil deserves separate treatment

Basil can be more sensitive to cold than many other culinary herbs. Penn State Extension notes that cut basil stems can be kept for a few days in a glass of water at room temperature; it also describes refrigerated storage in a plastic bag with a paper towel as an option for longer storage.

In a typical home kitchen, a small bunch you plan to use quickly can sit stem-down in clean water away from direct sun and heat. If you prefer refrigeration, protect the leaves from excess moisture and use them promptly if you notice darkening.

Keep perishable herbs properly refrigerated

For food safety, the FDA advises storing perishable vegetables such as fresh herbs in a clean refrigerator at 40°F (4°C) or below. Keep herbs away from raw meat, poultry, seafood, and their juices so foods that may be eaten raw are not exposed to cross-contamination.

Do not rely on a specific number of days as a guarantee of freshness. Different herbs, packaging, harvest age, and refrigerator conditions can change how long a bunch stays usable. Check the actual herbs each time you use them.

Know the difference between wilted and spoiled

A slightly limp herb is usually a quality problem, not automatically a safety problem. You may still be able to use it in a cooked dish, sauce, soup, or pesto-style preparation if it otherwise looks and smells normal.

Discard herbs that are visibly rotten, heavily slimy, moldy, or have a strong off odor. The FDA also recommends cutting away damaged or bruised areas of fresh produce and discarding produce that looks rotten.

Use delicate and hardy herbs differently when cooking

Fresh herbs do not all behave the same way in heat. Illinois Extension recommends adding delicate herbs such as basil, cilantro, dill, parsley, and marjoram near the end of cooking so more of their fresh aroma remains. Hardier herbs such as rosemary, thyme, and tarragon can usually go into a dish earlier.

A useful habit is to divide a bunch when you bring it home: reserve a small amount for garnishing or salads and plan the rest for cooked meals. That makes it easier to use the whole bunch instead of saving everything for one perfect recipe.

Fresh herbs being chopped on a wooden cutting board during meal preparation

Easy ways to use a bunch before it fades

  • Parsley: stir into grain bowls, soups, eggs, potato dishes, or lemony yogurt sauce.
  • Cilantro: add to tacos, beans, rice, salsa, curries, or noodle bowls.
  • Basil: tear over tomatoes, pasta, pizza, eggs, or sandwiches; blend extras into pesto.
  • Dill: use with potatoes, cucumbers, eggs, fish, yogurt, or simple salads.
  • Mint: add to fruit, yogurt, grain salads, iced tea, or savory sauces.
  • Rosemary and thyme: use in roasted vegetables, beans, chicken, soups, and pan sauces.

Freeze the extras before they become waste

If you can tell you will not finish a bunch, freezing is a useful rescue plan. Penn State Extension notes that herbs such as parsley, dill, basil, chives, mint, and tarragon can be frozen. Their texture will soften after thawing, so frozen herbs are usually better for cooked dishes than for garnish.

You can freeze clean, well-dried leaves in a freezer-safe container, or chop them and freeze small portions with water for soups and sauces. Illinois Extension also describes freezing chopped herbs in ice cube trays with water or oil. If you use oil, save those cubes for cooked dishes and keep them frozen until needed.

A simple routine that prevents most herb waste

  1. Buy the freshest bunch you can realistically finish.
  2. Remove obviously damaged leaves.
  3. Use a jar of water for many tender stemmed herbs or a lightly damp towel for compact storage.
  4. Keep perishable herbs refrigerated at 40°F (4°C) or below unless the herb has a specific room-temperature storage recommendation, such as short-term cut basil.
  5. Wash under plain running water before preparing or eating.
  6. Plan two or three meals around the bunch instead of one.
  7. Freeze what remains while it is still in good condition.

Bottom line

Fresh herbs last longer when you match the storage method to the herb rather than stuffing every bunch into the same plastic bag. Keep tender stems hydrated, keep leaves from sitting wet, refrigerate perishable herbs properly, wash them under running water before use, and freeze extras while they are still worth saving.

That routine is simple enough to use every week—and it makes cilantro, parsley, basil, dill, mint, rosemary, and thyme much easier to buy without expecting half the bunch to end up in the trash.

Fresh herb storage guide summarizing buying, washing, refrigeration, storage methods, and freezing

Yogurt: How to Choose, Store, and Use It Safely

Yogurt can be a quick breakfast, a snack, or a useful ingredient in sauces and dressings, but the dairy case can make a simple purchase fe...